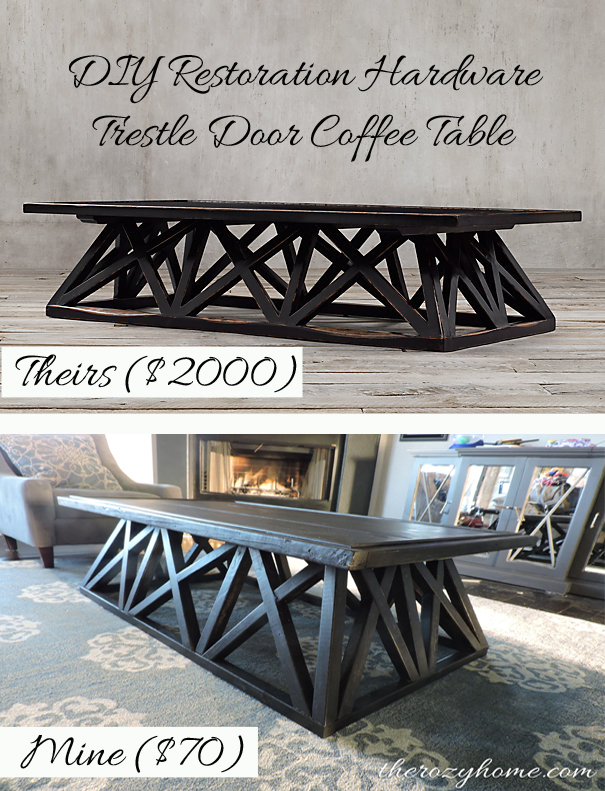
DIY Restoration Hardware Trestle Door Coffee Table
/It all started with a dream... a dream to find the perfect coffee table for our living room. For the last six months or so I have been scouring the web, Craigslist and local shops searching for it. You know, that piece of furniture that speaks to you and says "buy me. I'm perfect for you." And then it happened. I stumbled over to Restoration Hardware and found the one. The moment I saw it I got that twinge of excitement because I had finally found the perfect piece - the Trestle Door Coffee Table:
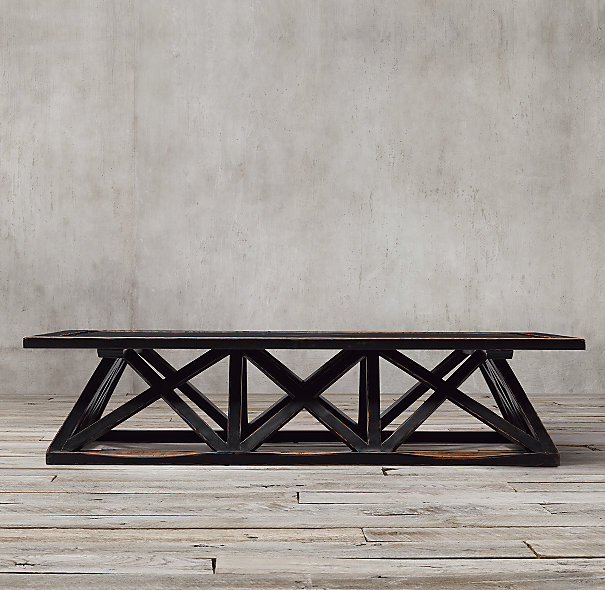


Images courtesy of Restoration Hardware
Isn't it gorgeous??? The moment I saw it, I knew I had to have it. I took the computer down to my husband to get his opinion. He loved it! He actually loved it! The twinge of excitement turned into full-on giddiness. And then I saw the price. Sigh....
For the next hour or so I studied the pictures. I looked at the lighter tables (since they showed the design a bit better) and made notes about all the details. Then I headed back down to the hubs and said "I think I can make this." To which he replied "Do you have to make it? Just buy it." Me: "It's $2000." The hubs: "Or you could just make it." And that is how it all started.
That afternoon I took lots of notes about the different aspects of the table. I could tell that the base of the table set in under or the table (or that the top overhung the base). That meant angles (oh joy). I also knew that I didn't want a door on the top - mainly because I didn't want to deal with scouring Craigslist for the right old door. After thinking on it a day I thought ok, let's do this. Let's build the Restoration Hardware Trestle Door Coffee Table. You can do this (deep breath).
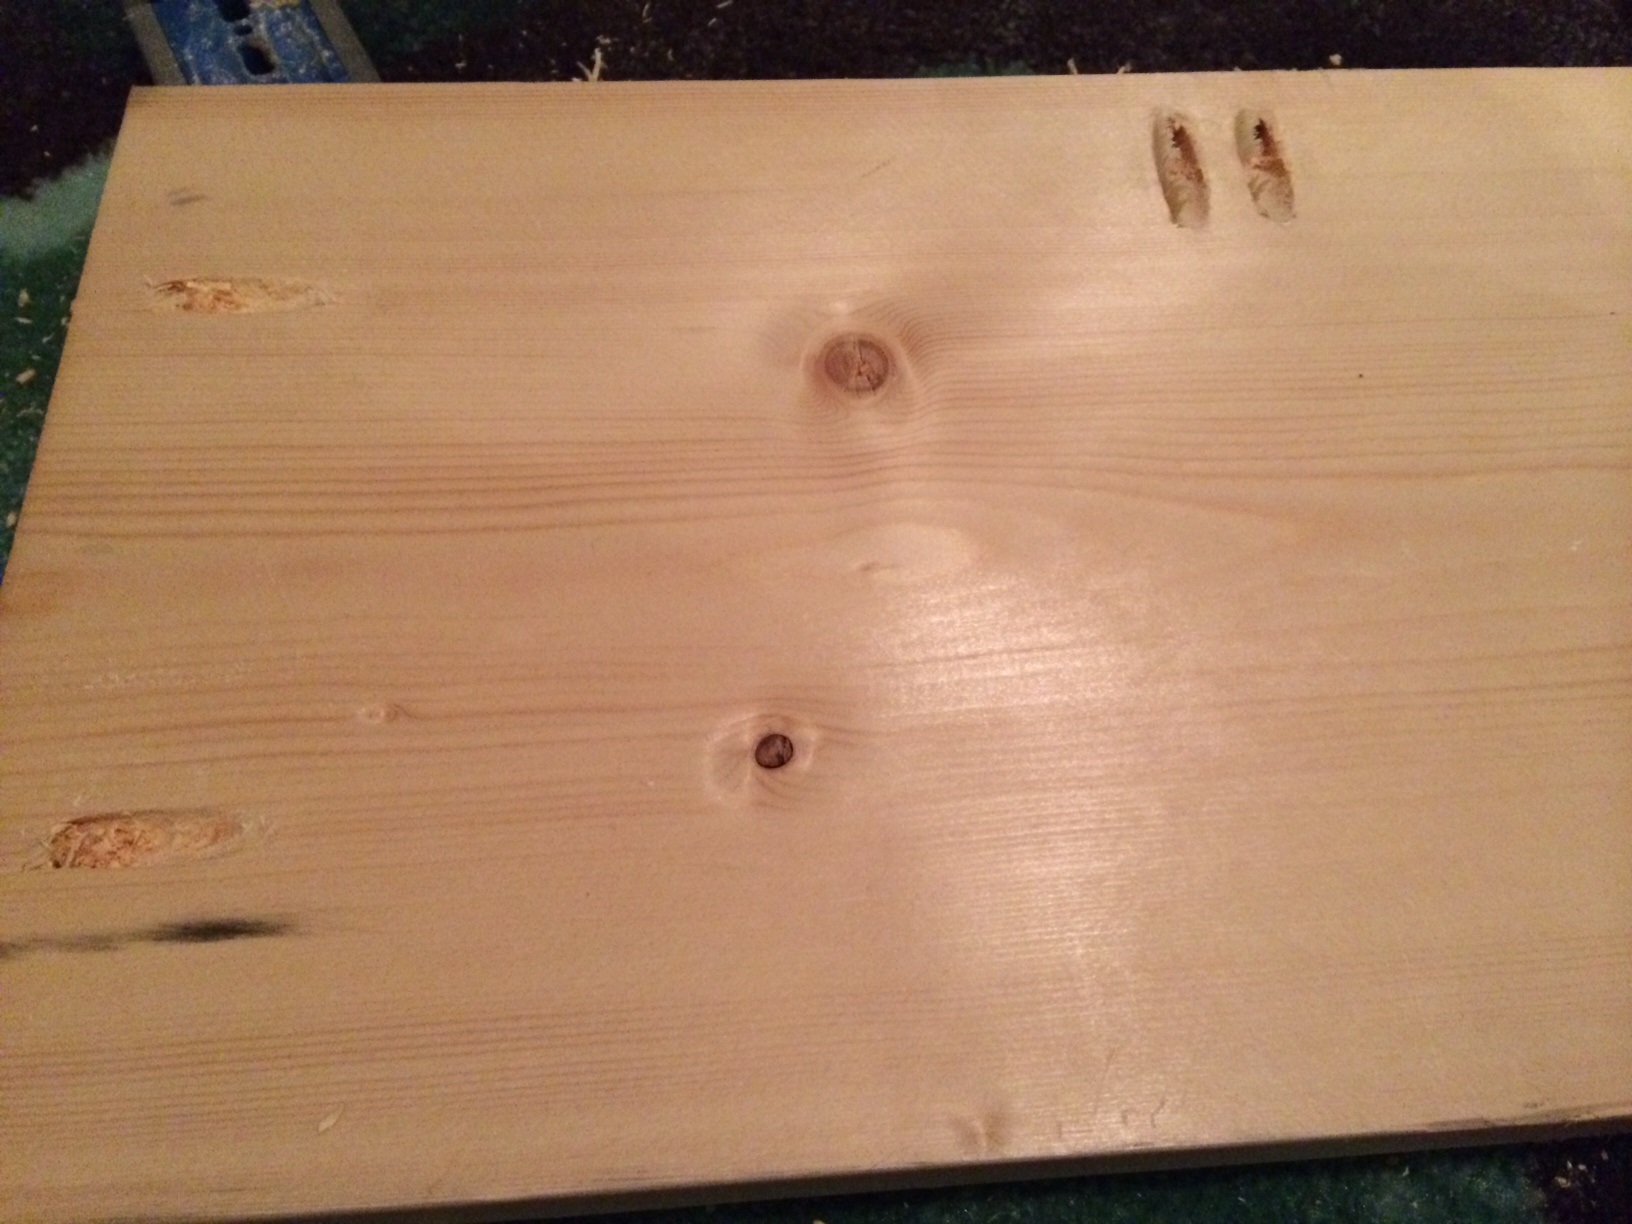
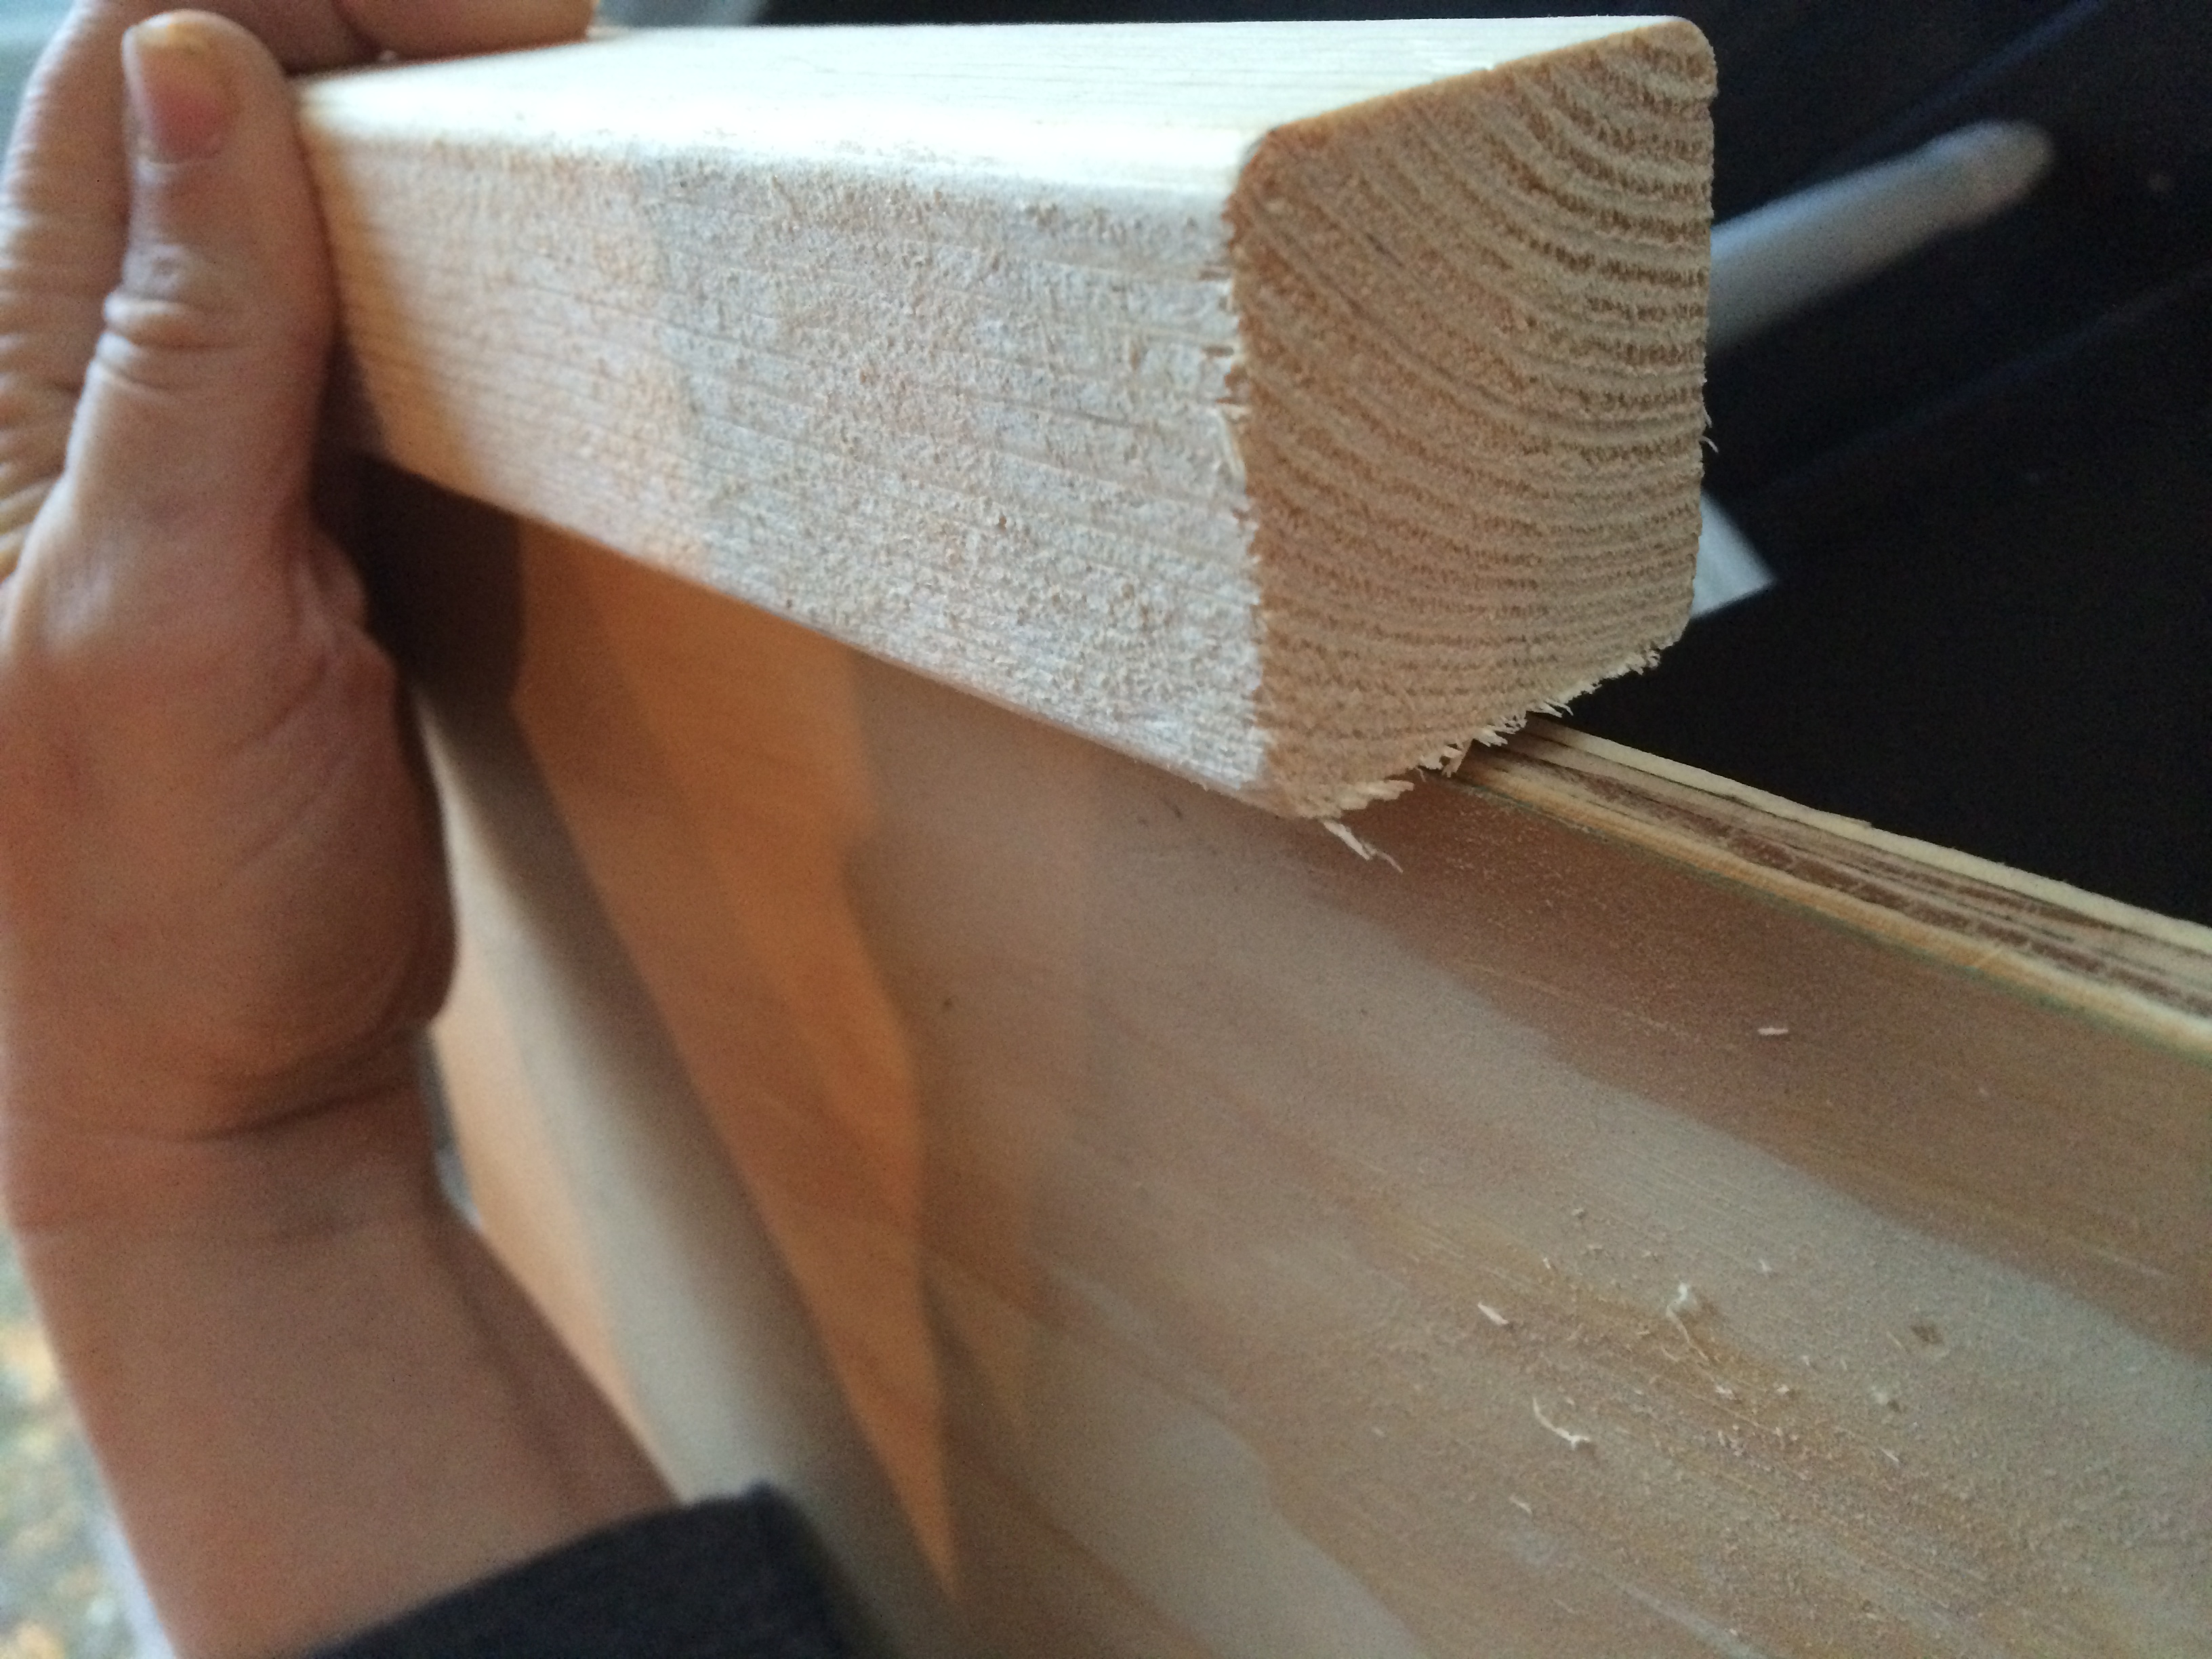
As usual, I headed to Home Depot for supplies. The benefits of trying to create a reclaimed timber project is that furring is your best friend. I grabbed 2 x 2 furring strips for the base, the x's and the edge of the top. I purposely picked out the most beat-up and marked furring strips to give it the reclaimed look. For the top, I opted for three white board pieces. Again, I looked for boards with knots and imperfections. And finally, I picked up strips of trim to mimic the look of a door.
Materials
- 12 – 2″ x 2″ x 8 'furring boards (I recommend buying extra because the cuts can get tricky. At less than $2/piece, it pays to have extra on hand).
- 3 – 1″ x 10″ x 6′ common board (around $10 each)
- 24" trim of your choice (I used stop moulding)
- 1 1/4" pocket screws
- 2" pocket screws
- Kreg Jig
- wood filler
- sandpaper
- Nail gun
- 1 1/2 inch nails (for nail gun)
- stain/paint
- top coat
Update!
The amazing Amy from Her Tool Belt created plans for me to use with my feature post at Remodelaholic! I'm so excited that she was able to sit down and put what I did into plans so all of you can take on this project. In addition, I have added step-by-step directions for assembling the table. Click here to see them!
Now on to building it. When I got home, the first thing I did was attach the boards to each other with pocket screws.
I drilled pocket screws to attach the three boards

The three boards together
I'm sure you notice that table is REALLY long. You see, the hubs said he wanted a really long table. That is, until I built the whole thing. But we will get to that later.
The next thing I did was create the base. Since the base is smaller than the top, I measured the length and width of the top and took around an inch off each side and end so it would sit under the top. I then put the base together with pocket screws.


After making the base, I had to make a frame to attach to the bottom of the table. For this one, I opted to go in 5 inches.

Both bases
With all of that done, I needed to attach the smaller base to the top. I centered the base and attached it.

Next, I measured out the distances for the x brackets. I divided the overall side base length by 4 and marked the spots. I did the same thing on the short sides (ends). As a way to keep a checks and balance, I marked the spots on the small base (attached to the top) so that I ensured I attached them at the corresponding space. I did this by laying the base around the small base and making the marks.


My next step was making the leg cuts. I opted for 15 inches length. I'm going to be very, very honest with you. I went through a lot of wood figuring out the angles. I'm usually pretty good at angles, but when working upside down, it was a bit much. Finally I found that that the center pieces should be cut at 25 degree angle with a 22.5 degree miter on the top and bottom (for the corresponding pieces, they needed to be cut at a 40 degree angle with a 22.5 degree miter). When doing this, your measurements may be different, but they should be pretty close.
I did the center supports first and opted to space them 16 inches apart on the long side and on the small side, I centered them (around 16 3/8"). After making the cuts, I attached all of the center pieces to the small base using pocket screws.


Once all of the center pieces were on, I set the base on the legs. It was my moment of truth and...

Success! I went about attaching the base to the legs with pocket screws. After doing that I flipped it over so I could work on the remaining pieces. I know you probably want to see pictures of this part but this is when I had a mini meltdown trying to figure out the angles. The center pieces were easy peasy. All the others, not so much. And to add to it, the only thing I had to go off of was a picture. Sigh... But eventually I figured it out. And guess what happened when I did? The hubs decided the table was too big (and he was right). So I had to saw off part of the table and redo the base. I was upset, to say the least. But I made it through. After I put the center supports on I added the end pieces.
Then I added the crossbars.
And that was as far as the modeling software would take me. Once I started adding in mitered cuts and all the angles, it started to look pretty nasty. Of course, this was my first sketch project and probably not the best to start with. Truth is, without rebuilding the table, I would never be able to get the angles right again. This build was to show you that you can build something like this with the right tools and understanding of miters. But I digress. Since I had gotten so stressed about the angles, the table looked like this for about a week:

When I finally got over being frustrated by the angles and cuts, I decided to start staining it. Well that's not entirely true. First, I added wood fill to all the pocket hole spots and anywhere else I felt it needed to go. I let it sit for 24 hours and then sanded the entire table. My reason for waiting 24 hours was simple - the wood fill tub stated that you need to wait 24 hours before staining. I have read horror stories all over the web about people using wood fill and it not holding stain. Turns out, if you follow the directions, the wood fill takes the stain just fine. So once everything was sanded, I started staining the legs so I could figure out what color I wanted. I had planned on ebony, but once I did the first coat, I changed my mind.

I ended up making my own color that was a little bit of ebony, red mahagony and tudor (brown).

I need to add that the table looks REALLY brown here. It's not. It's just the bad lighting from the iphone (by camera died mid construction). After the stain had sit for 24 hours I added trim around the edges. This is what gives the table the look of a door (or a bit closer anyway). I stained the trim separately and then attached it with Liquid Nail.

After another 24 hours, I began distressing the table with 100 grit sandpaper. When I got it to the look I wanted, I began using poly. As a side note, I want to say I absolutely LOVE Rustoleum's polyurethane. It leaves an amazingly smooth finish and is, hands down, the best poly I've ever used. I used it when I refinished the dining room table and it has held up amazingly.

The finished product. the color of the legs is the actual color of the entire table. Not sure why the top is photographing so brown.


When all was said and done, I was ecstatic with the results. Not only did I actually figure out how to build a table using nothing but a picture as a guide, but I was able to recreate the $2000 Restoration Hardware Trestle Door Coffee Table for only $70! I kid you not... $70. Full disclosure: This is not an easy project. You need a good working knowledge of angles and miters. It also helps to accept it's ok if it's not perfect. The table is meant to be flawed and adds to the character. So what do you think? Are you ready to take on this one? As for me, now that I have that under my belt, I need to finish up my baby girl's teepee I promised her.
Update: For those of you who really want the door look, you could easily achieve this by doing a few things. For example, you could actually use a door for the top. I know, that sounds like a "well d'uh statement" but there are old doors all over Craigslist. you will just have to get creative with filling in where the knob goes. Also, instead of placing the wood around the edge flush with the three planks, center it so it creates a lip. Next, move the finish trim in a few inches to give the illusion of a dip being created. I tried to mock this up with scraps I had left (see below).


And finally, fill any gaps in the top piece with wood fill and sand until smooth and cohesive (losing the plank look). Doing these things would make it pretty darn close to the original. For me, we use this table for family games so I didn't want the lip/dip and I like the plank look. That is the beauty of making it yourself - you can play around and get it exactly the way it works for you.
Check us out at the DIY Party at DIY Showoff
YOU MAY ALSO ENJOY:


