From Plug-In to Hardwire - How To Convert a Plug-in Light to a Hardwired Light
/
Longest.title.ever. But hey, it gets the point across, right?
I'm sure it's happened - you've been walking through your favorite store and see you a light that you would LOVE to have in your home. Sadly, there is one problem - the plug at the end. This happened to me a few weeks ago. I was walking through Hobby Lobby looking for supplies for a project and I saw an orb light I love (I know, I know... they've been around for a bit but I was hesitant to buy one for $100+). When I saw the orb I walked over and slowly turned the price tag over to see $79.99. Normally that would have been that but alas - Hobby Lobby had lighting/lamps on sale for 50% off. $40 for a light? Count me in.
In all fairness, I wasn't sure if it was safe to convert a plug-in light to a hardwired light. I mean, it's just two little wires, right? But what about the ground? Plug-in lights don't have grounds so would it even work? I decided to talk to my electrician and found out that most new plug-in lights are self grounding. Even better, the switch that would be controlling the light was on a 5 switch box so the whole box is grounded. He told me "the big end of the plug is black and the small end is white." Sounds easy enough.
Note: Before getting into this tutorial I want to say that great care should be taken when dealing with electricity. If you are not comfortable with this, or any, electrical project please contact a professional. Additionally, if you are unsure of whether the plug-in light you purchased will work in your home, please reach out to a professional. No sense burning your house down. :-)
Can you believe the light even came with a lightbulb? The only thing it didn't have was a canopy kit so I ran to my local hardware store and bought a canopy kit for $5.

I had to spray paint it black so it would match the light but that was easy peasy.
Once I decided how long I wanted the light to hang, I cut the wire. Luckily for me, the wires were actually black and white (I have been told that in most plug-in lights they don't differentiate).
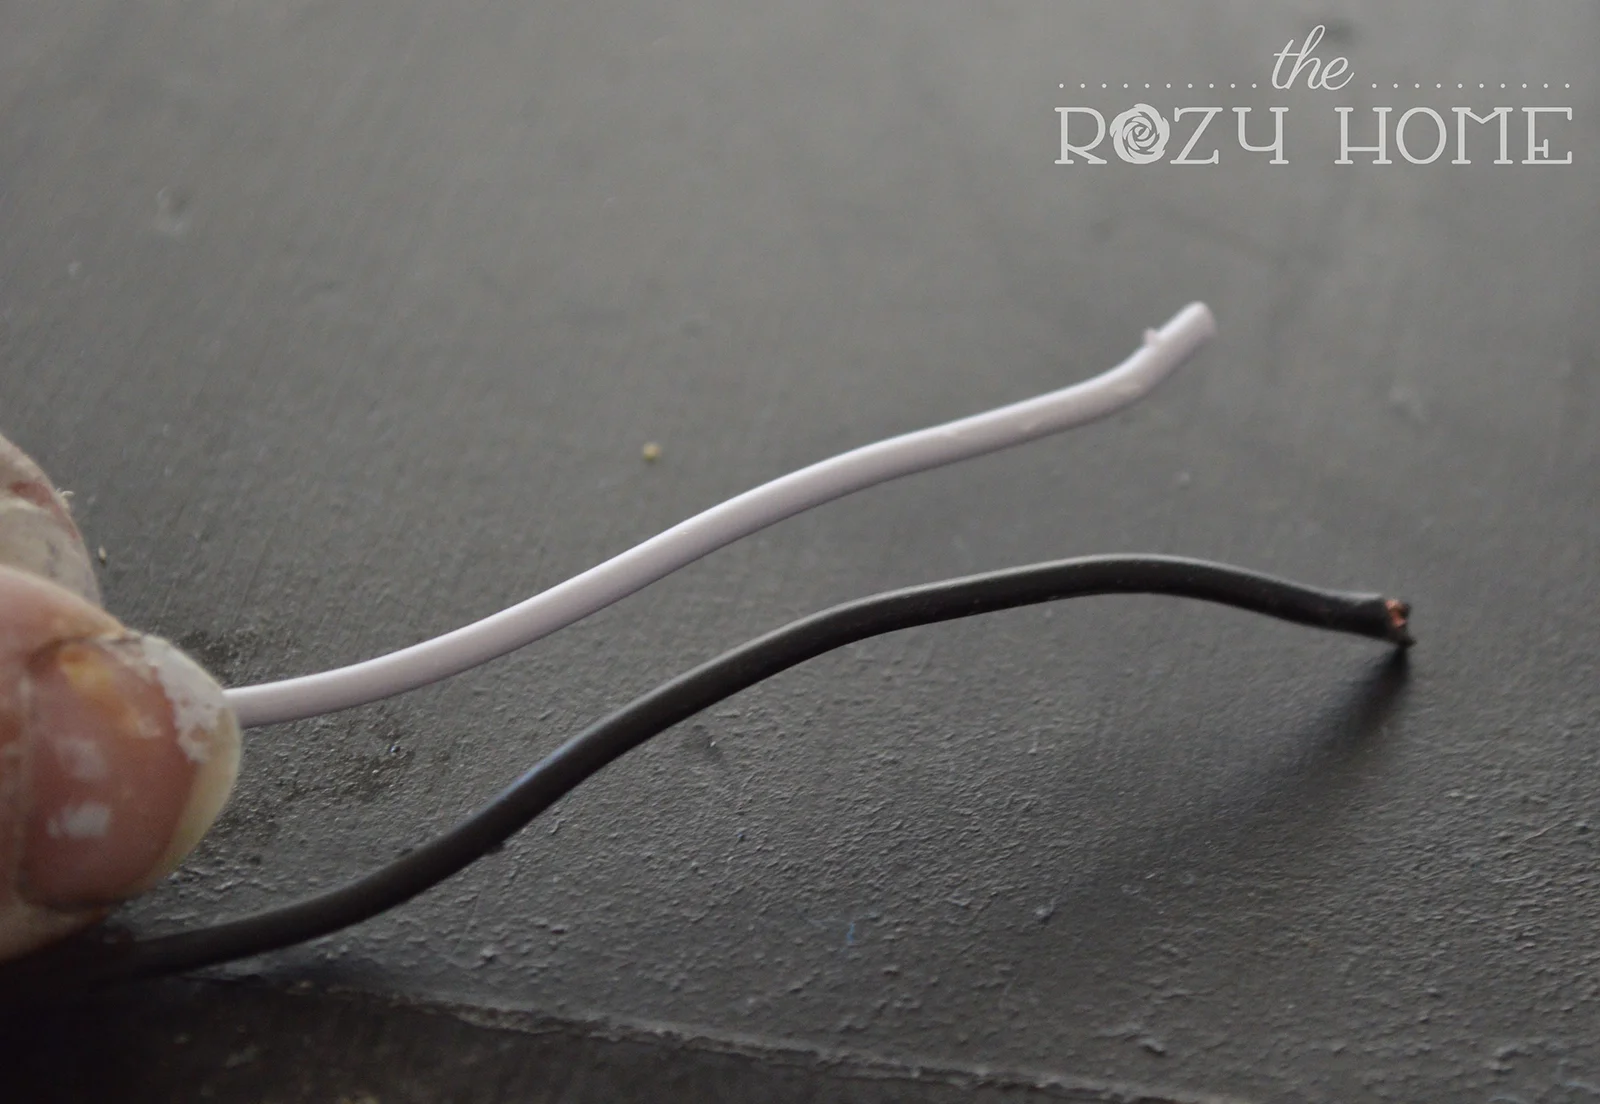
I'm pretty sure that is joint compound on my nails since I was sheetrocking that day. :-)
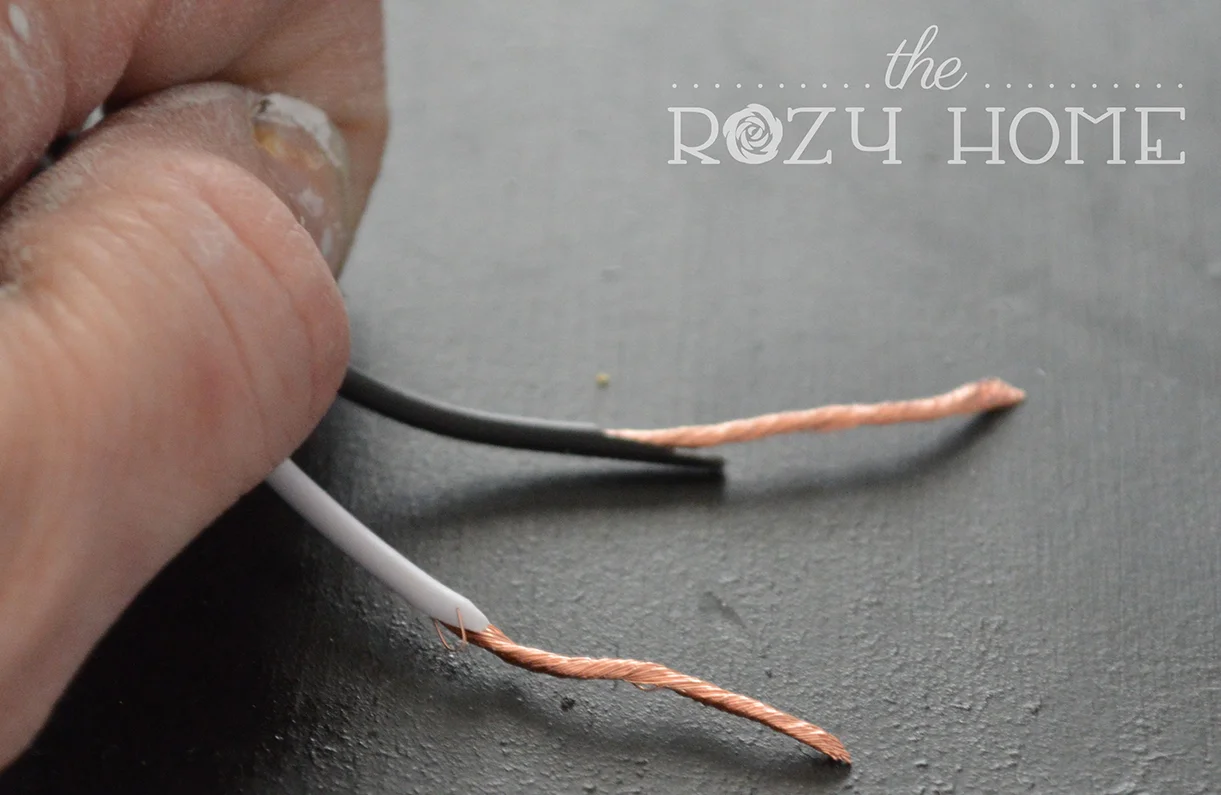
After splicing the wires, I had to figure out how the light would attach to the canopy. Luckily, the light had that covered to.

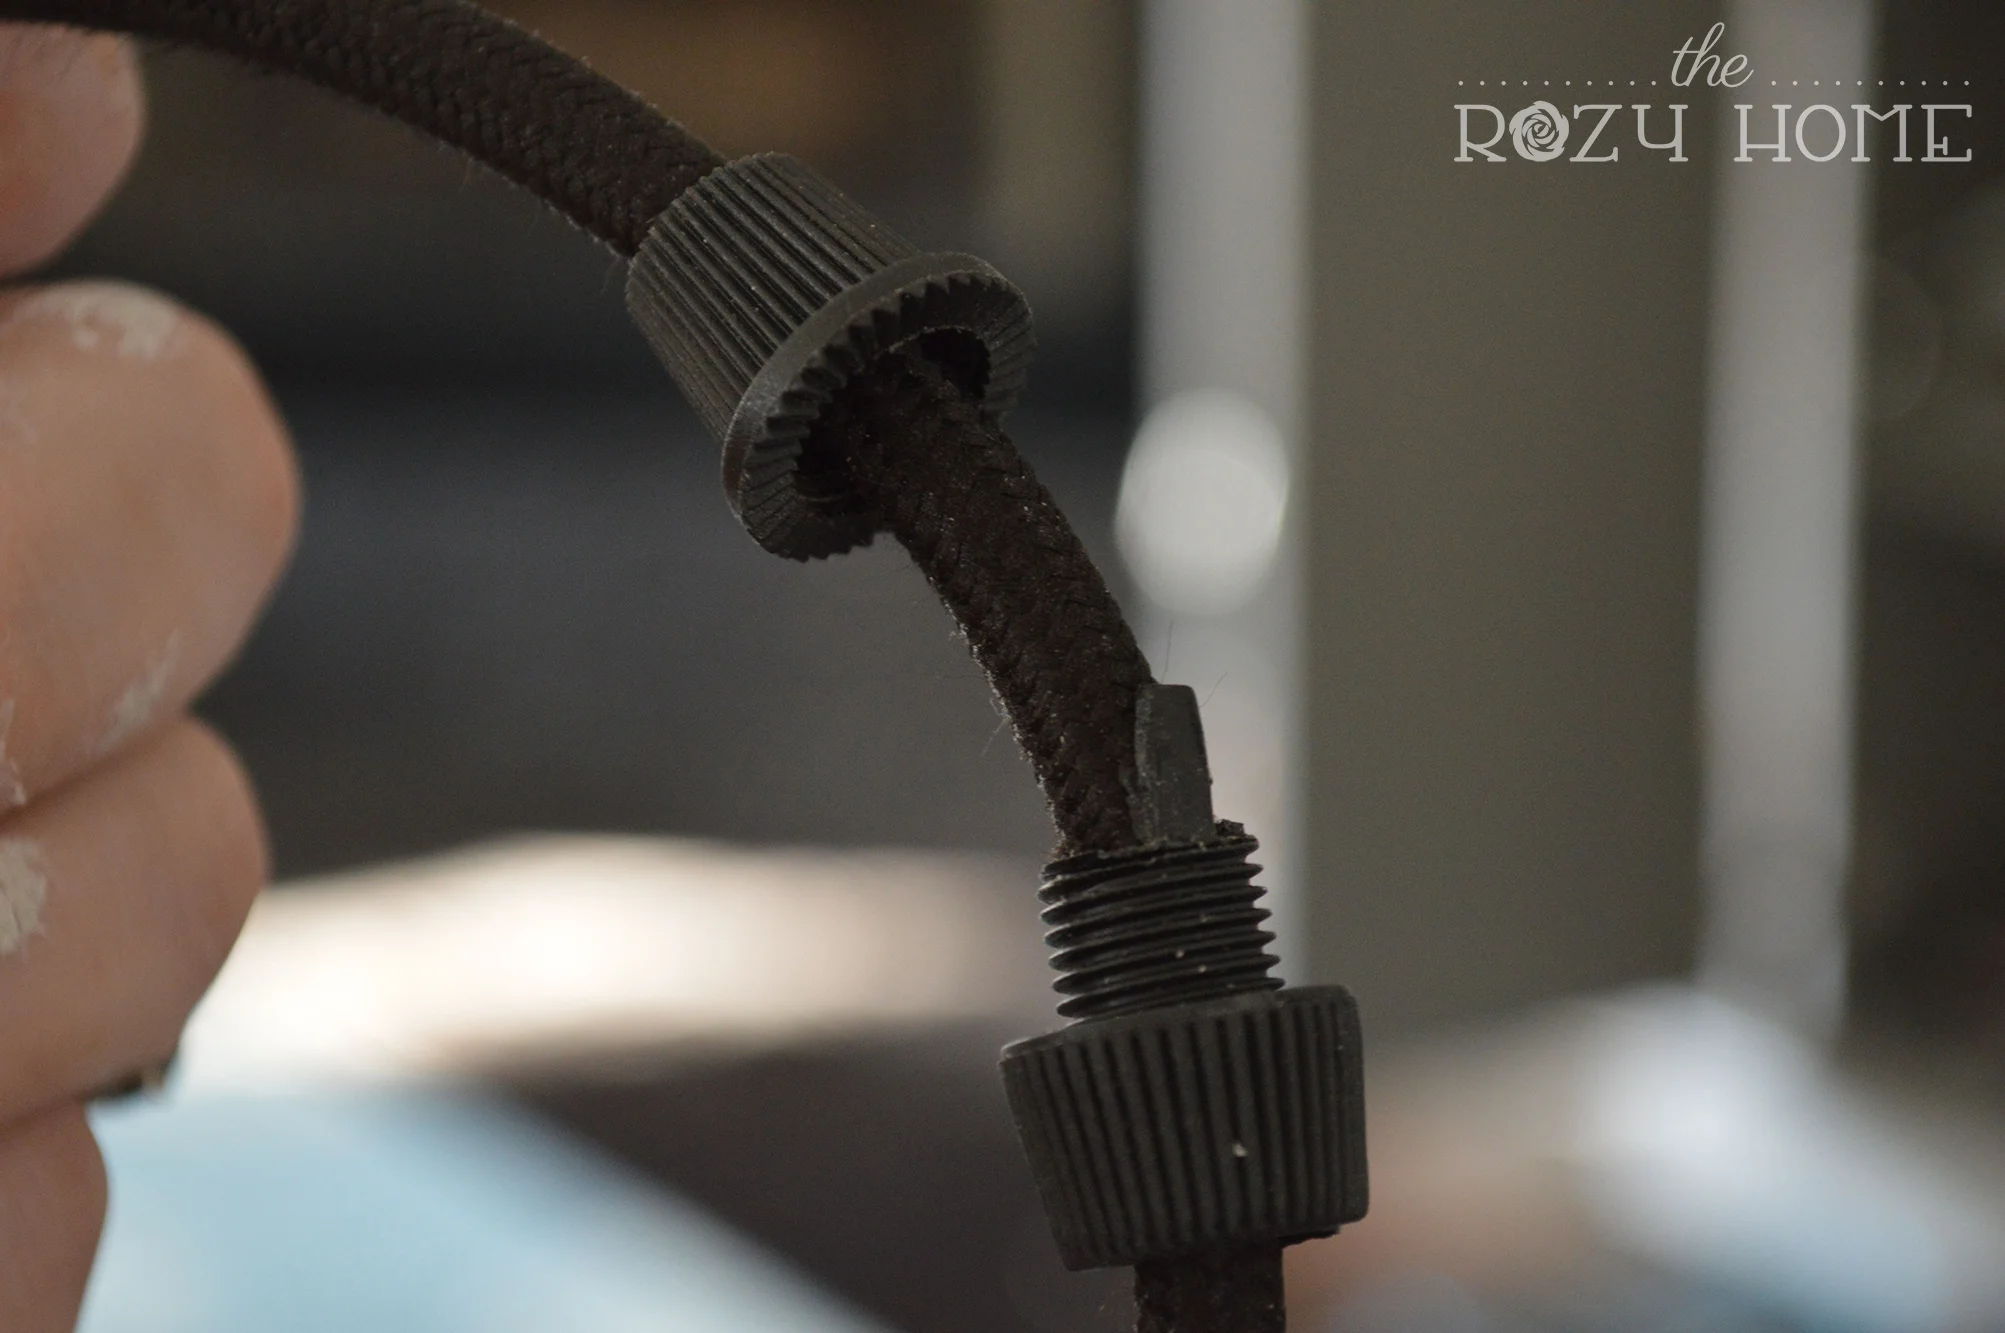
I removed the top piece, threaded the wires through the canopy and the screwed it back together.


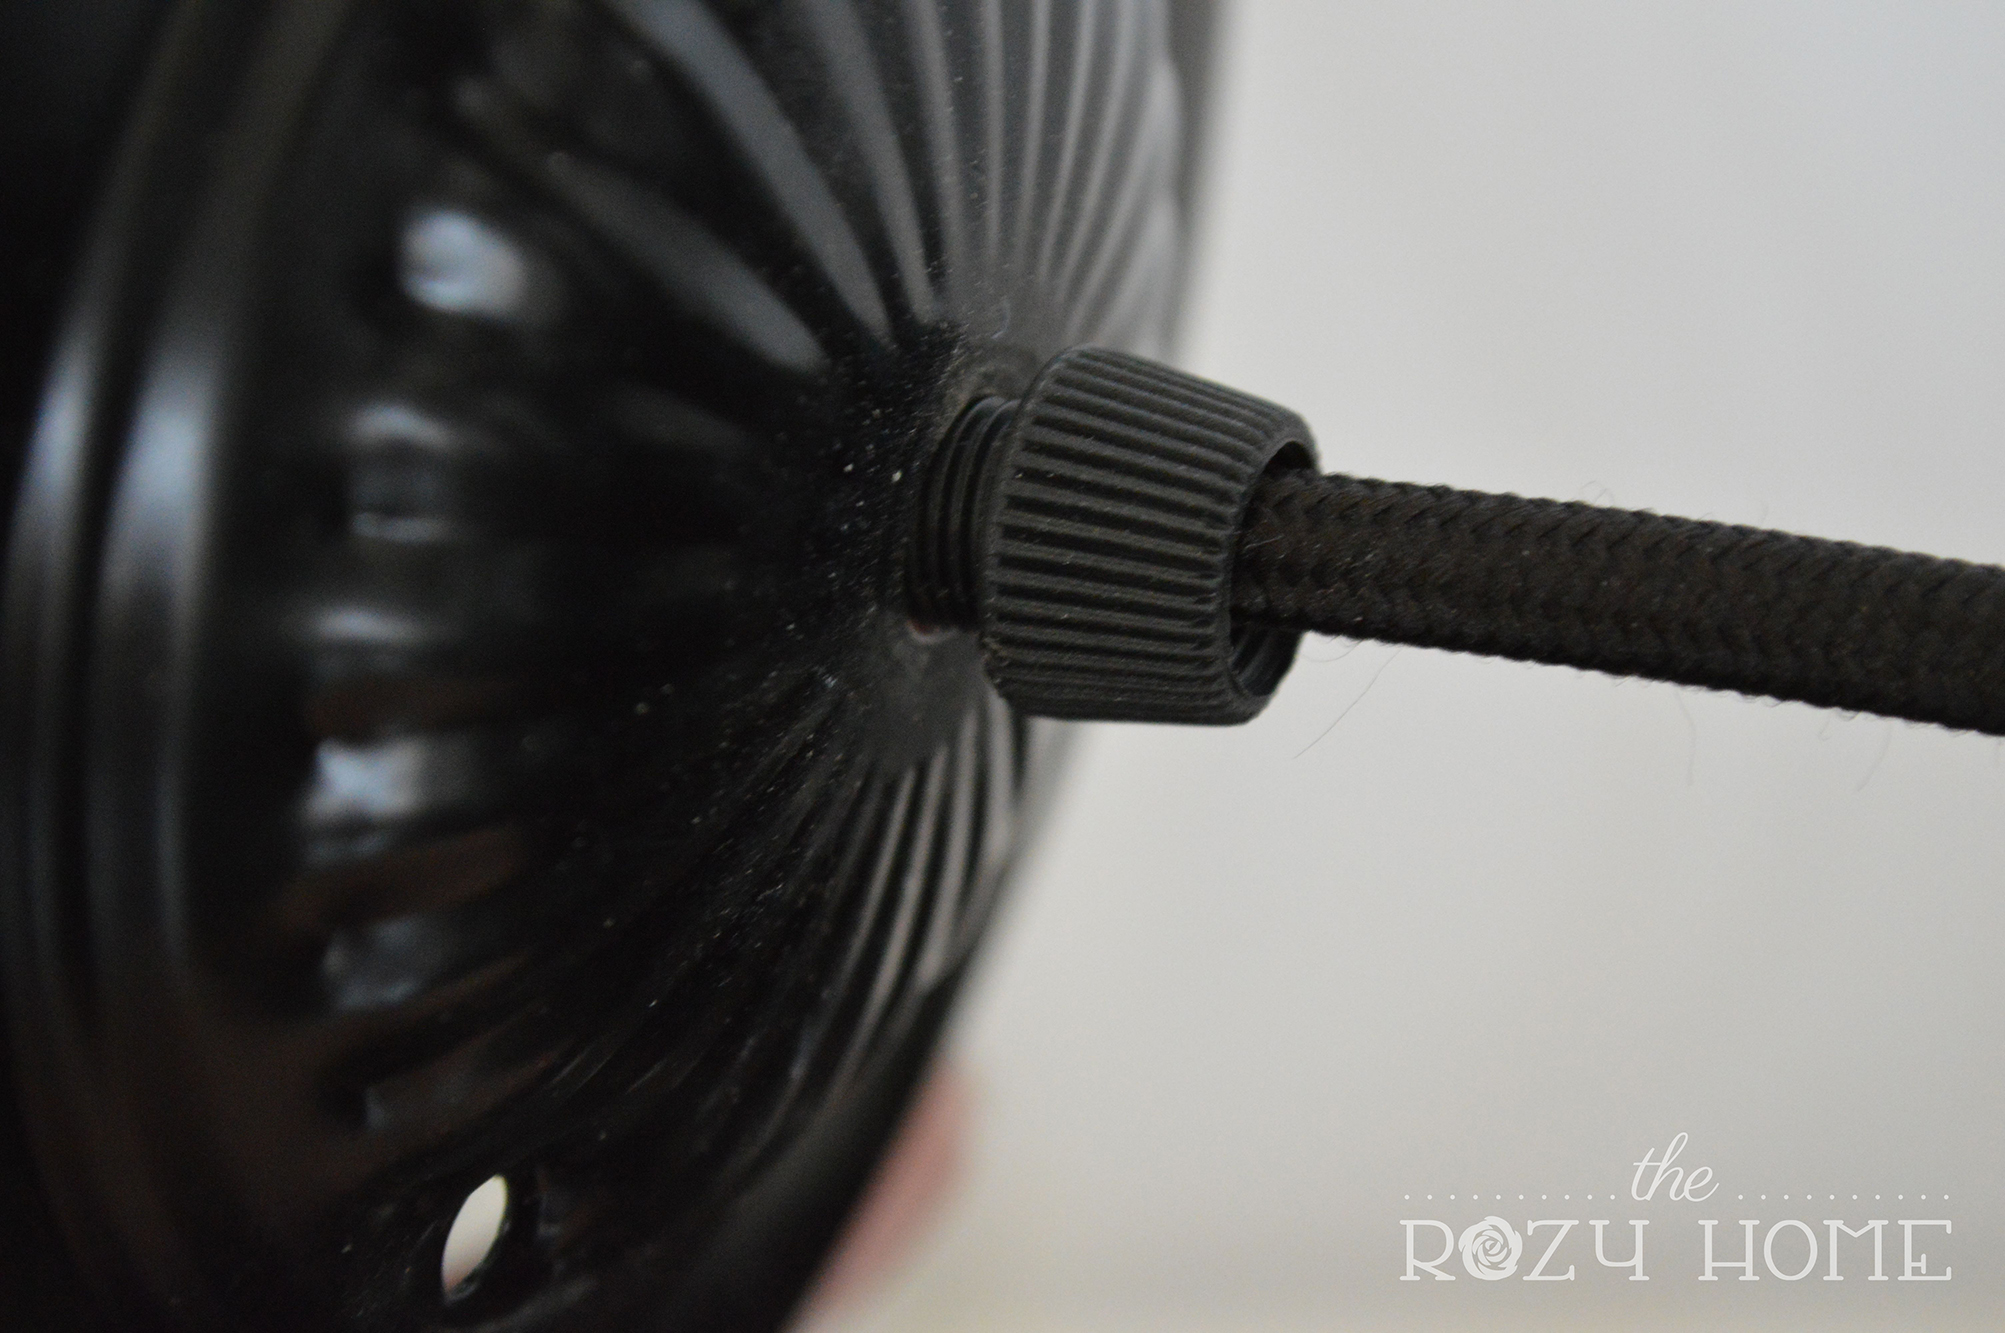
Because the cords were wrapped in fabric, we cut down the fabric as far as possible and then wrapped it several times with electrical tape. After all fabric + junction box = fire hazard.
Next the hubs connect the wires and that was that. All-in-all it took about 30 minutes to complete the project. And the results? I just love them!

I opted to change the light bulb to an Edison bulb I purchased at Lowe's. I love the pattern it gives off on the ceiling and the way the filament lights up.


All-in, I spent a little less than $50 (including the new light and canopy kit). So what do you think? The next time you see a plug-in light that you think would look awesome in your place don't pass it by. With a few easy modifications, it can be hanging in your home in no time.
Check us out at That DIY Party
YOU MAY ALSO ENJOY:


