Designer Inspired Horizontal Wainscoting
/Have you ever seen something and immediately known you had to have it. That happened to me earlier this year. I was toying around with redoing the powder room but not sure which direction to go. I knew I wanted wallpaper. I knew I wanted wainscoting. Heck anything was better than they way it's looked for the last few years.

The bathroom before
Ok it's not terrible. Heck, it's better than it was when I moved in. As you can see, it's a tiny space. The good thing? That lets me buy nicer finishes. The bad thing? It's tiny!!! As most of you know, I love wainscoting - a lot. I've done board and batten and I've done picture frame. Actually the board and batten was converted to picture frame when I redid the entry way/foyer (you can check that out here). I love board and batten - it's clean and gives that rustic feel, but the picture frame wainscoting fit the house better.
When it came to the powder room I was trying to decide if I should wrap the picture frame moulding into the room or do something different (because the powder room is at the top of the stairs).

The powder room is behind the door at the top of the stairs.
These are the little things that get me in projects - the little details that tie everything together. So for months I searched. And searched. And searched. On one wonderful day I had a notification that Tera Janelle Design was following me on FB. I hopped over to check her page out and WOW is she talented. I decided to follow her on FB and Instagram because the girl has crazy awesome style (and I'm so jealous she gets to design for a living)!
After a couple of months following her, she posted this pic from Beth Kooby Design (Beth is an amazing designer and you HAVE to check out her work. I seriously drool over her portfolio and Miss Beth.... well she just wrote a post on Paris so you know I'm a fan).

EEEK! Tera had been at a designer home tour in Atlanta and Beth had done this particular bathroom. The instant I saw it, I knew that it had THE wainscoting I had to have in my powder room. I even commented that I was stealing the look!!!
As usual, I stared at the photo for a bit (doing what I do) trying to figure out exactly how the designer had done it (when I originally decided to do the horizontal wainscoting, I did not know who the designer was. I found that out along the way). Once I figured out a way to make it work I got to work.
The first thing I had to do was decide how high to the horizontal wainscoting would go up. I opted for 3 1/2 feet. I did a little math and played around with sketches and decided that 4 inch planks would get the desired look and height I wanted. As usual, I head to HD to pick up supplies.
I opted to make the planks out of 1/4" underlayment (around $9 a sheet). I need two sheets to cover the bathroom. I walked over to the wonderful man that rips wood and asked if he would rip the sheets into 4 inch strips. He said no. Normally, they won't do rips this narrow but I begged (a lot) and he agreed. Next, I picked up base cap. I needed quite a bit of it but it was also pretty inexpensive and came in around $30 total. So there I was, $50 in and ready to start.
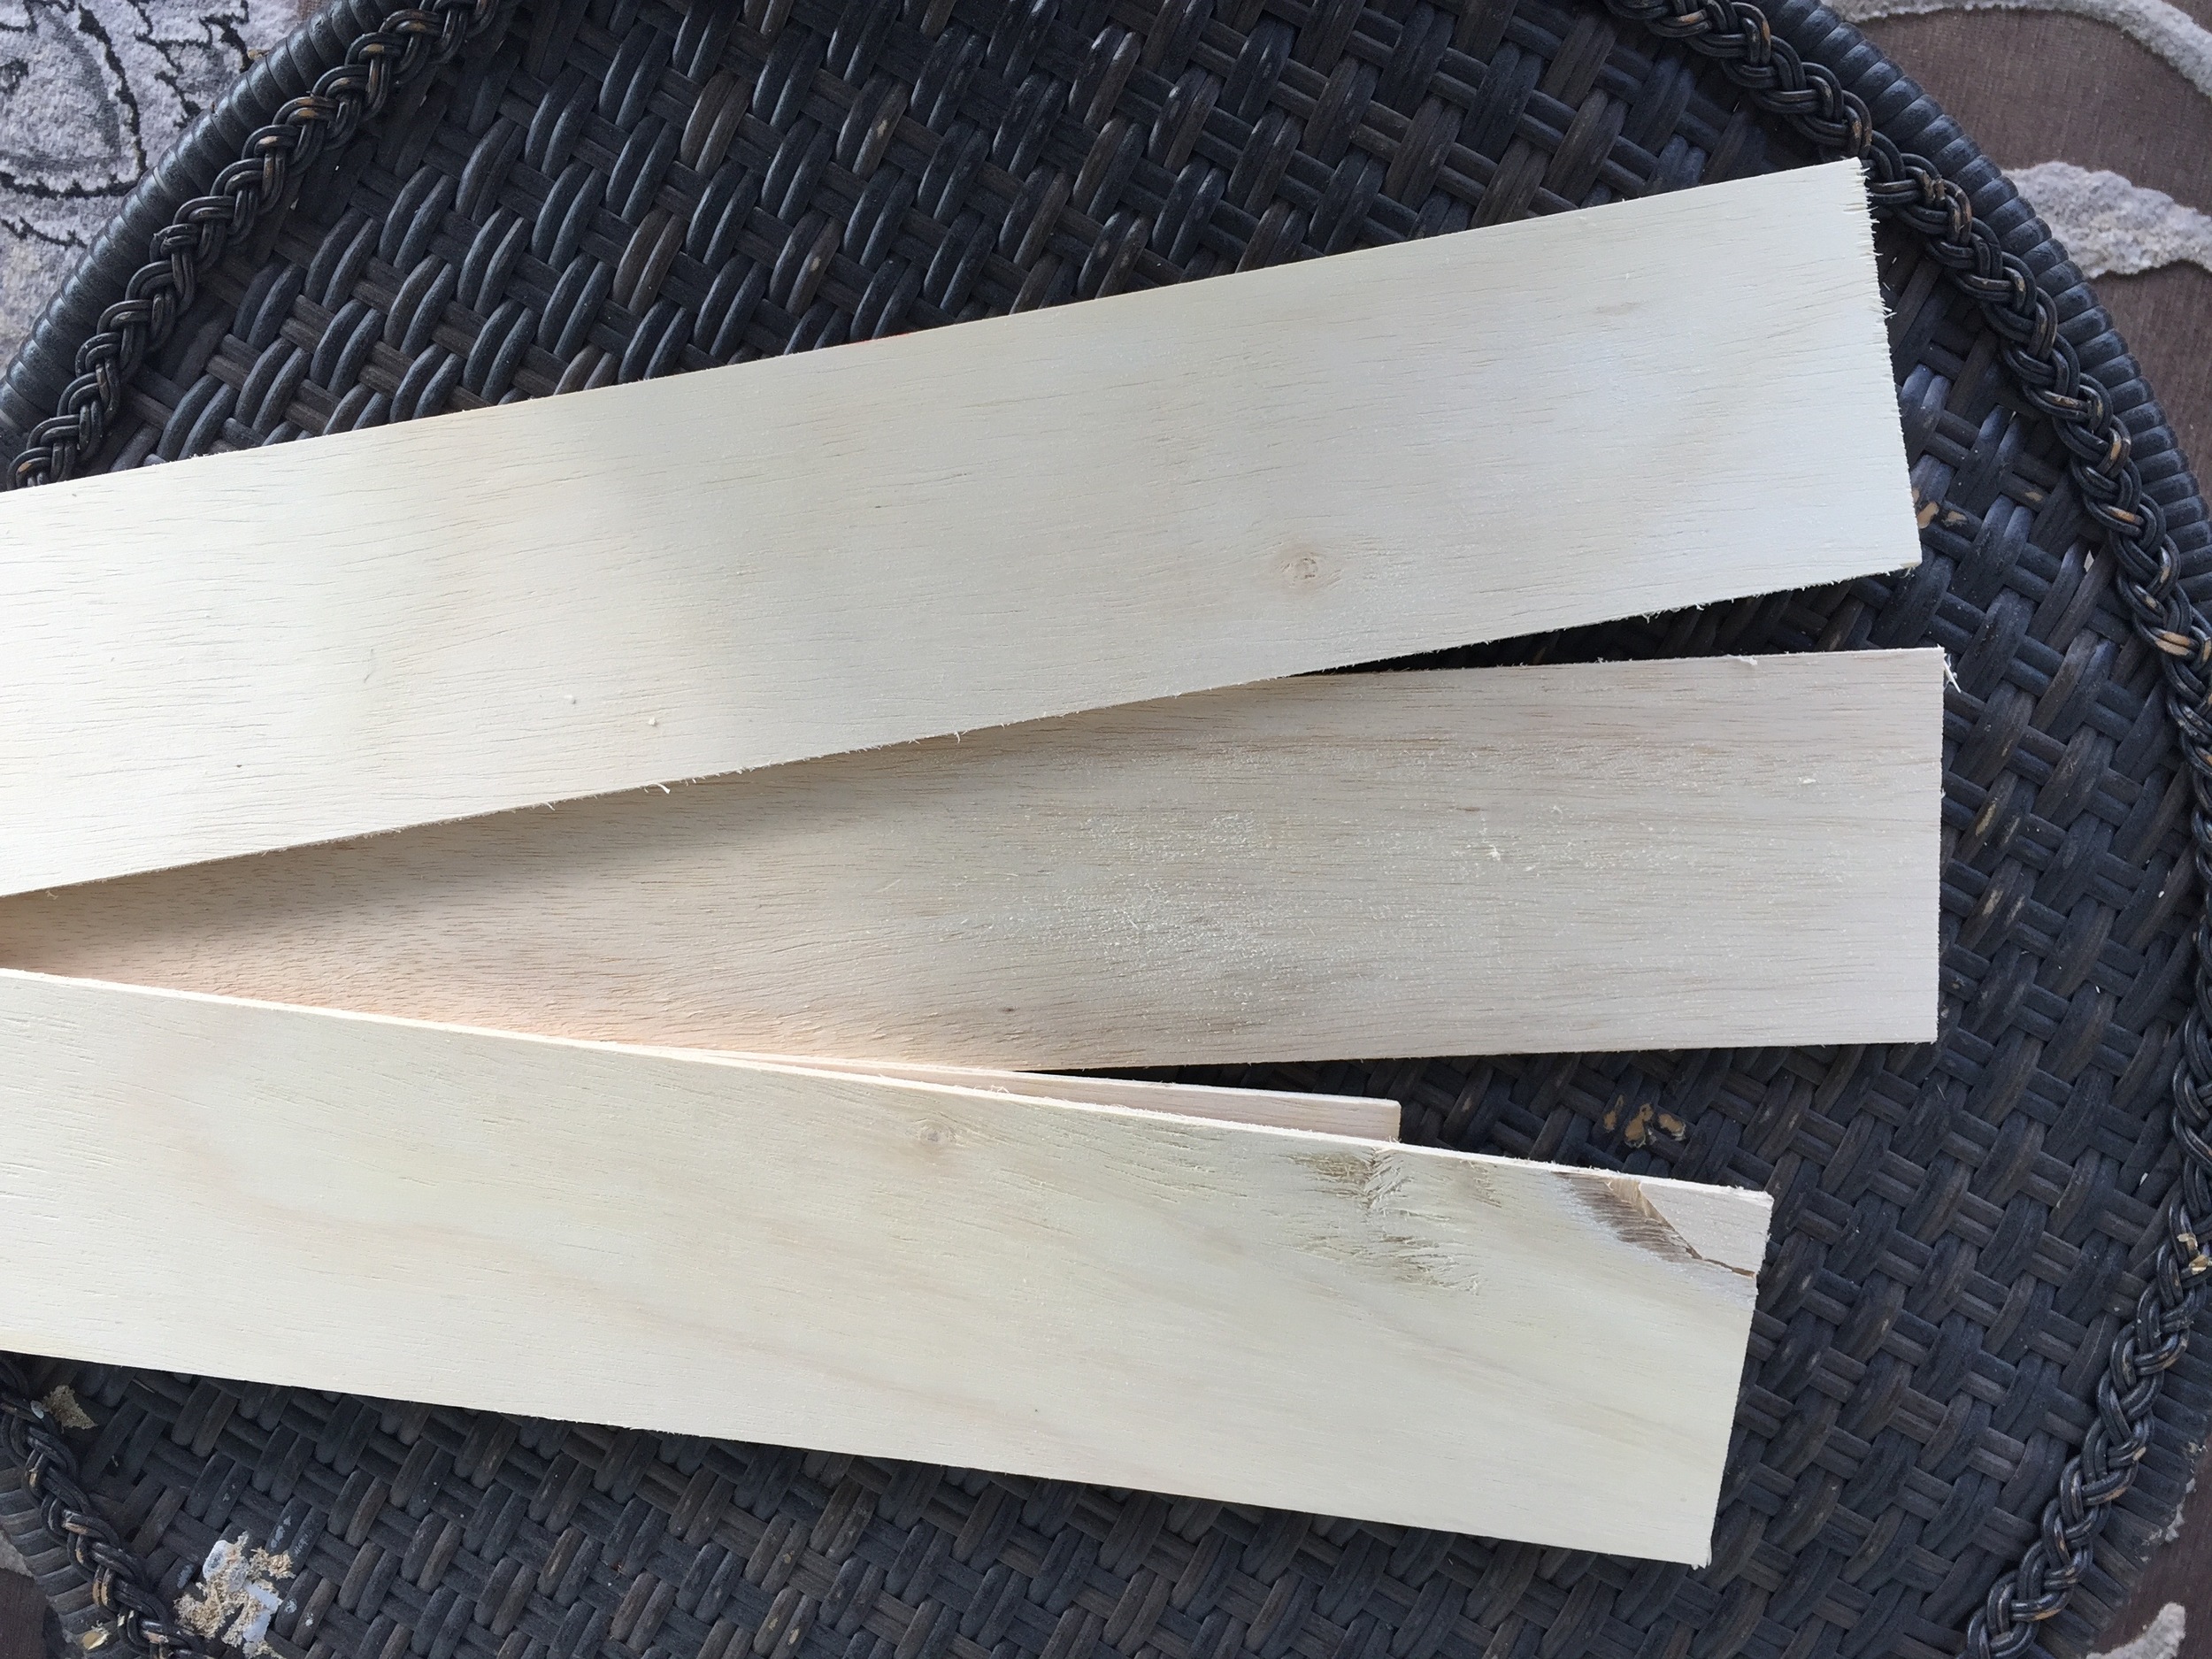
The 4 inch strips of underlayment
Luckily, the strips butted up perfectly to my current baseboards so I used it as a starting point. After checking that everything was level, I attached the plank using a brad nailer.
Bad photo warning! Before I start, I want to apologize for the photos. Because there is no natural light anywhere near the space, I was forced to shoot with the light on. It's also such a tight space that I had to use my iphone for most pics. :-(

That poor level... it looks terrible but it still works!
Next, I set a piece of base cap on the bottom strip (as a spacer) and attached the next plank on the wall.

I repeated this until all the planks were on the wall. Now I'm sure lots of you are wondering why I didn't just put the base cap on as I went. Honestly, the way my brain functions is to do one part at a time. Things just tend to work better if I can focus on the task at hand. Besides, the base caps had mitered angles and the planks were easy straight cuts.

I've been asked if there were snags? Not really. I wasn't sure what to do around the plumbing but figured out that I could hold a plank below the plumbing and mark the places that needed to be cut and that would work. And it did! A few seconds with the jigsaw and it was good to go.

After getting all of the planks on, I added the base cap. Helpful hint when it comes to cutting the base cap. Place a pencil under the base cap to keep it "flat". Trust me - this will save your sanity (it took me a bit to figure out why my cuts weren't lining up).

placing a pencil under the base cap will save your life! of course don't put it where it will get cut (I took this pic to show an example and didn't realize where it lined up).

After caulking, filling and sanding I primed and painted the wainscoting.

And that's pretty much what it looked like for several months. I couldn't put the top piece of base cap on until the wallpaper was up. Those of you who have been following the powder bath journey know that I had a bit of a wallpaper debacle. For those who haven't this is what I had to deal with...
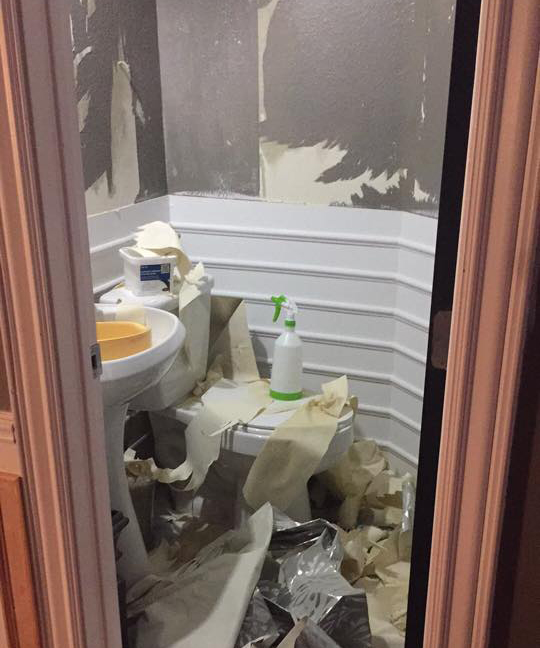
This is what happens when you don't buy a sample of the paper before buying it. very expensive lesson learned!
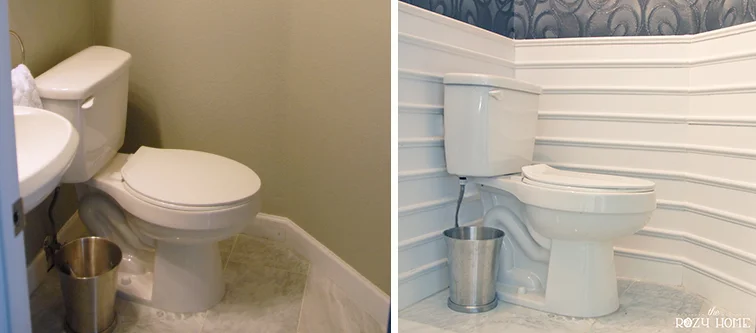
After having finally figured out the wallpaper I was able to add the top piece. And the final look?


And the before and after side-by-side:
Now I know there are those of you who are cursing me right now for only showing that little bit, but I can't show it all until the final reveal! :-) I promise, though, that it's coming. All I lack is the crown moulding and, depending on how the week goes, that should be wrapped this weekend. Whoop whoop!!! Until then....
YOU MAY ALSO ENJOY:


