The Foyer Project
/
One of my biggest projects last year was the foyer. I blogged pieces along the way but decided to do an all-in-one posting for all of you. :-)
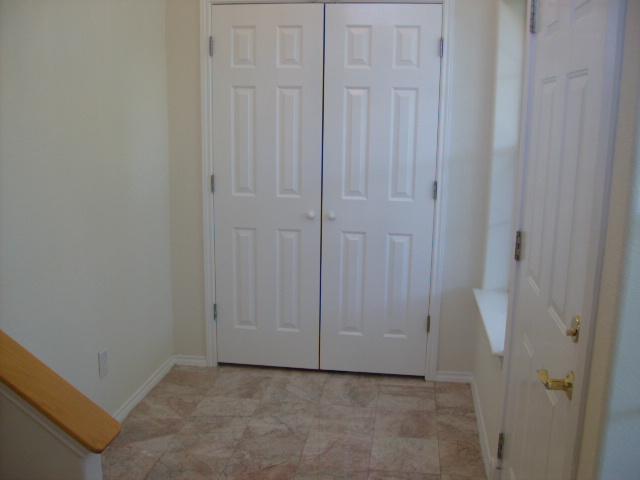
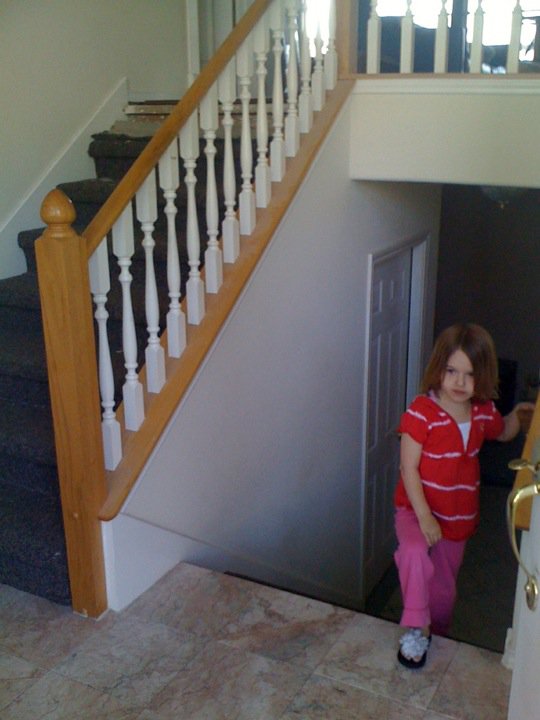
THE BEFORES...

THE PROCESS...

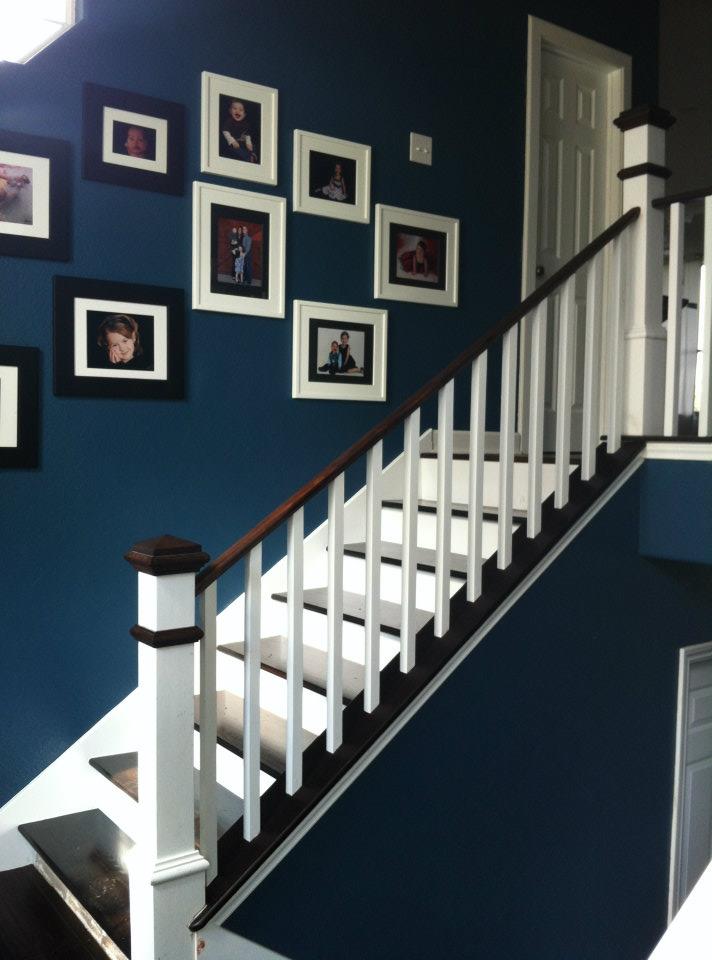

Step 7: After a summer in Europe and falling in love with picture frame moulding, change board and batten to picture frame moulding.

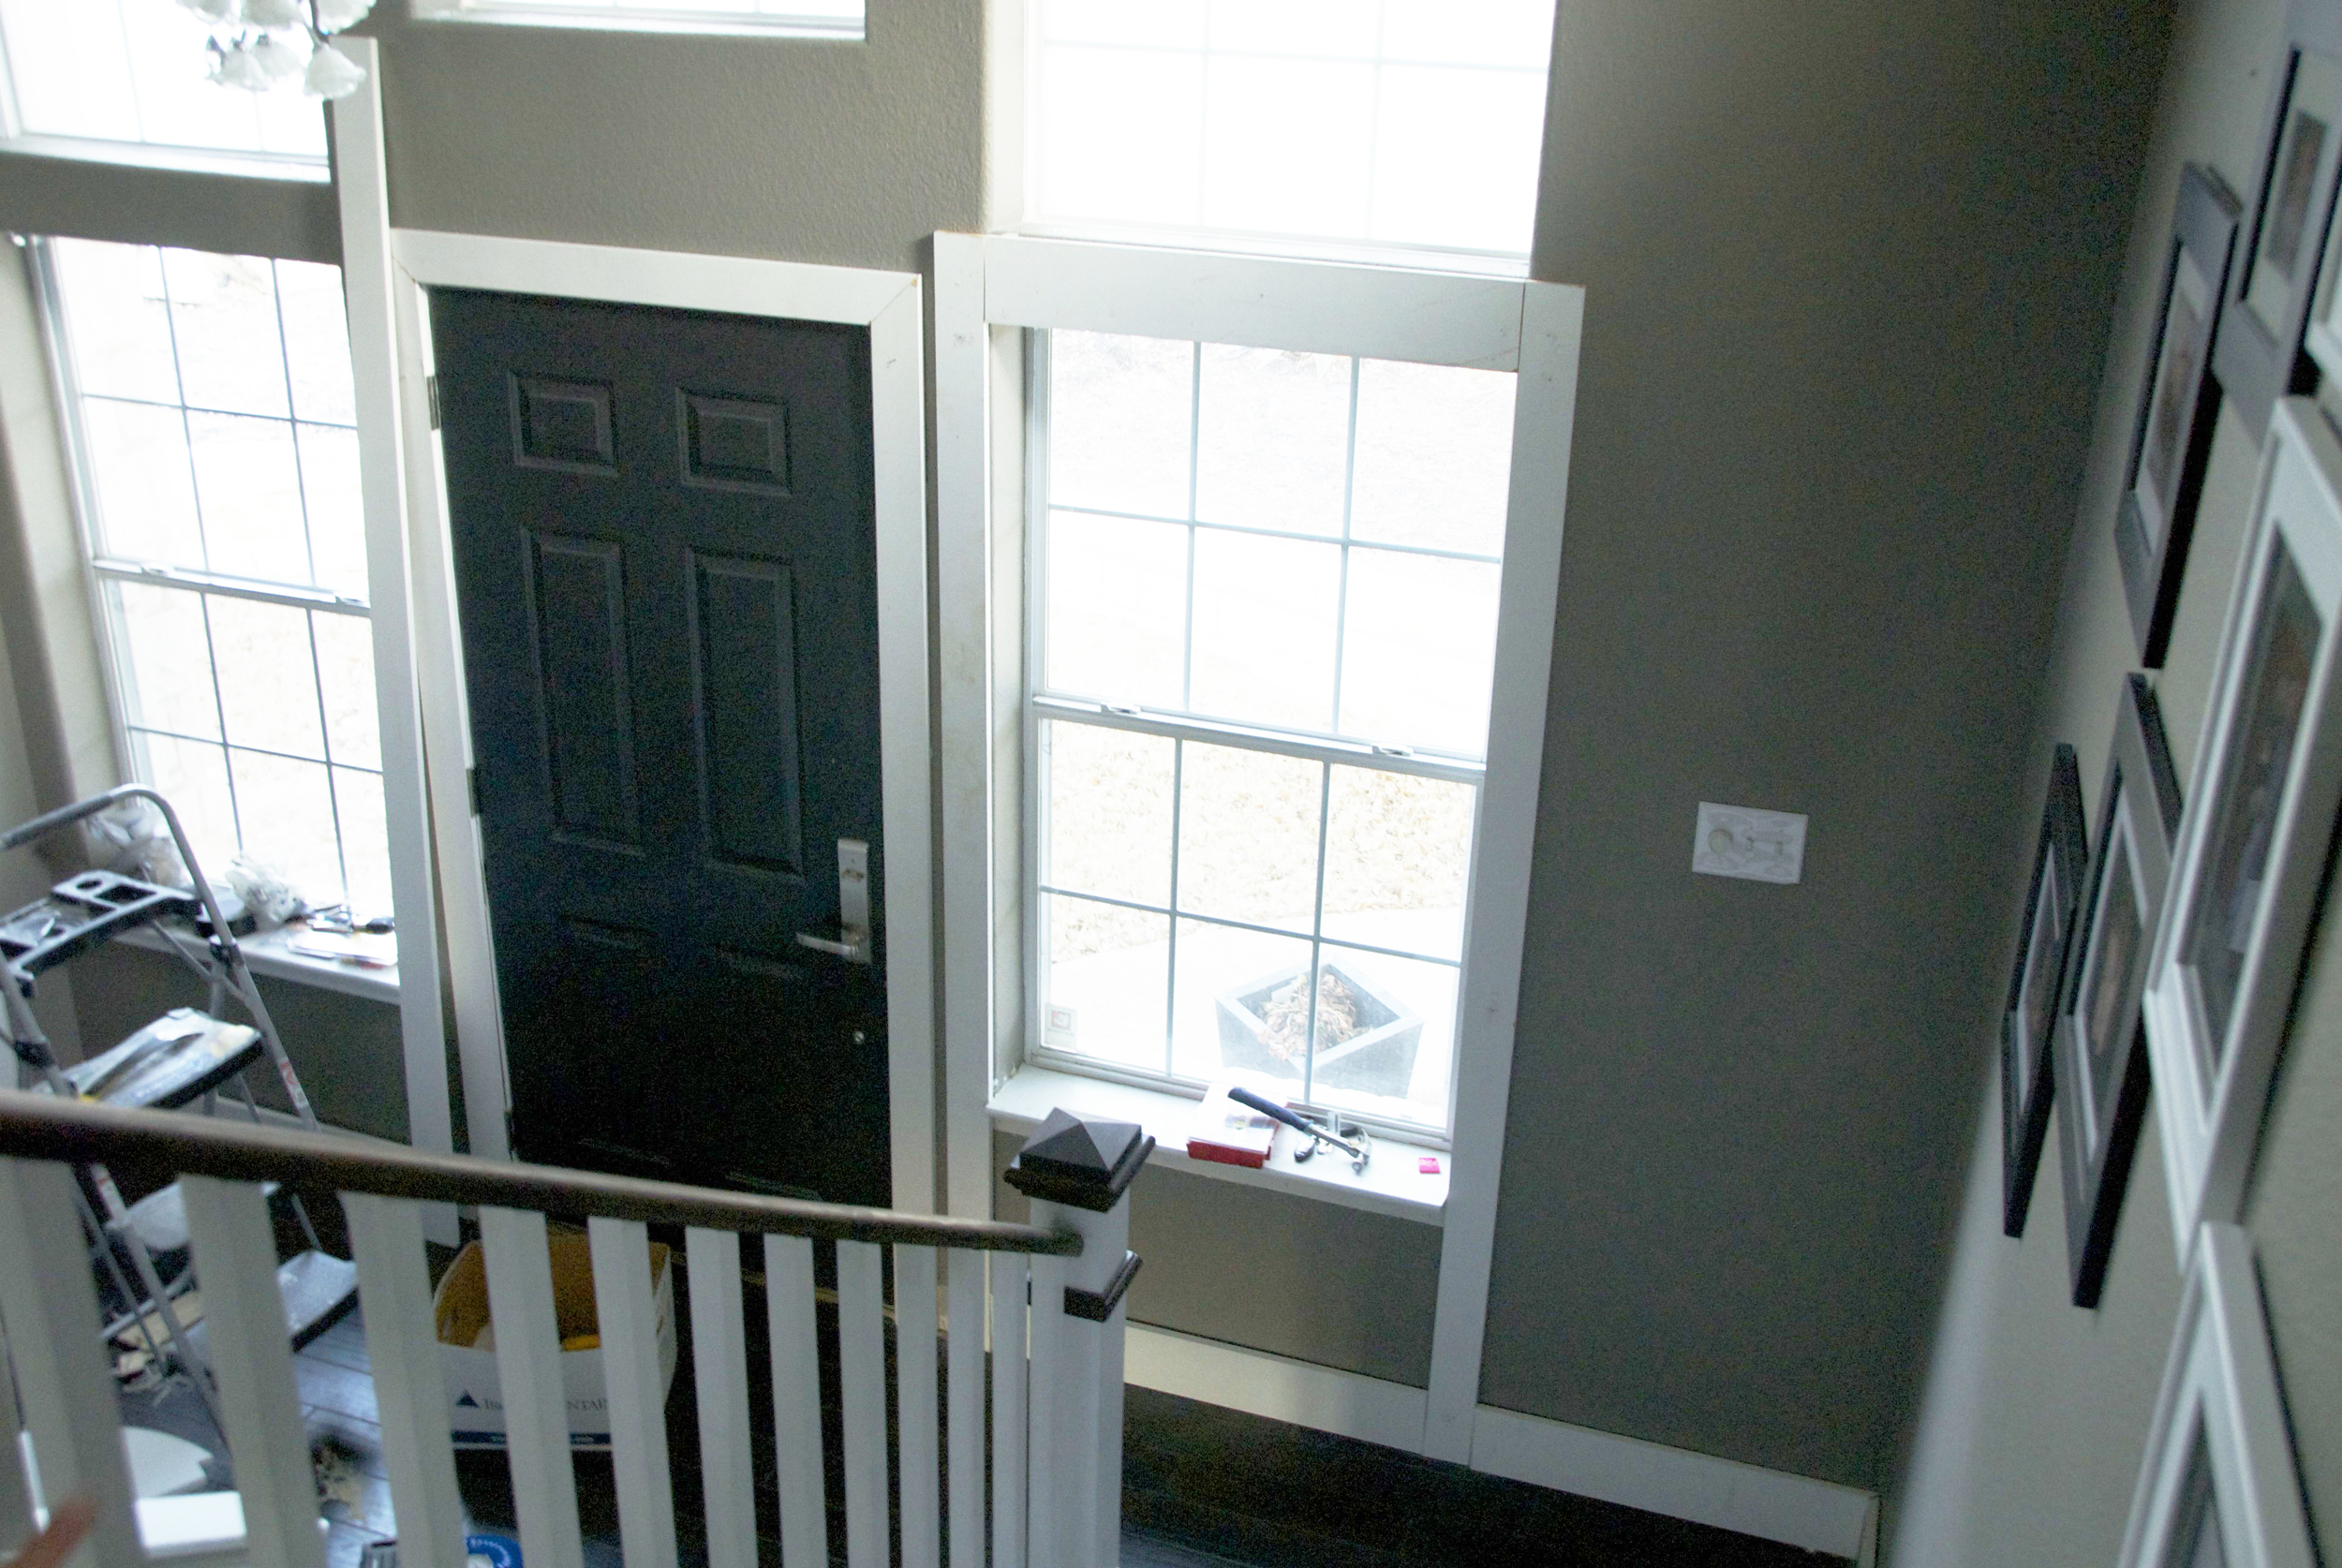
Step 8: Make the trim around the windows are nice as that along the stairs. See that tutorial here

Step 8: Make the trim around the windows are nice as that along the stairs.
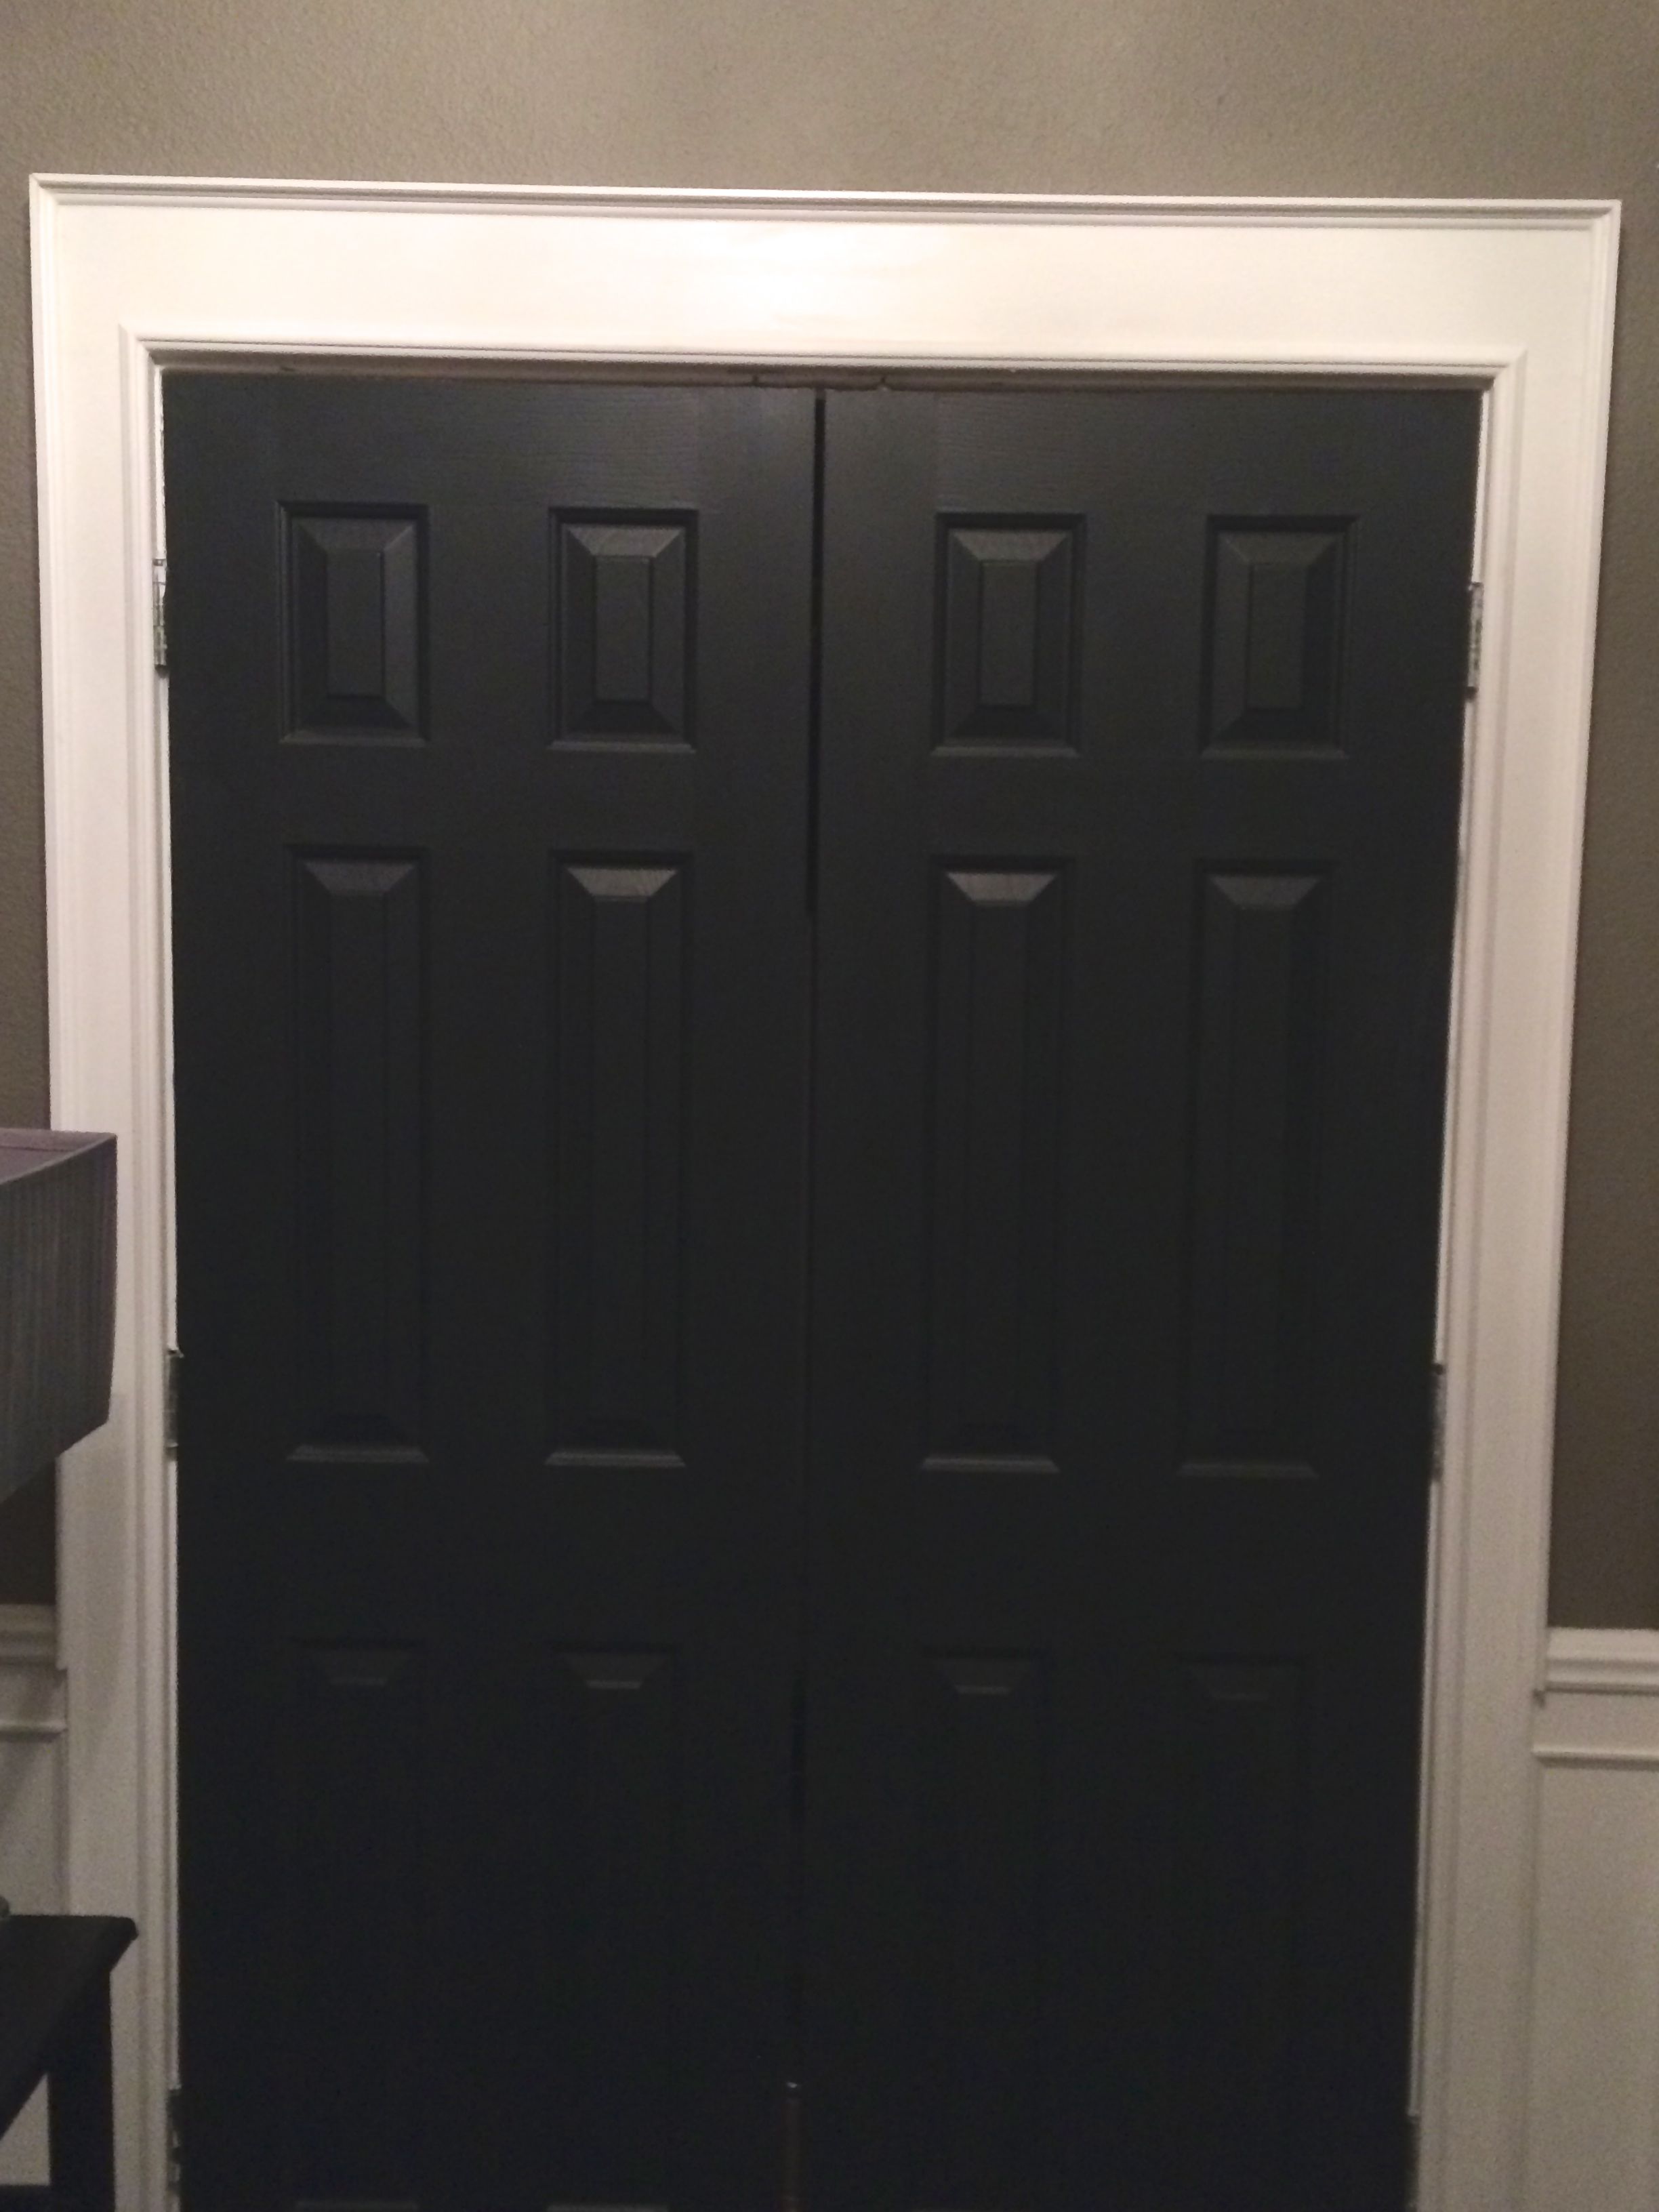
Step 9: Spruce up the trim around the doors.
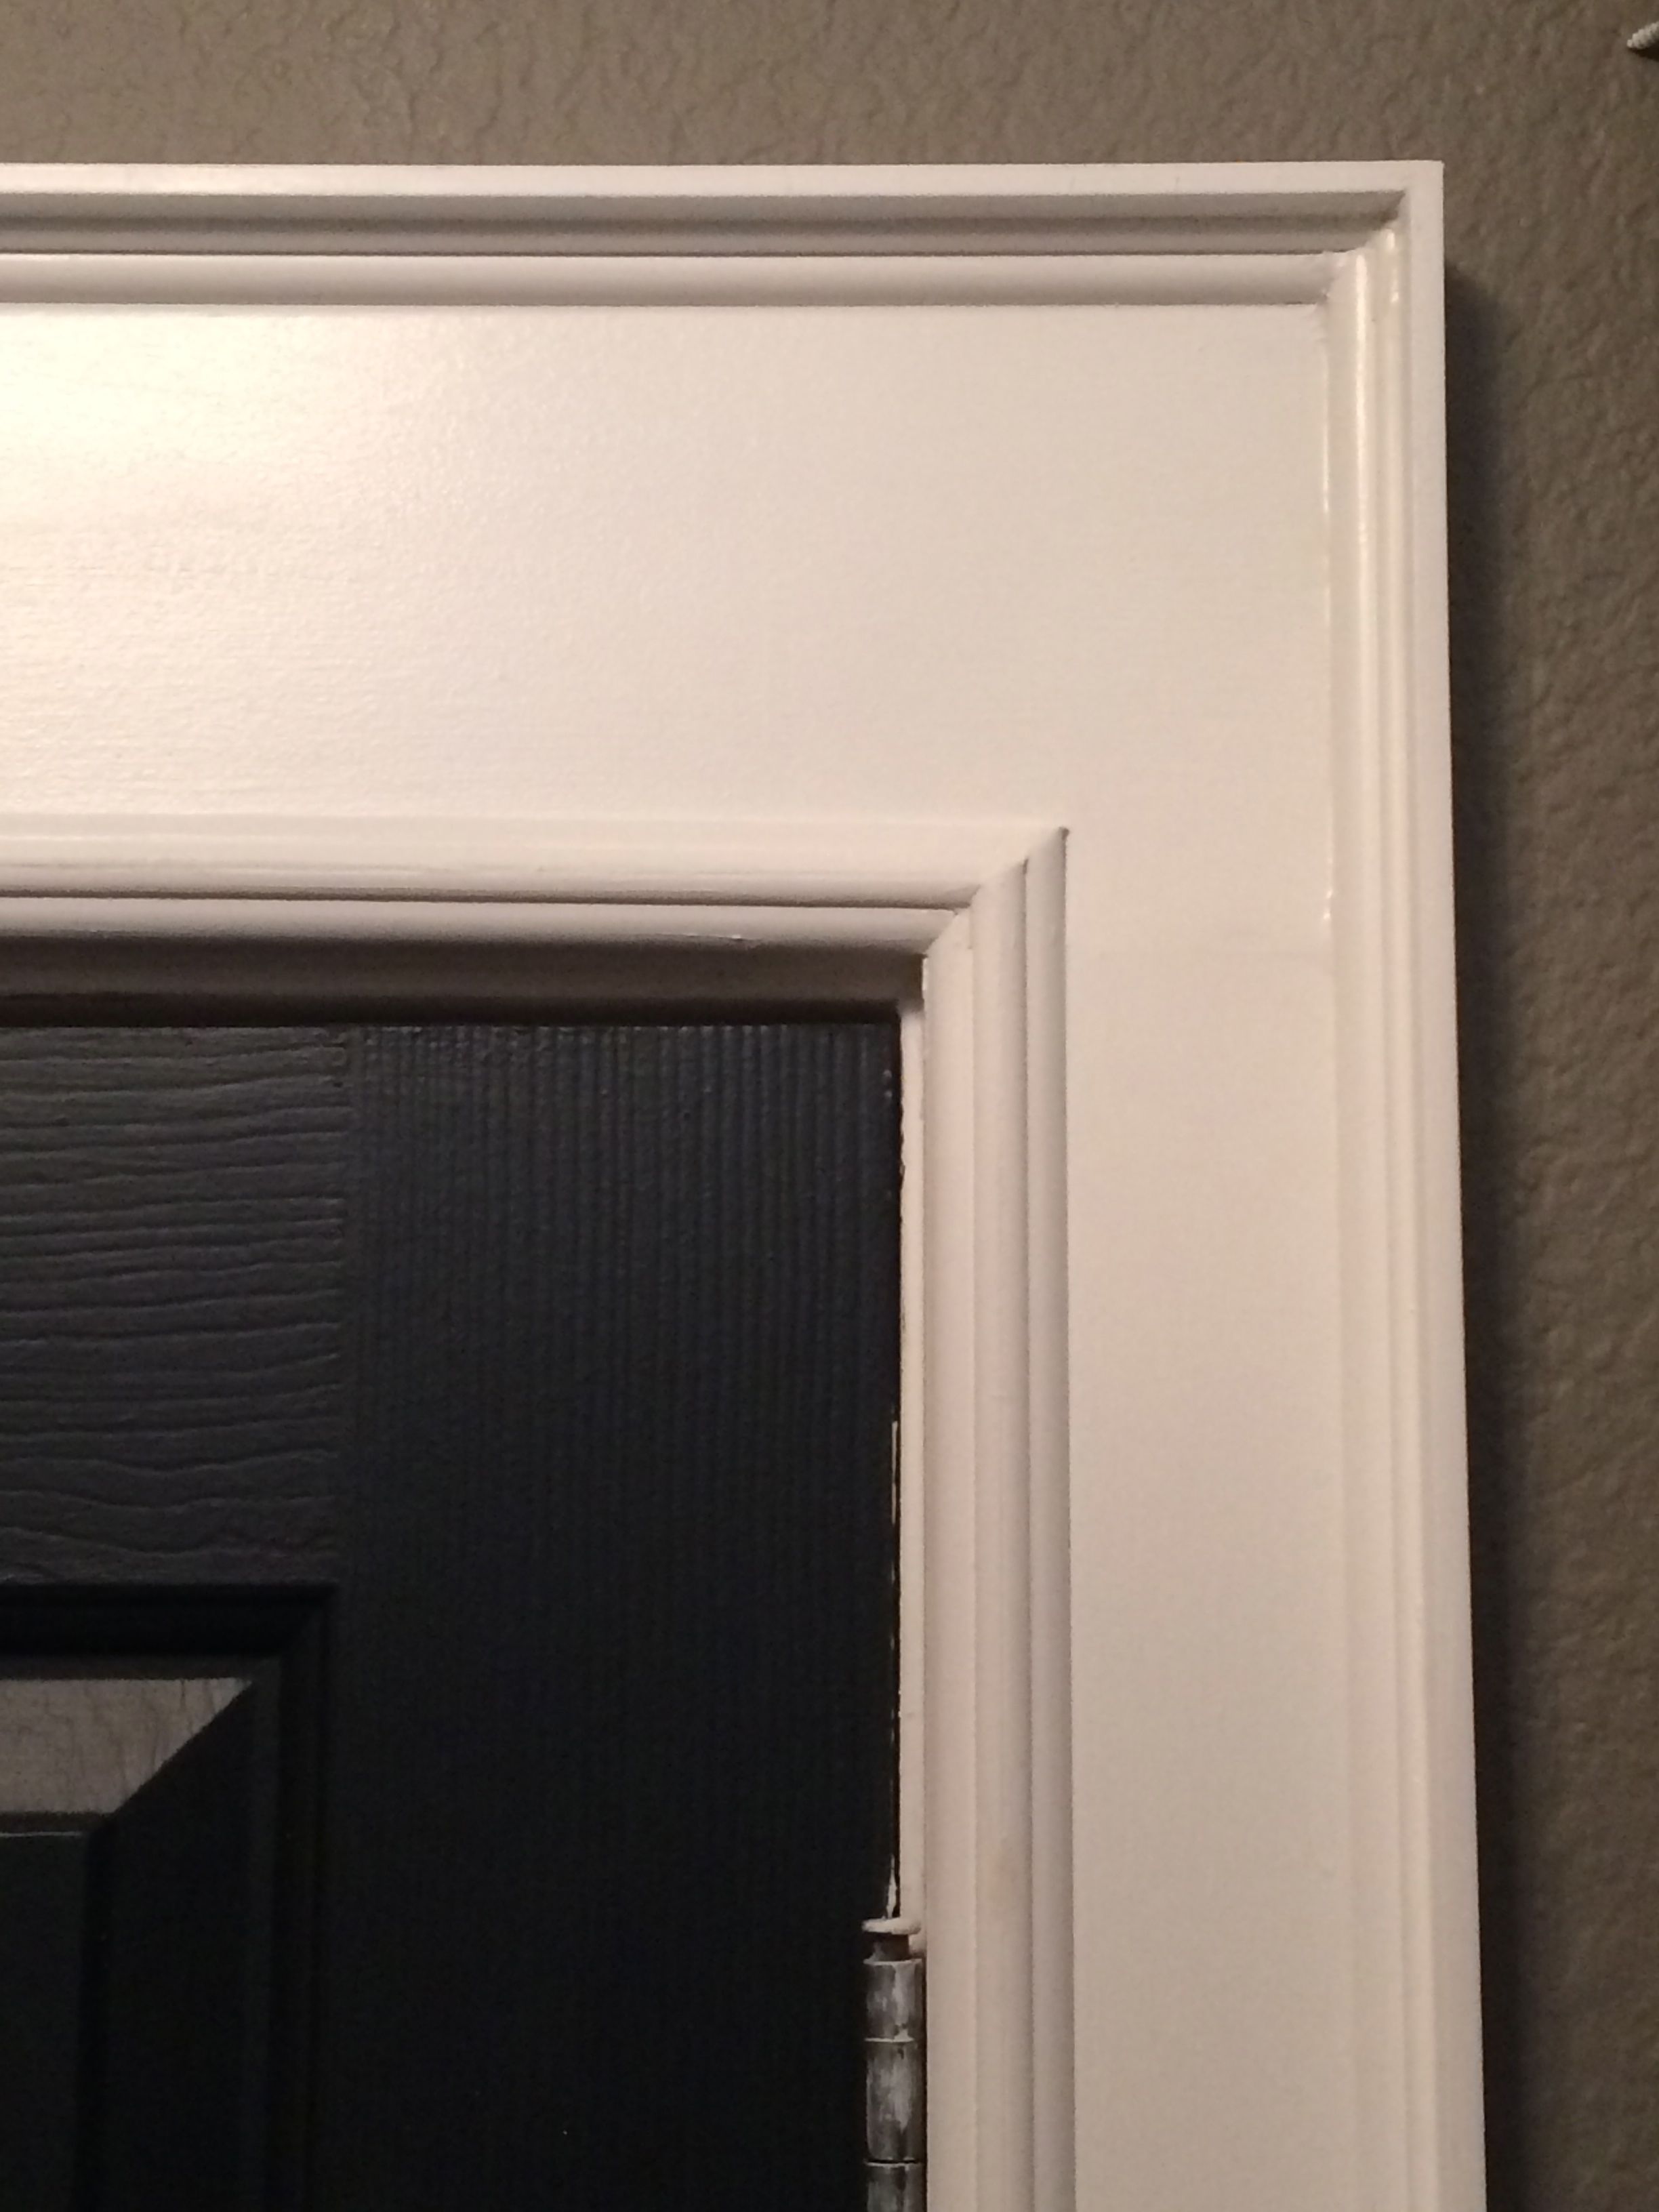
Step 9: Spruce up the trim around the doors.
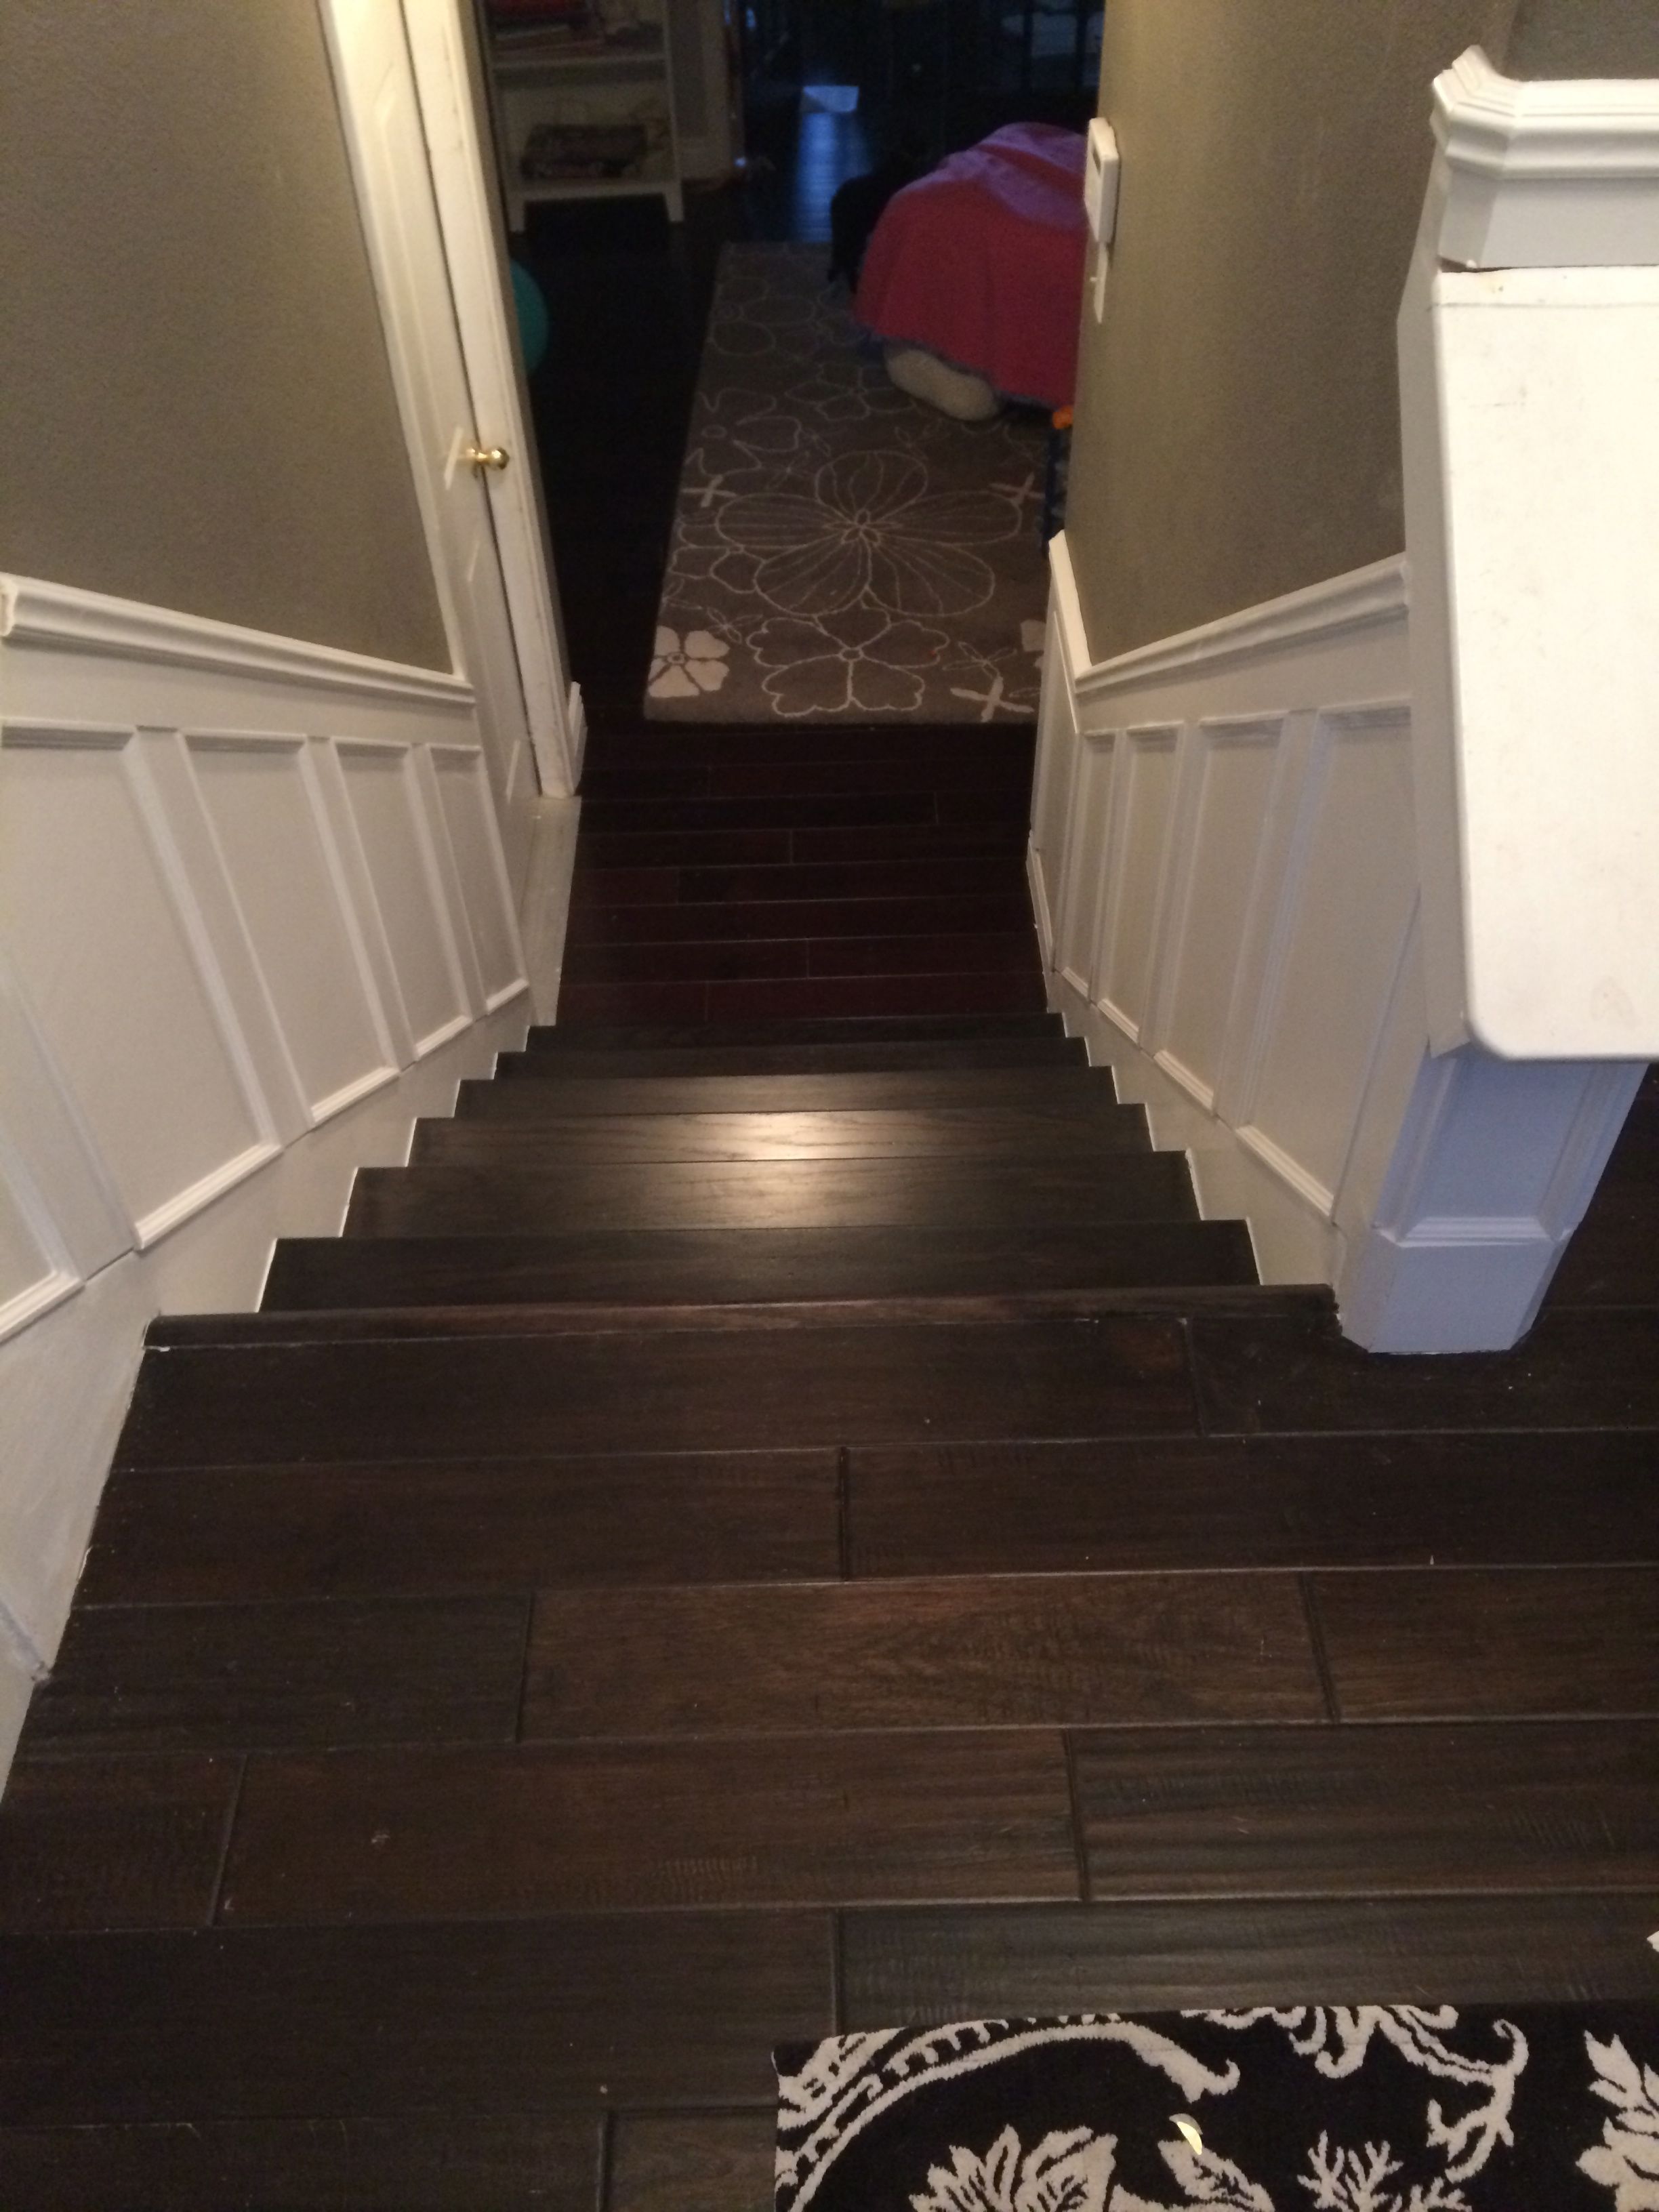
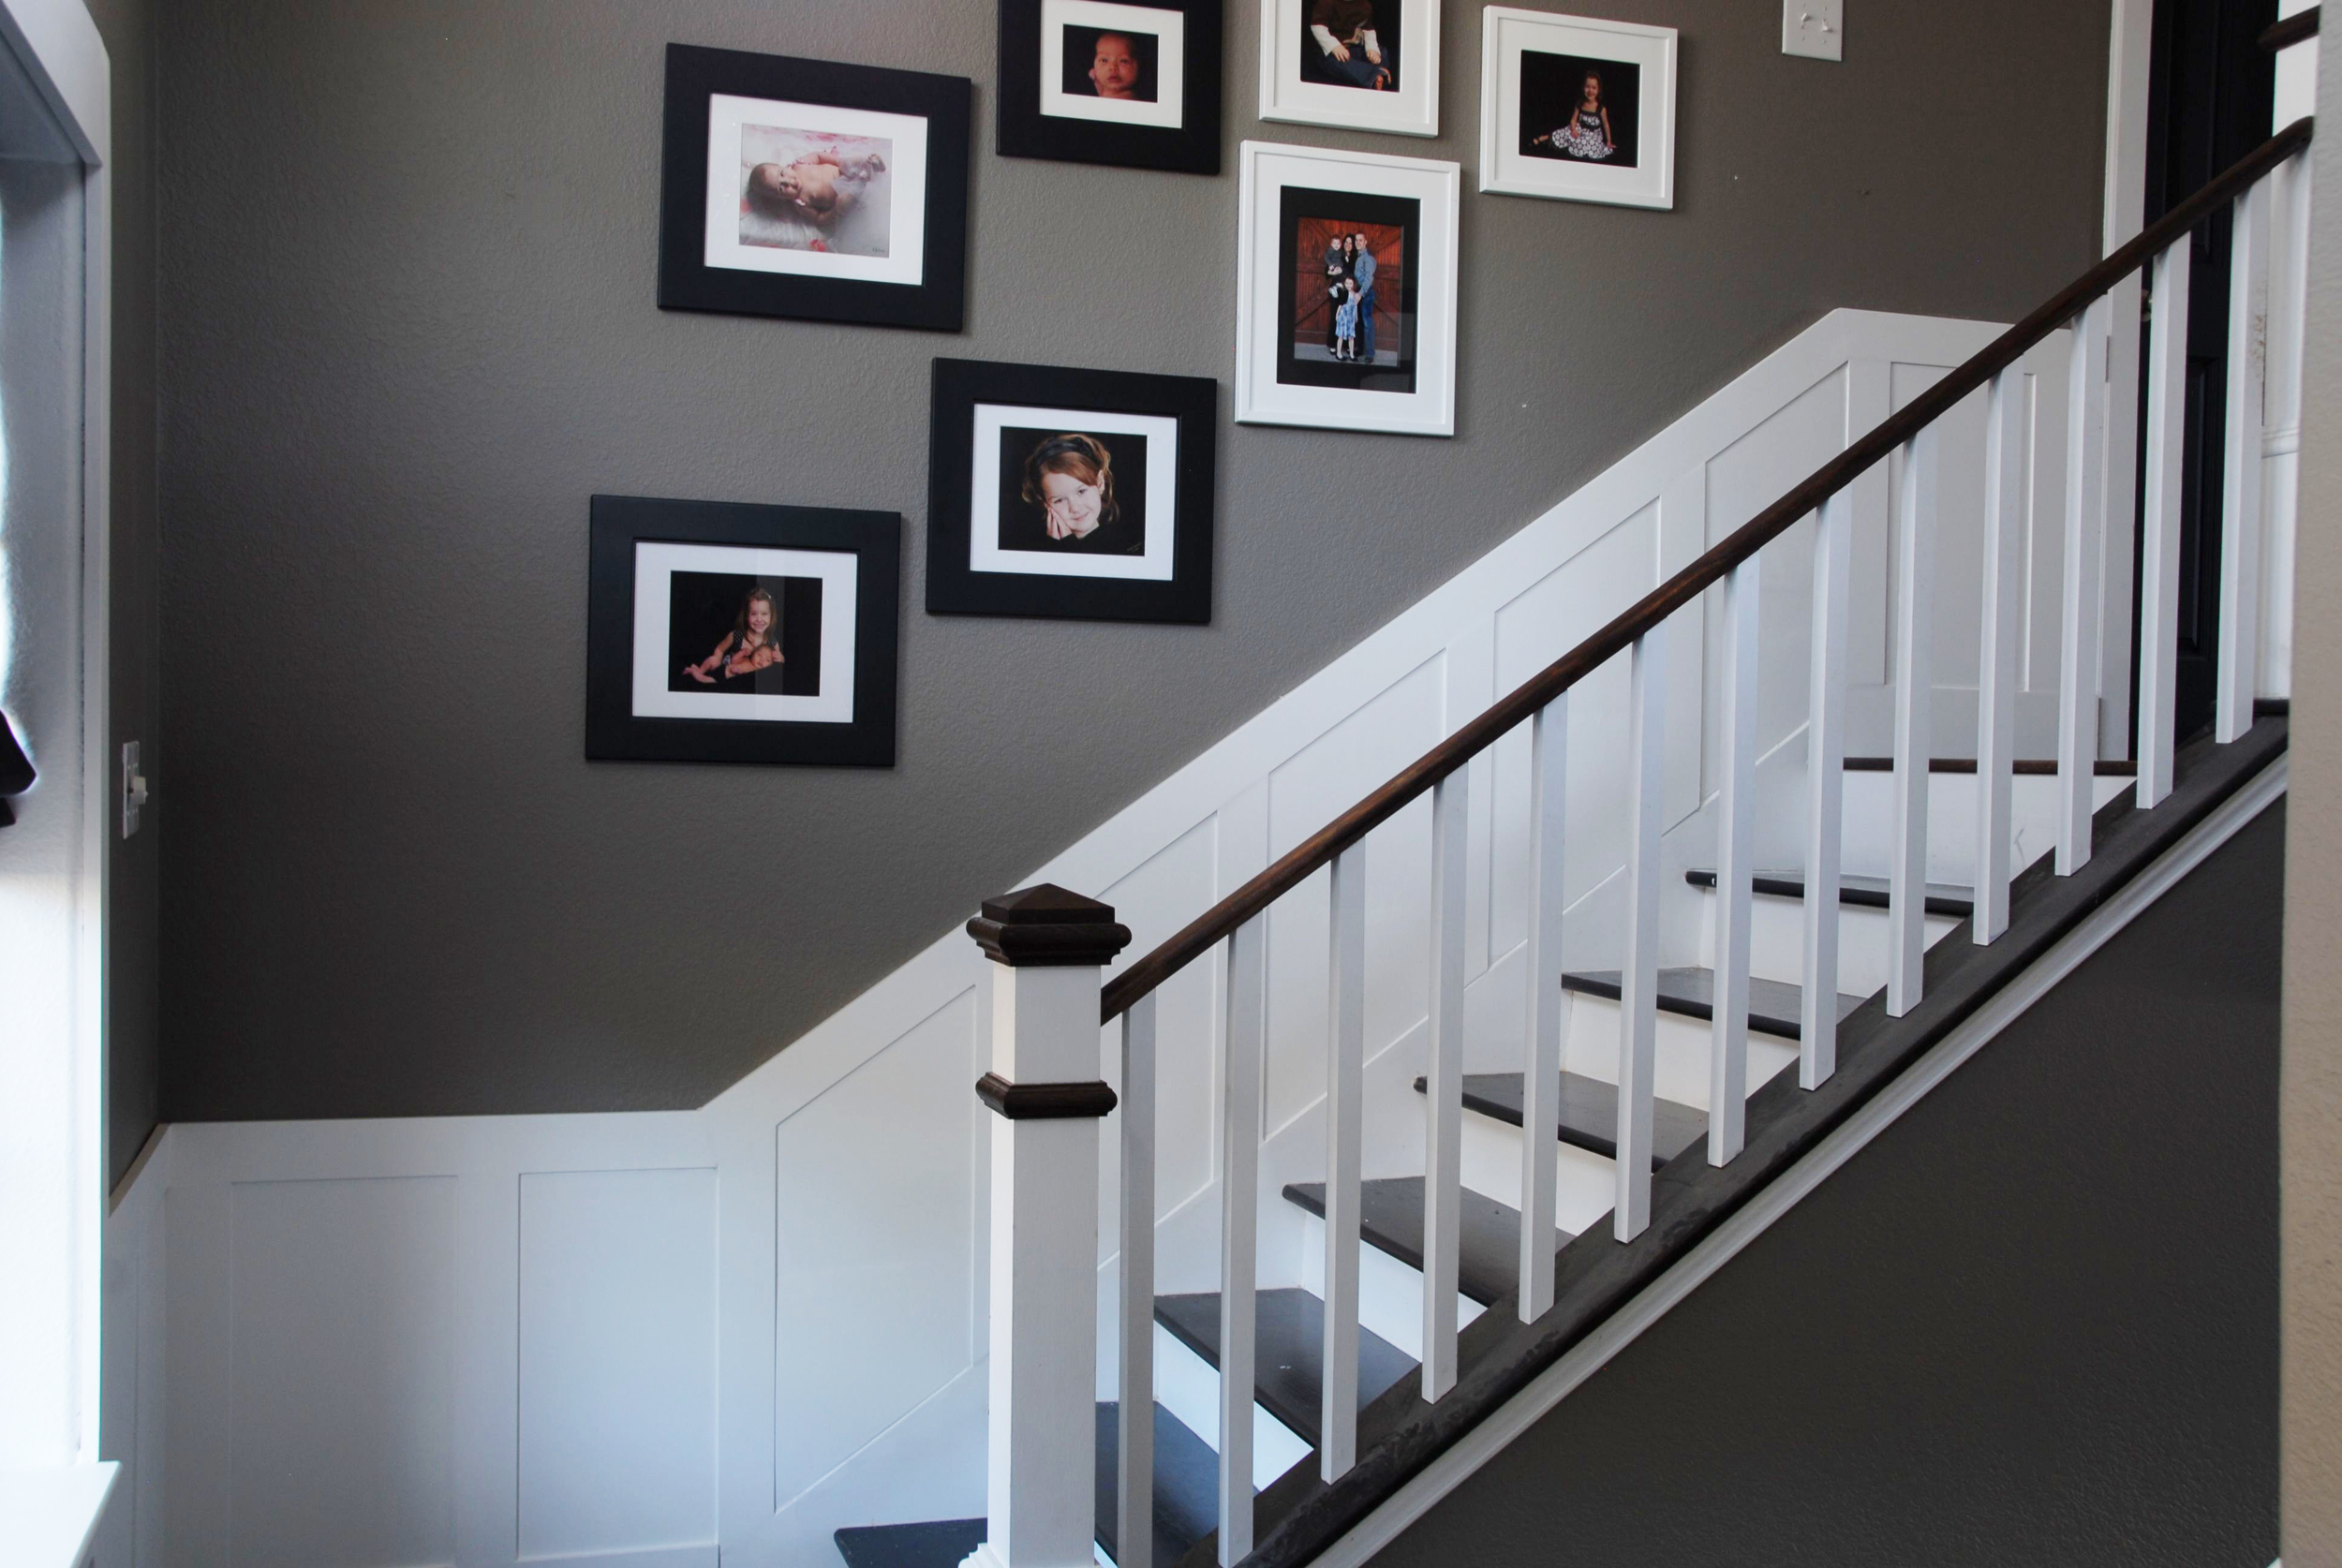
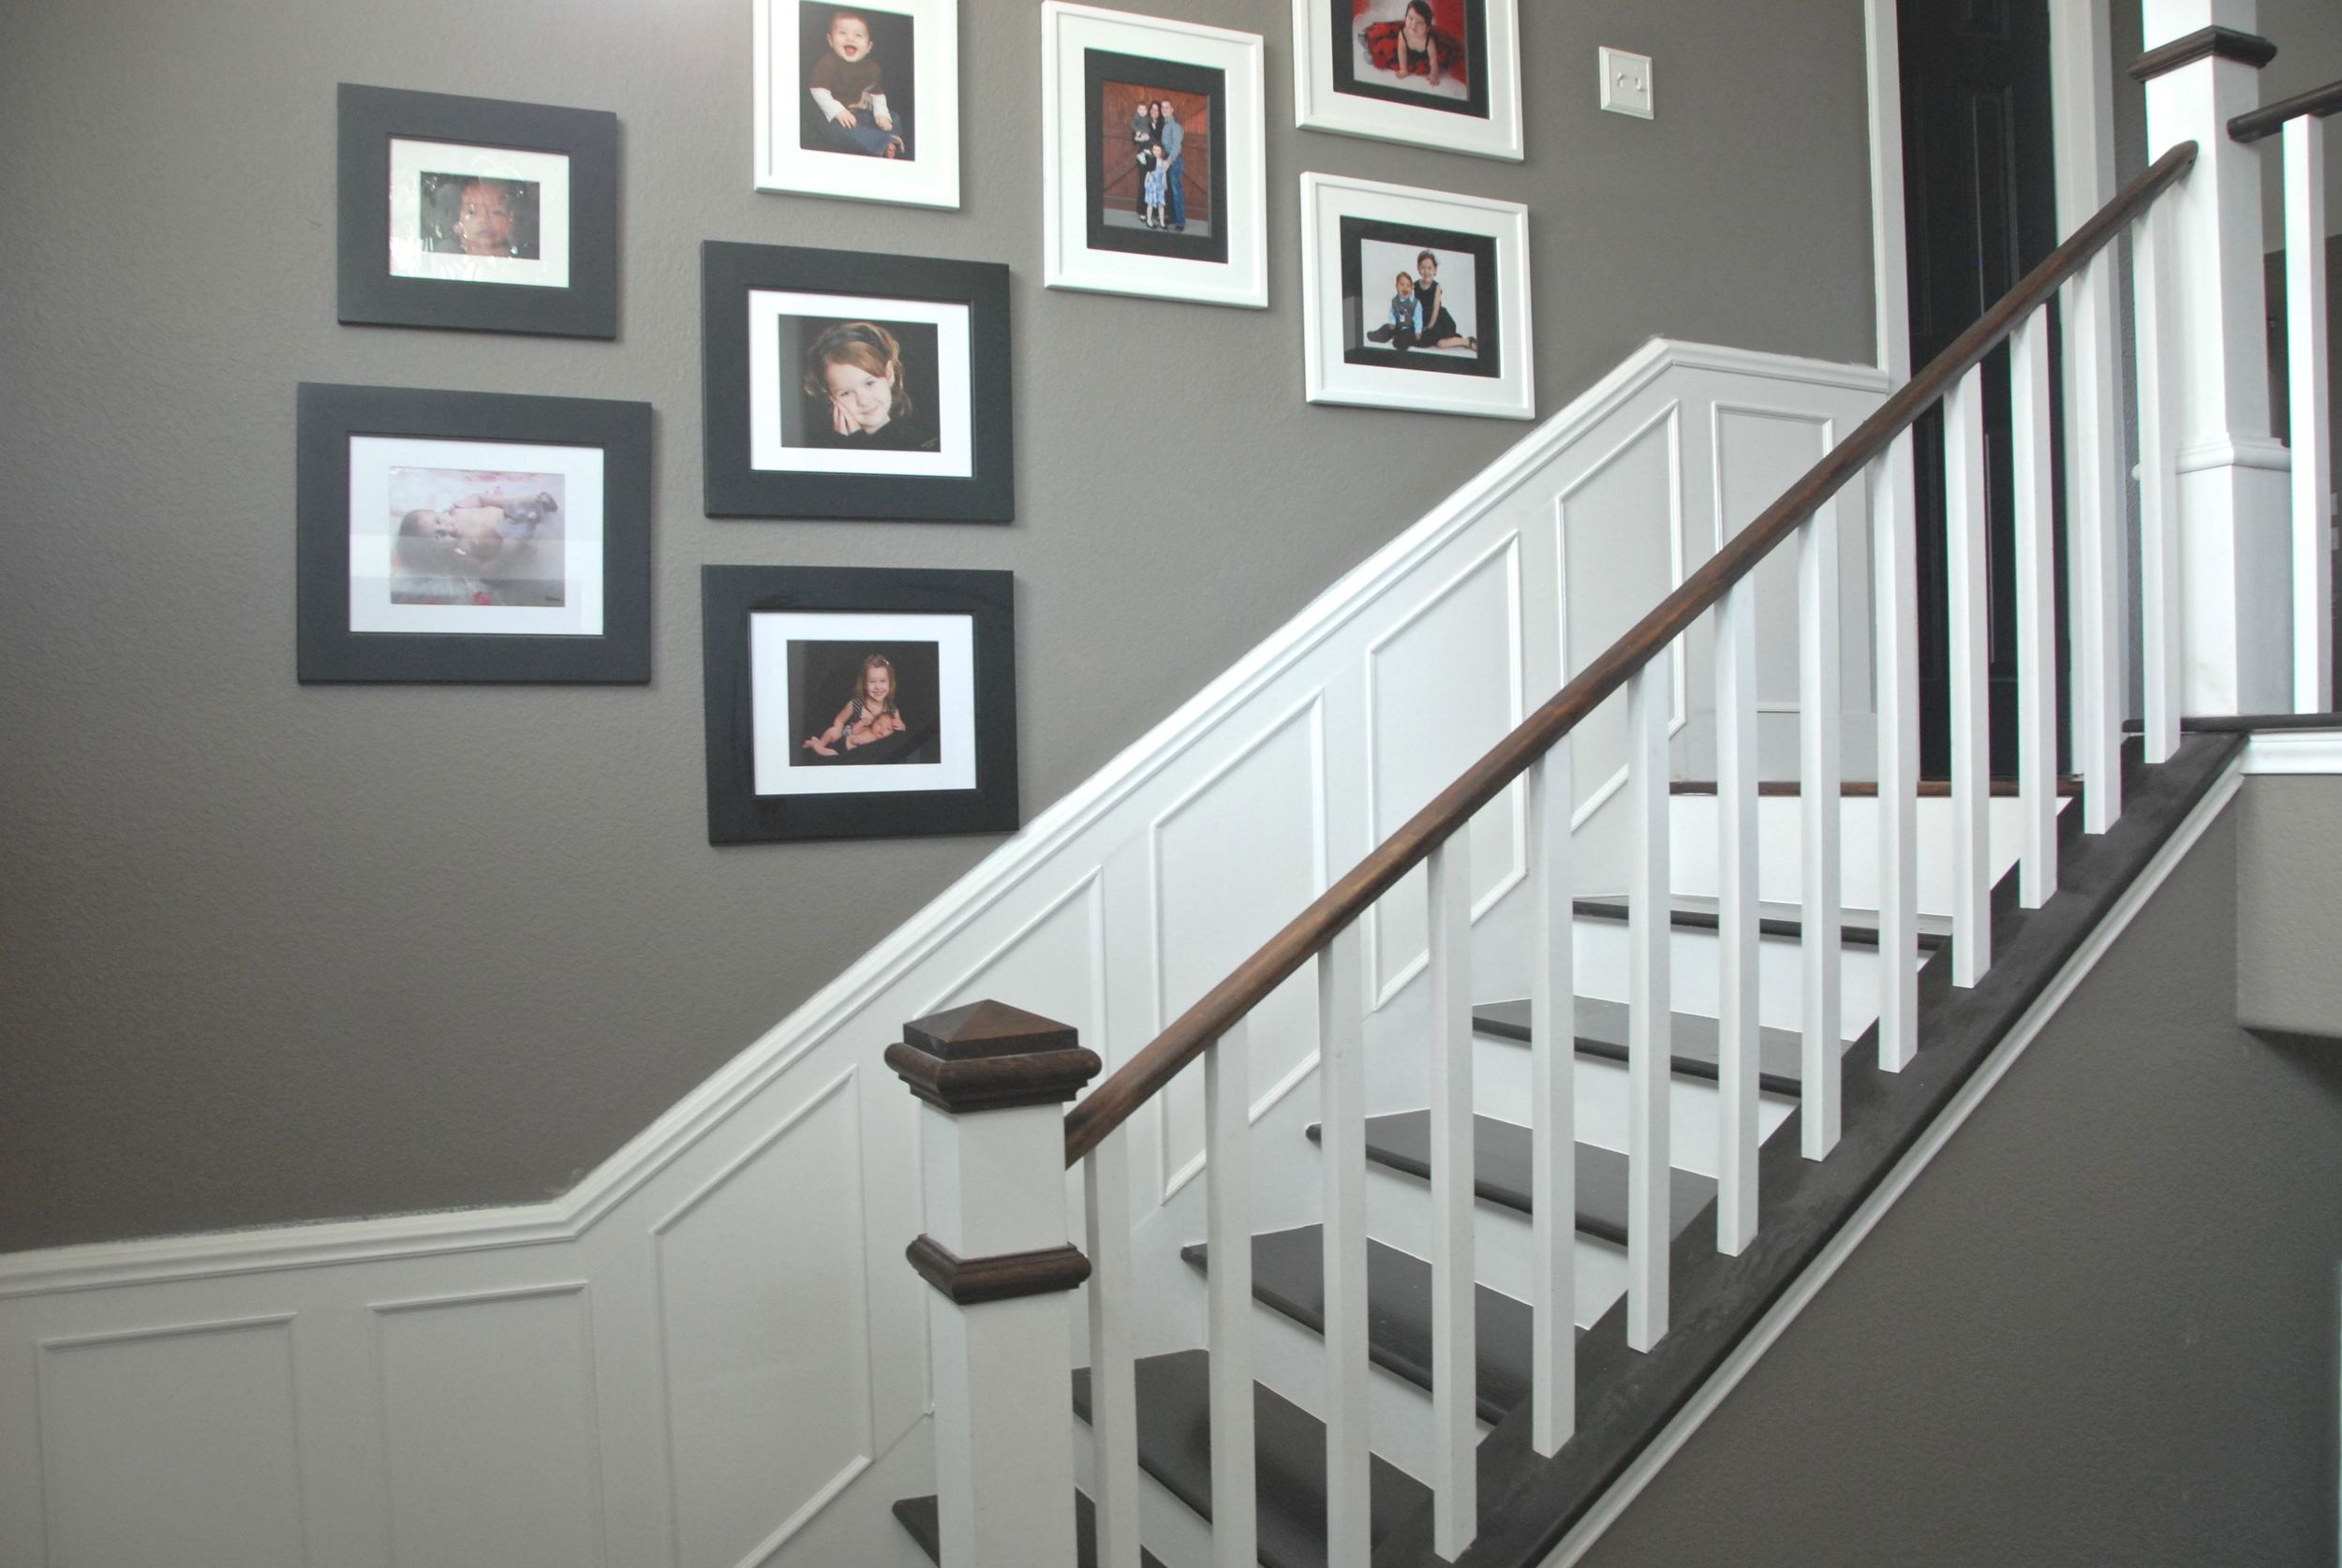
Step 10: Continue the wainscoting from the foyer to the lower stairs.
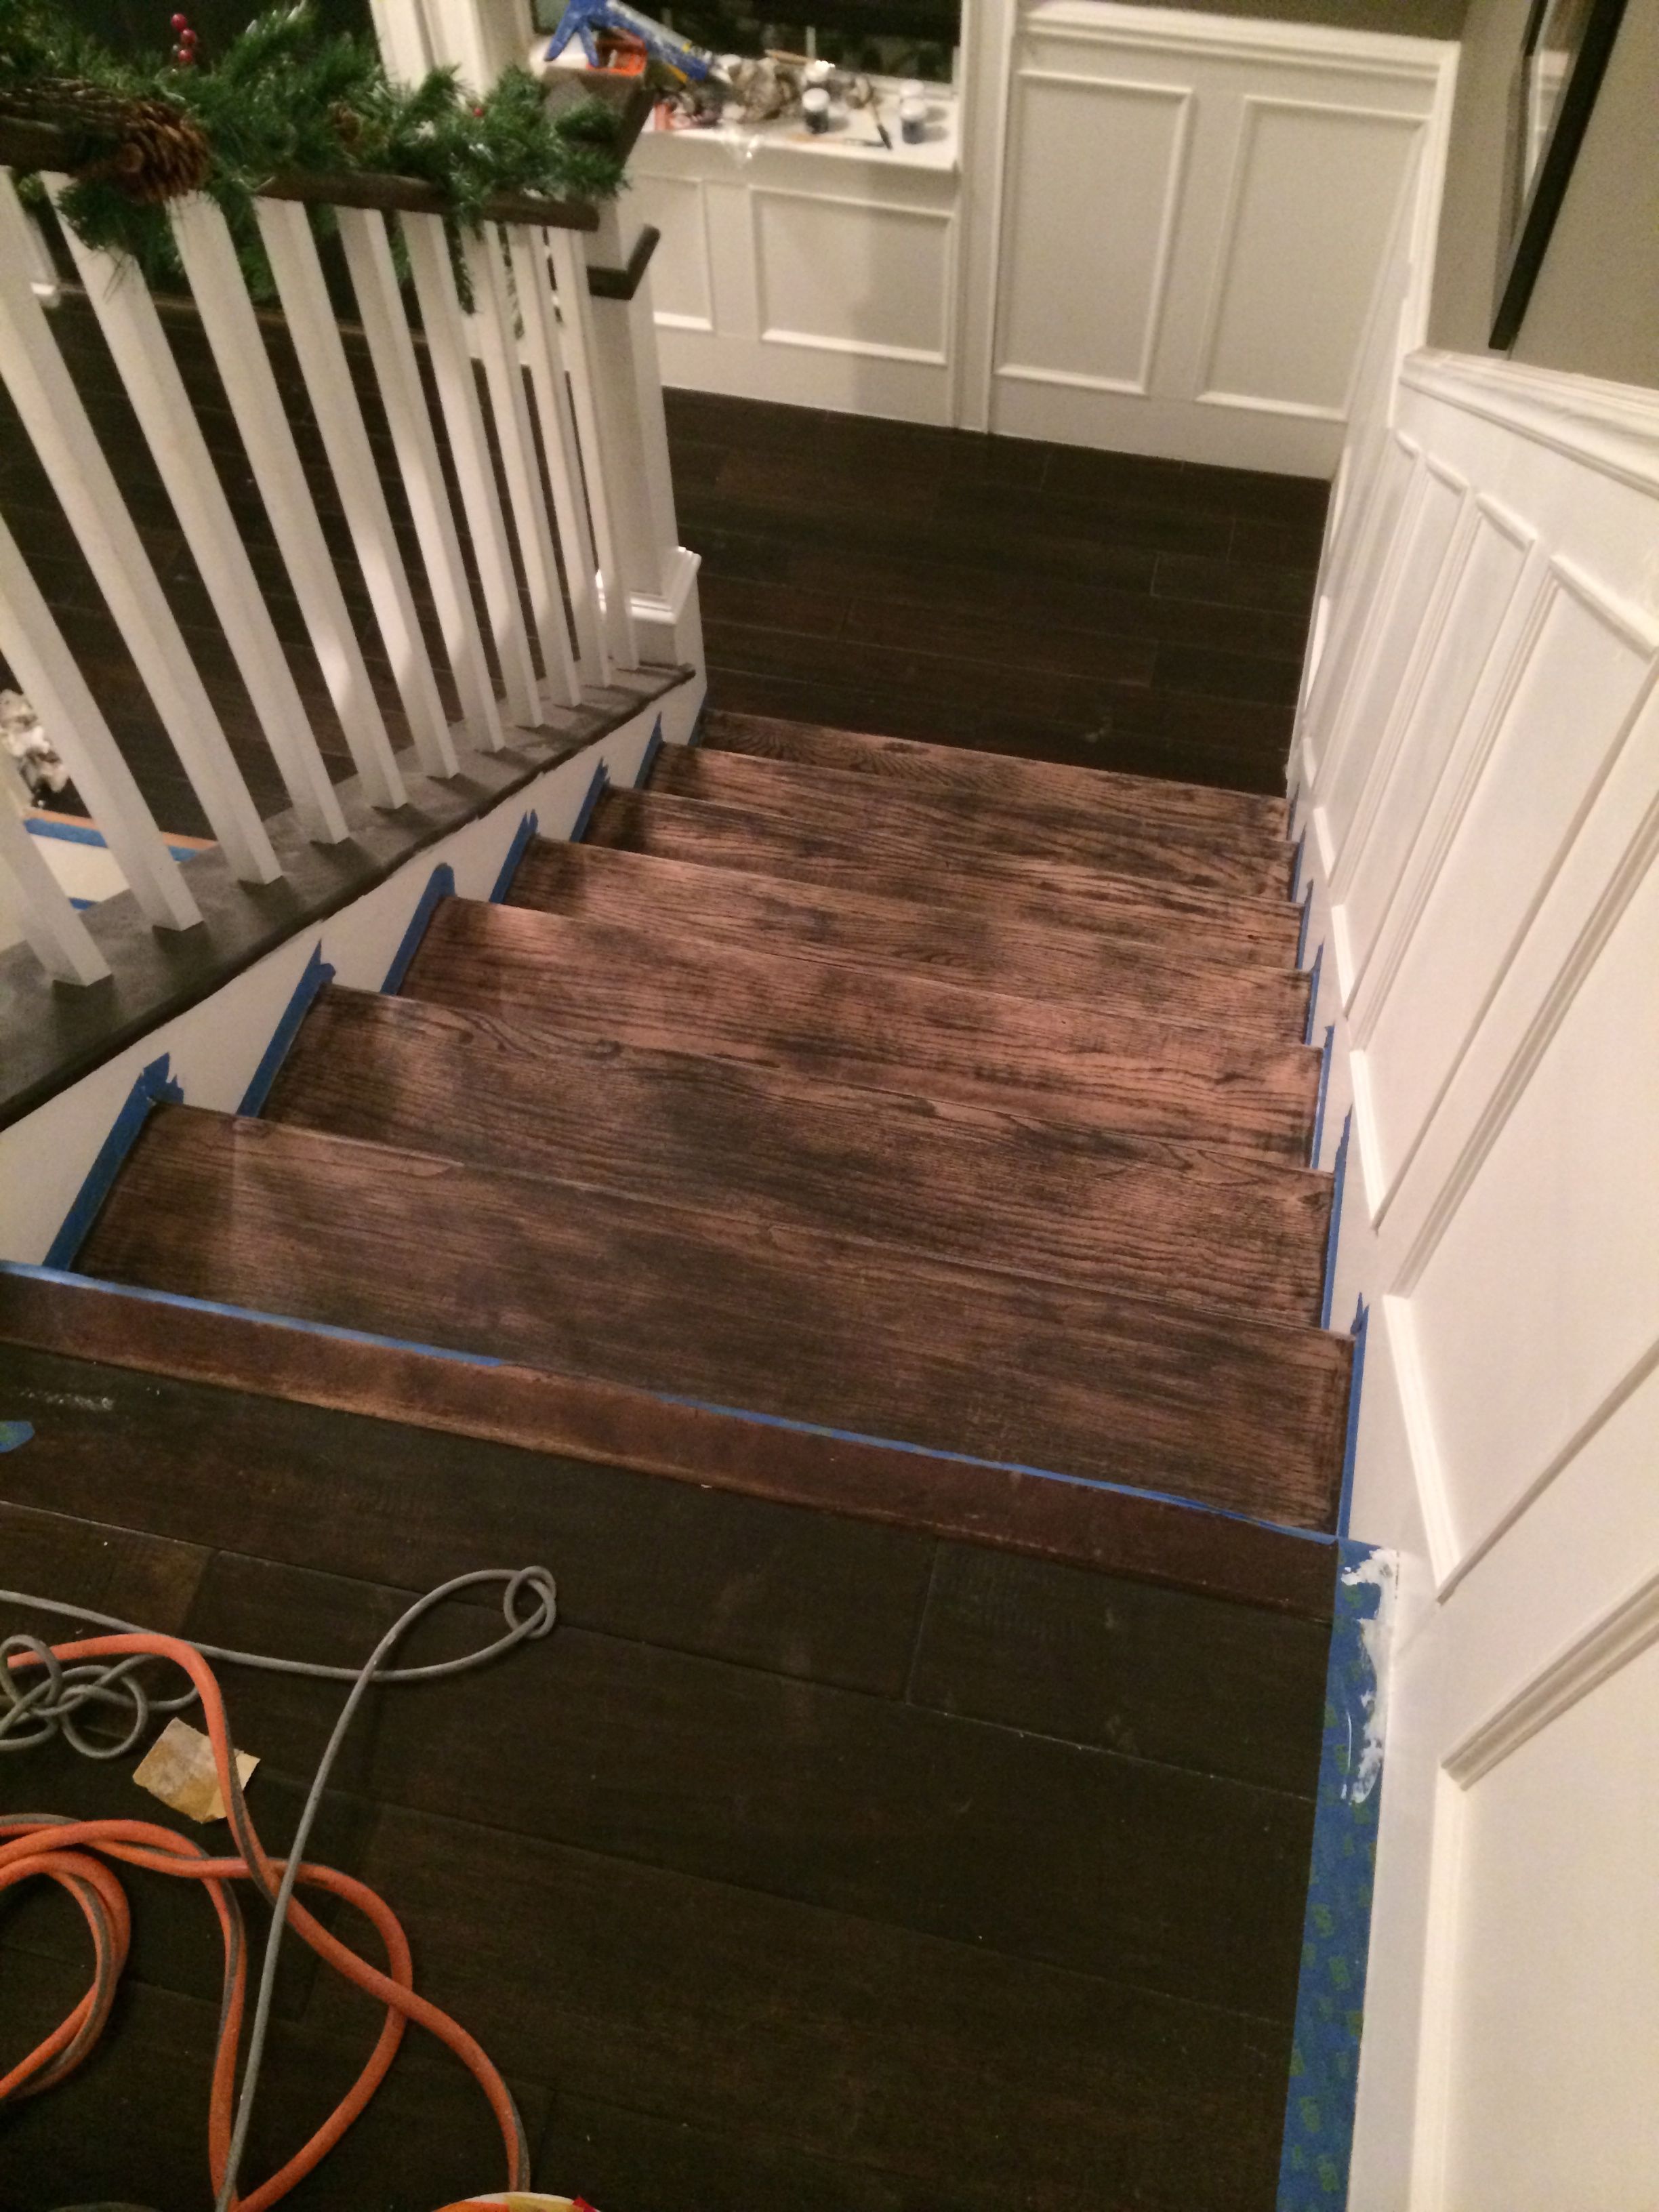
Step 11: Refinish the stairs (again) after the bathroom remodel destroyed them.
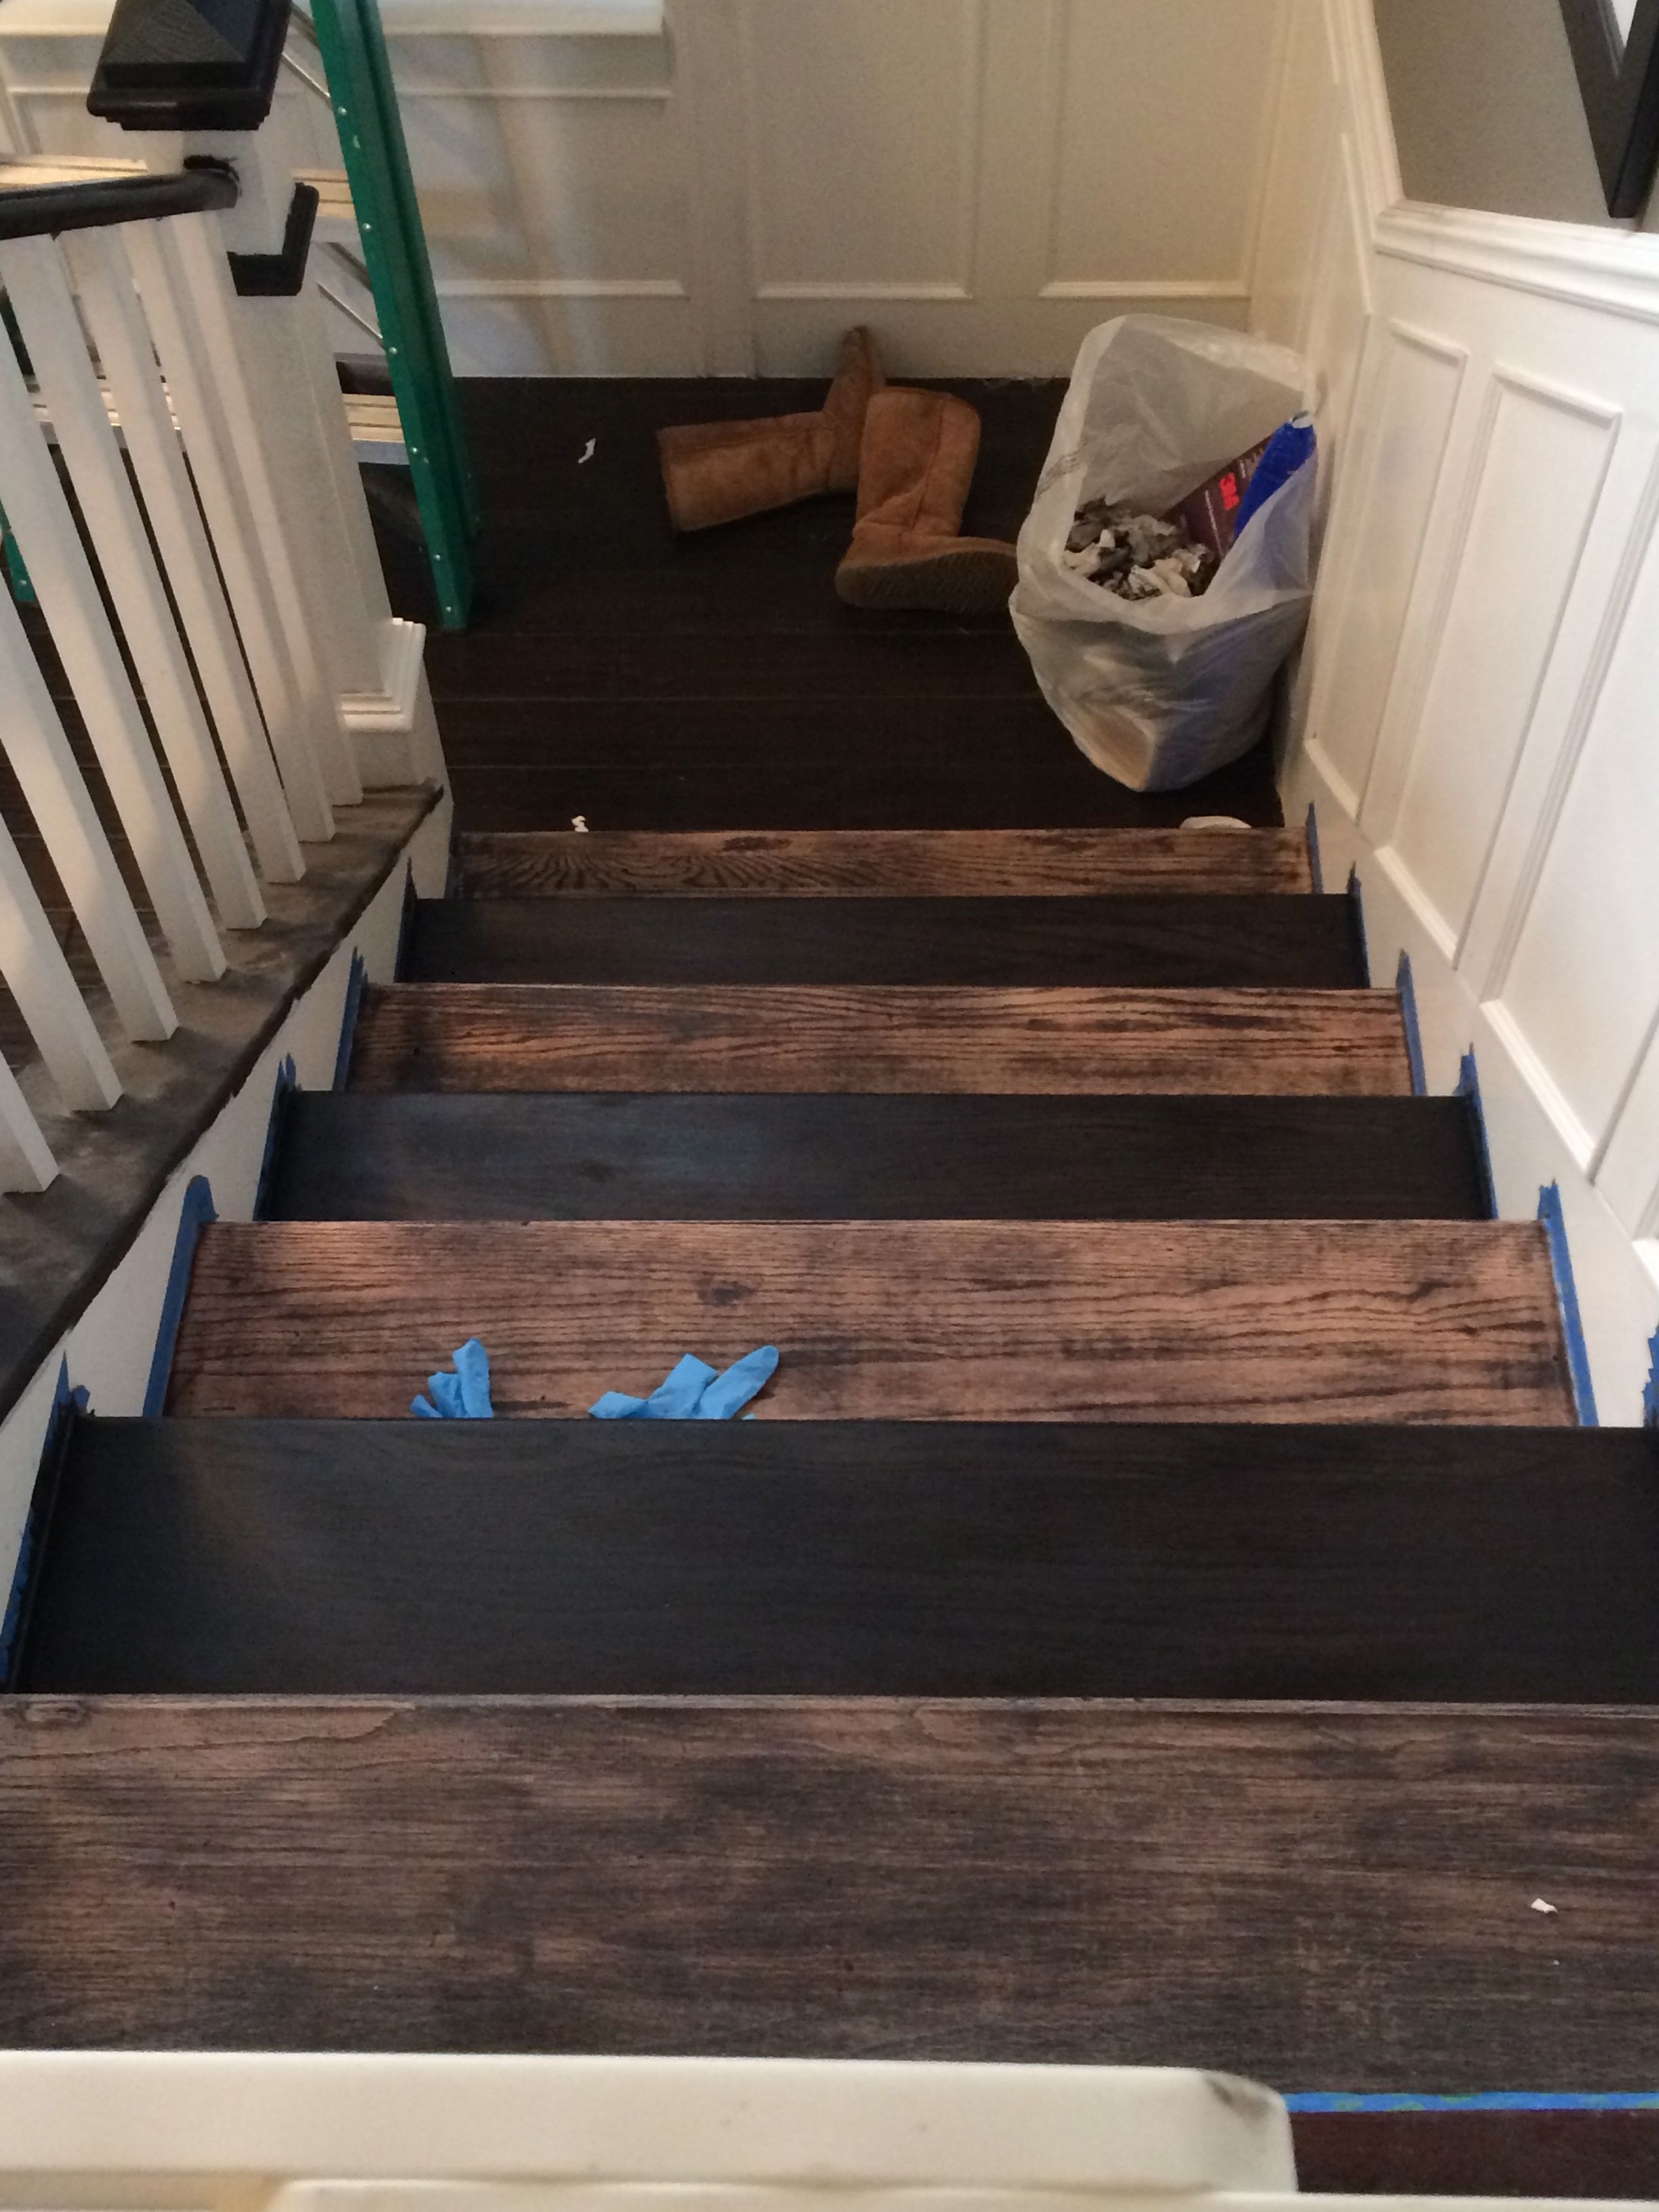
Step 12: Stain the stairs over a one week period (staining every other one and allowing to sit).
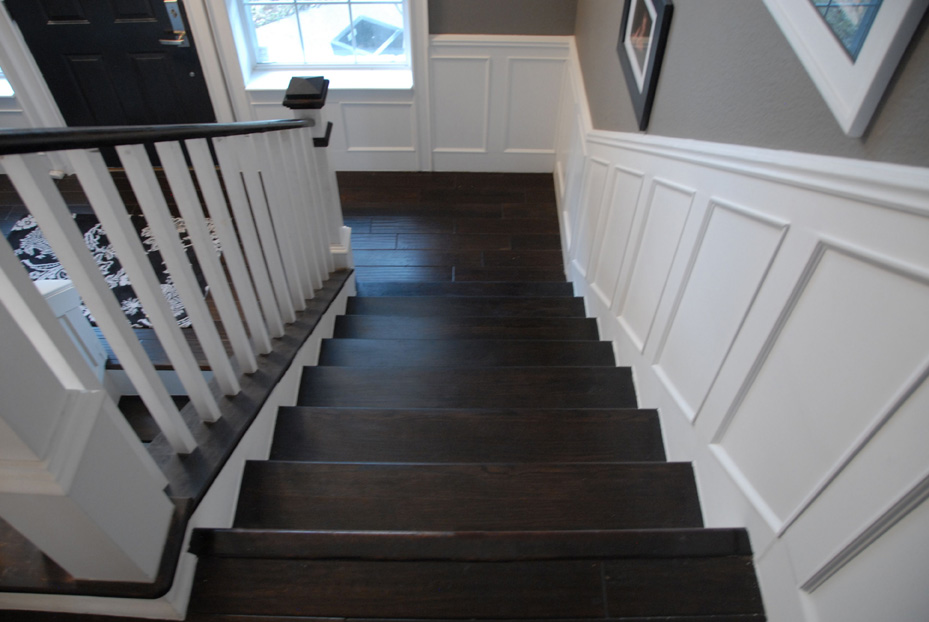
Step 13: ENJOY
That's it! It was one of the longest, most labor intensive projects I've done in this home and boy am I glad it's over! I hope it gives all you hope, though, that with persistence it can and will be done!
YOU MAY ALSO ENJOY:


