Let's Talk Door Trim
/
Happy Saturday everyone! I've been a busy little bee around the house - finishing years old projects and clean, clean, cleaning. One of the things that I finally finished was one of my biggest DIY mistakes. Ok, it wasn't huge, but it was a good one. Here is a pic of my door trim (the second project I did when I moved in):
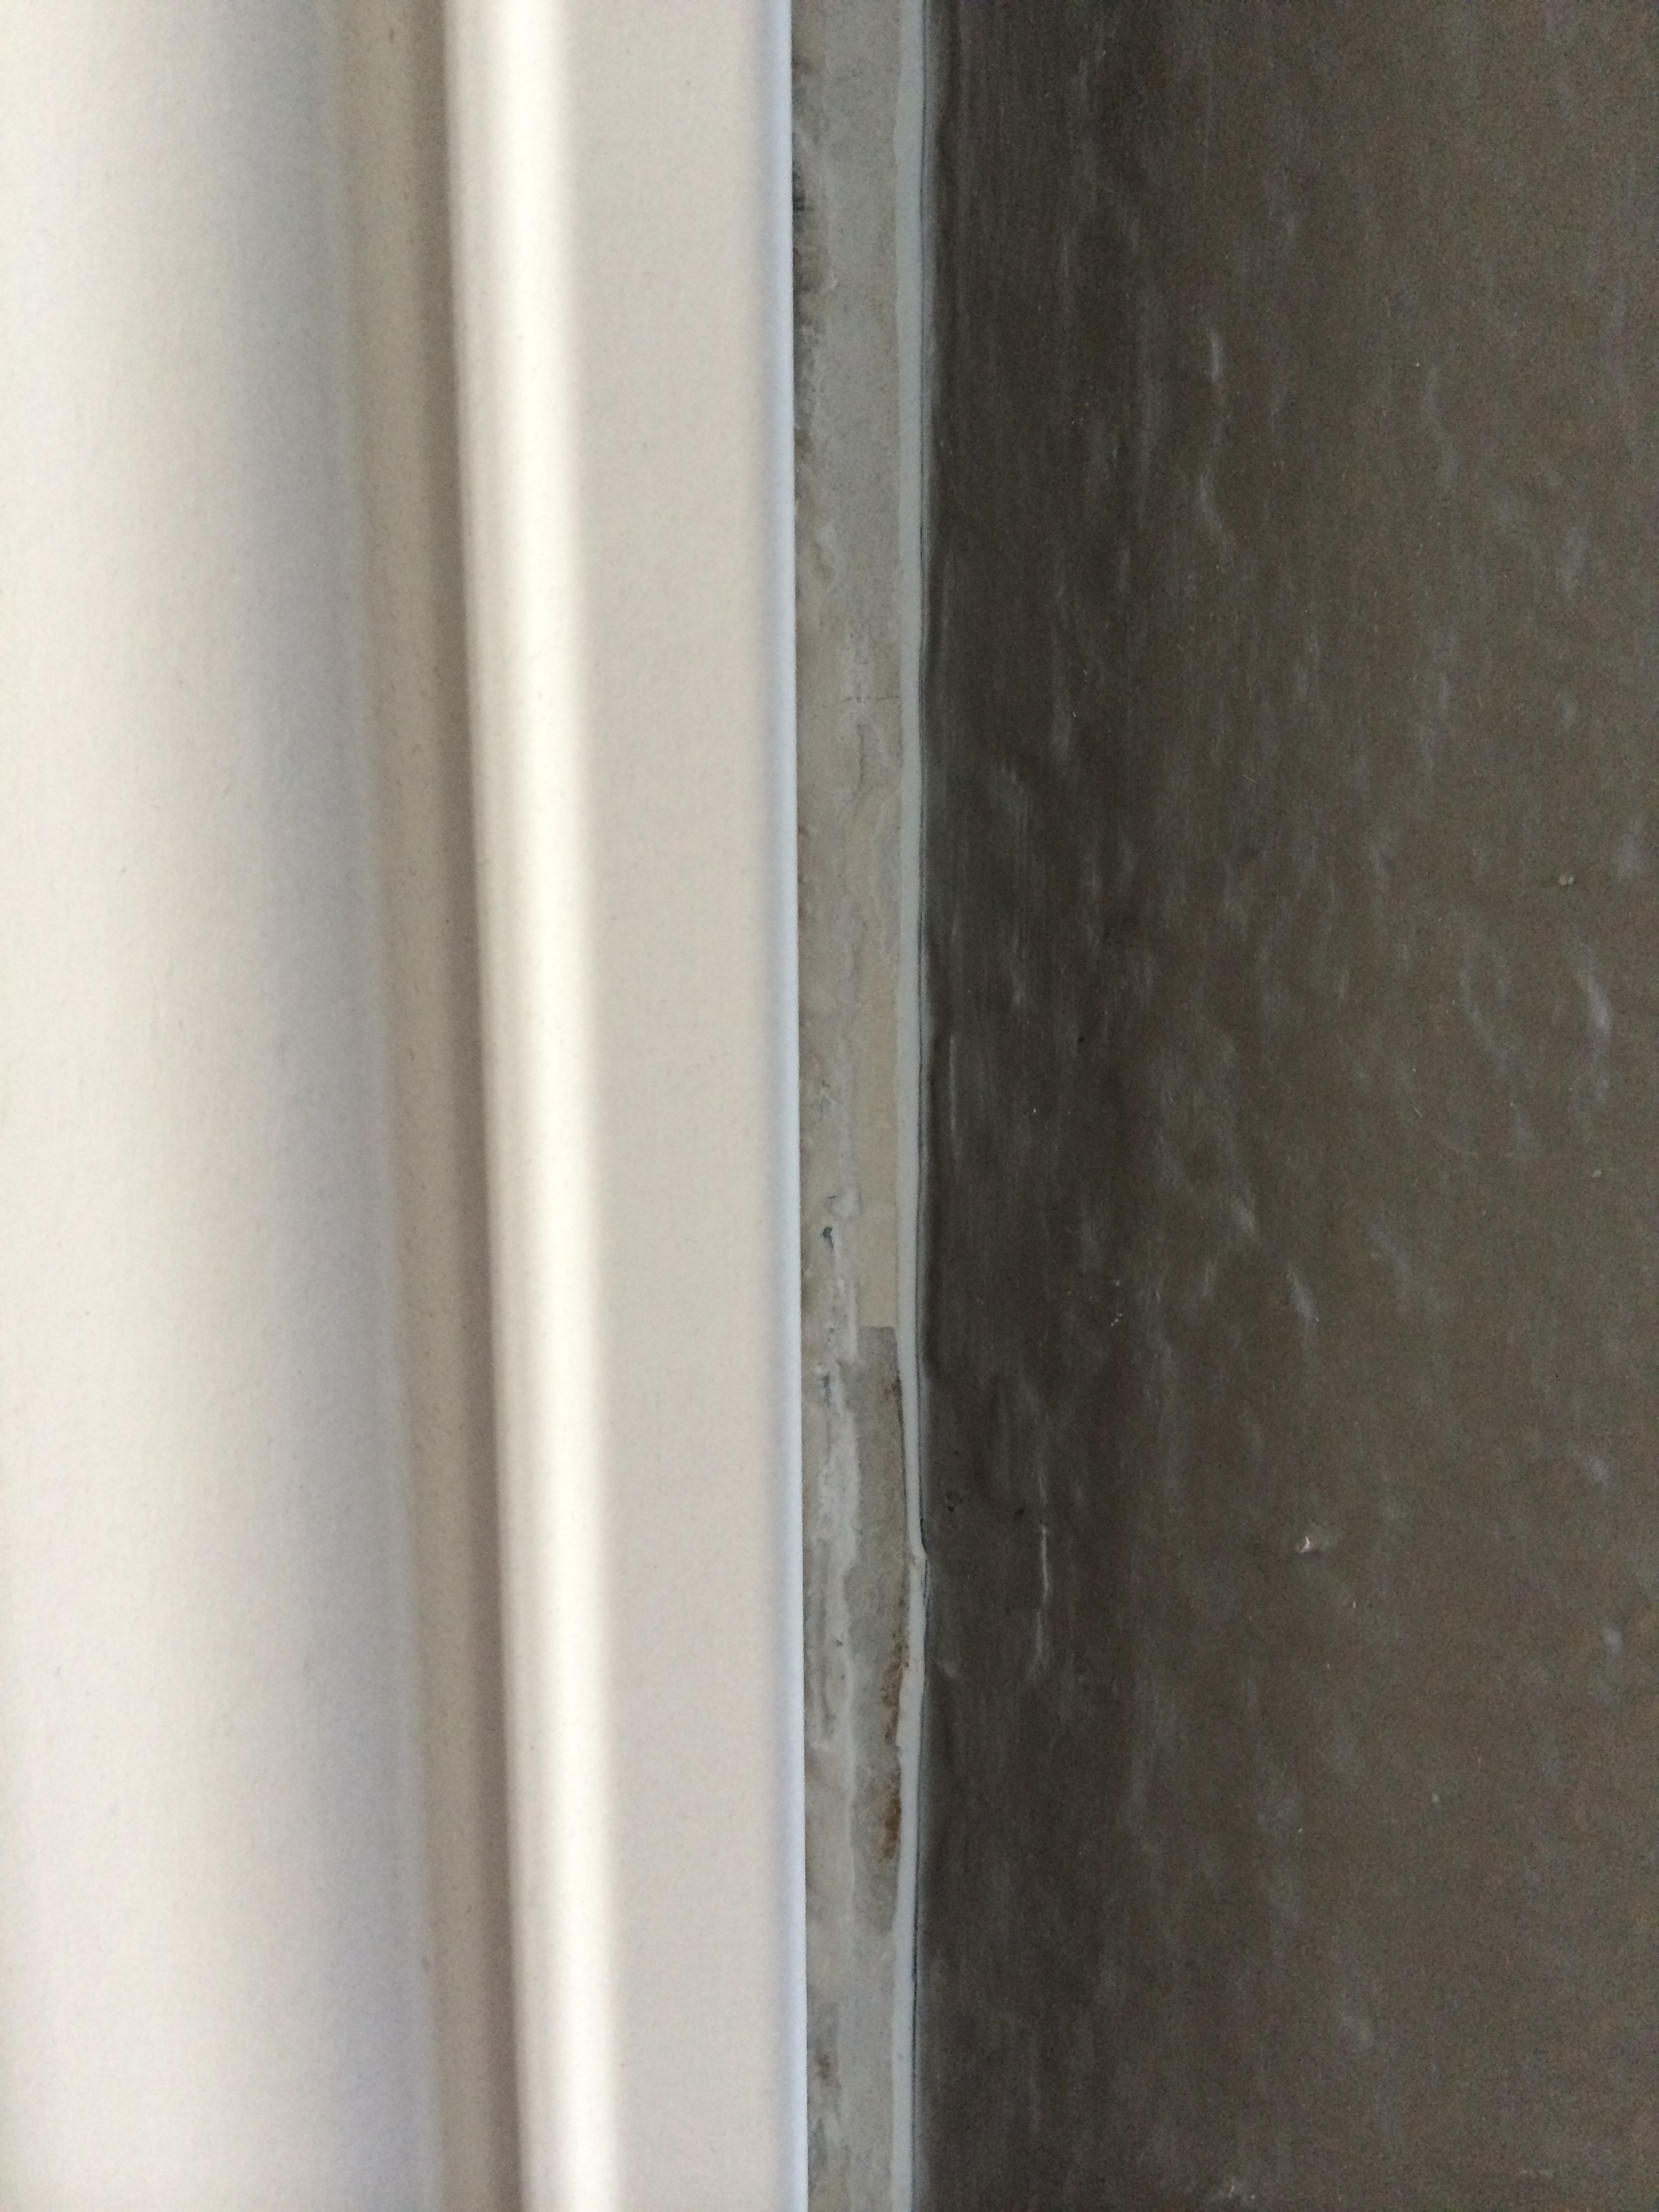
Now I don't know if you can tell what's wrong (other than the paint) but see that sloped edge on the outside of the trim? Yeah, that was supposed to go on the inside. Oh yeah... I installed all of the door trim upstairs backwards. Awesome.
Luckily, most people didn't notice it was wrong, but me being type A like I am, knew I needed to fix it. So I did. And guess what happened?

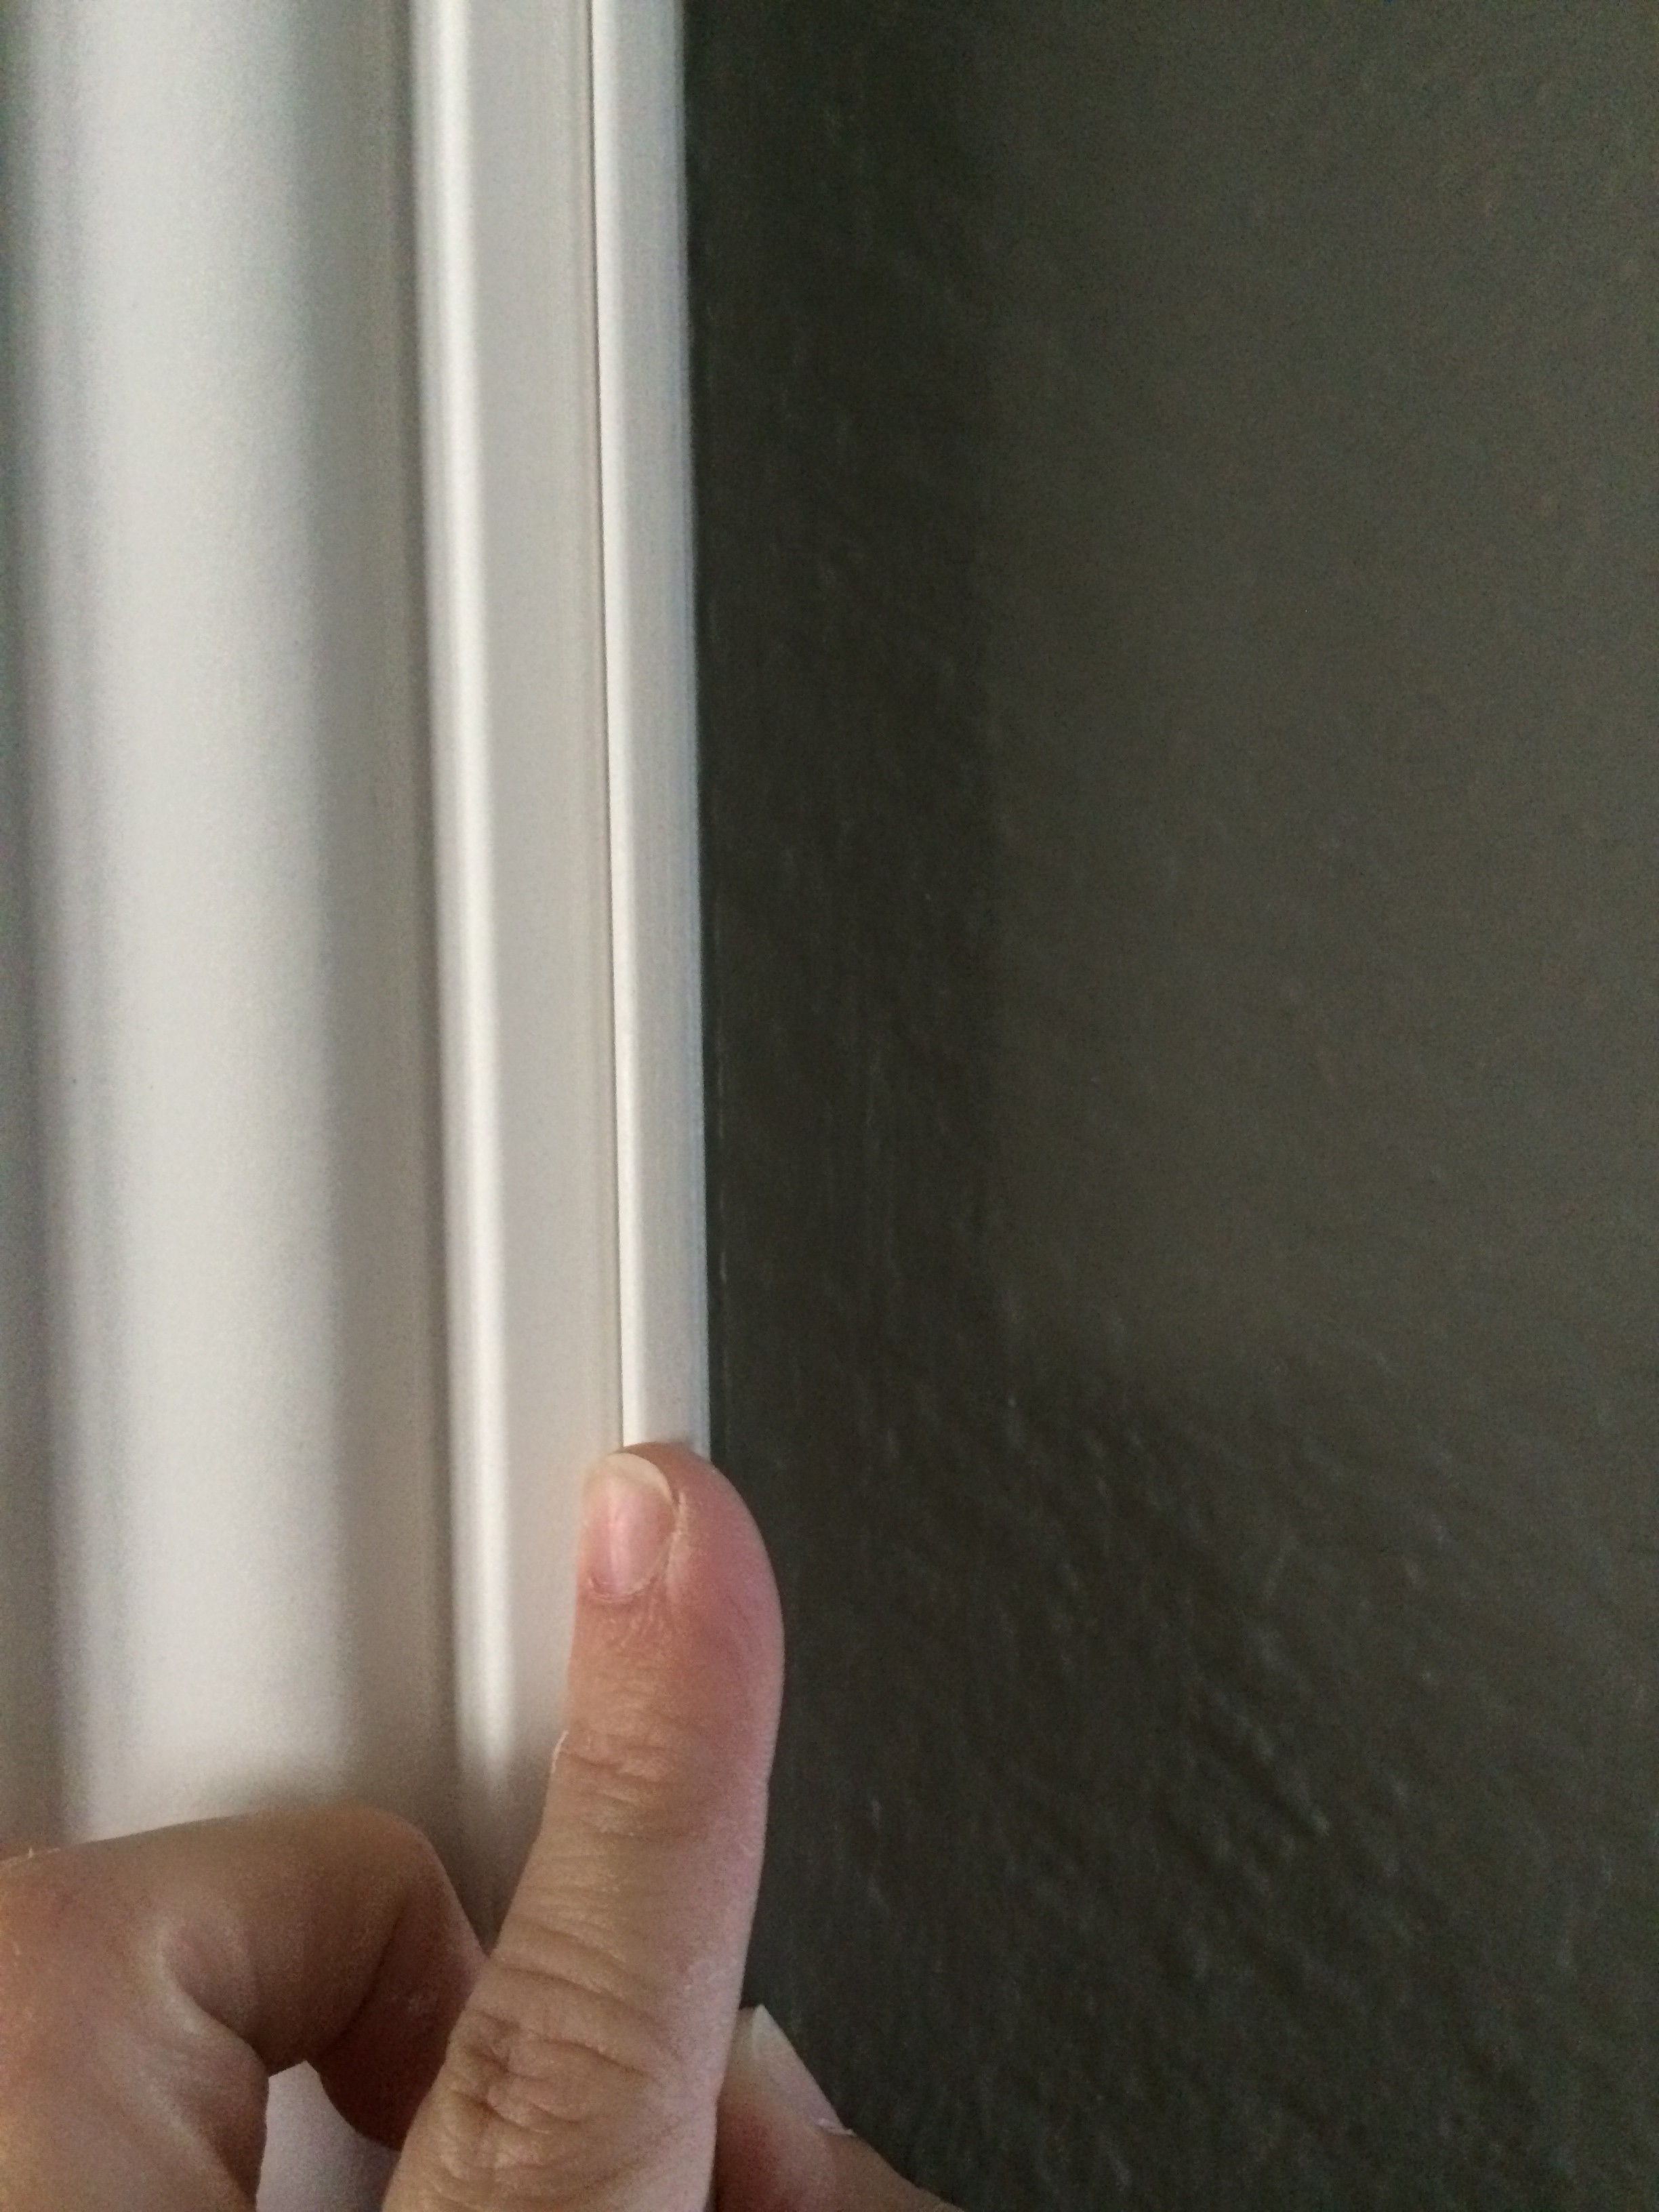
The new trim was about 1/4 inch narrower than the old trim. Crap.
The good thing is that if there is one thing that I have figured out being a DIYer is that there is usually some piece of trim that can help you fix most trim mistakes. For me it was this:
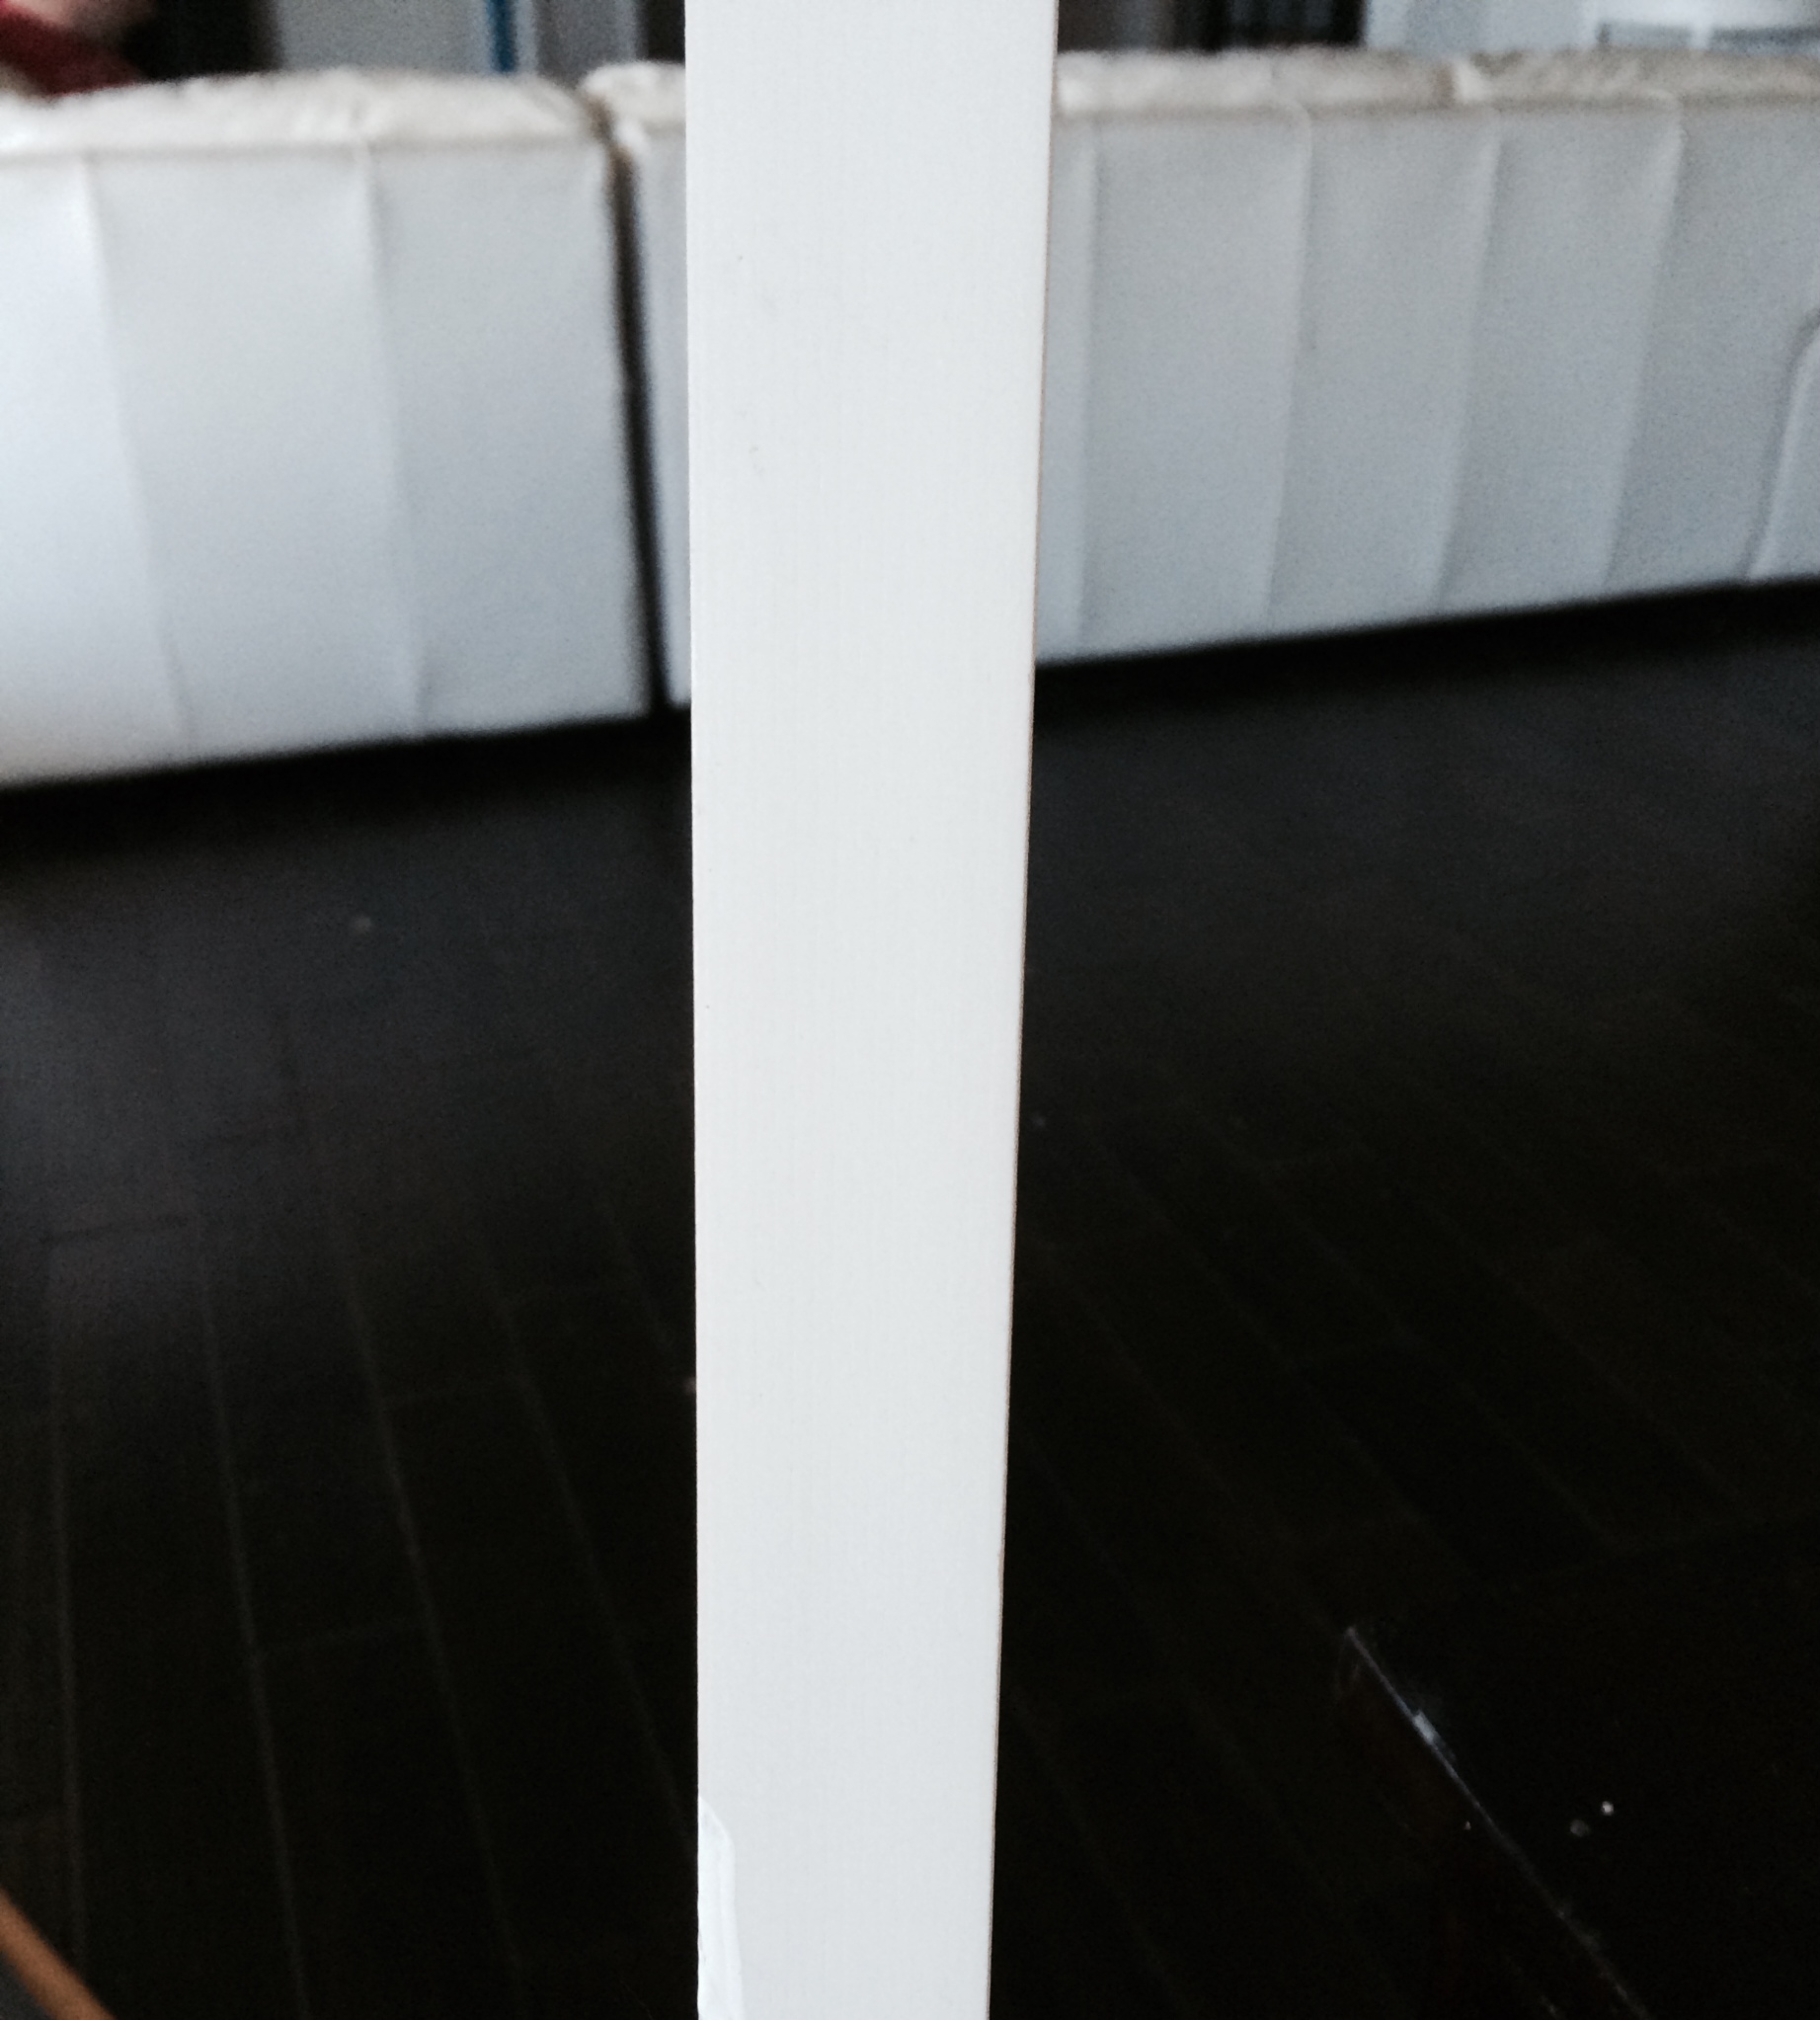
Was is it? It's 1 inch by 1/4" stop trim that I found at Lowe's. Admittedly, I bought several different stop trim sizes and this was the one that worked for me.
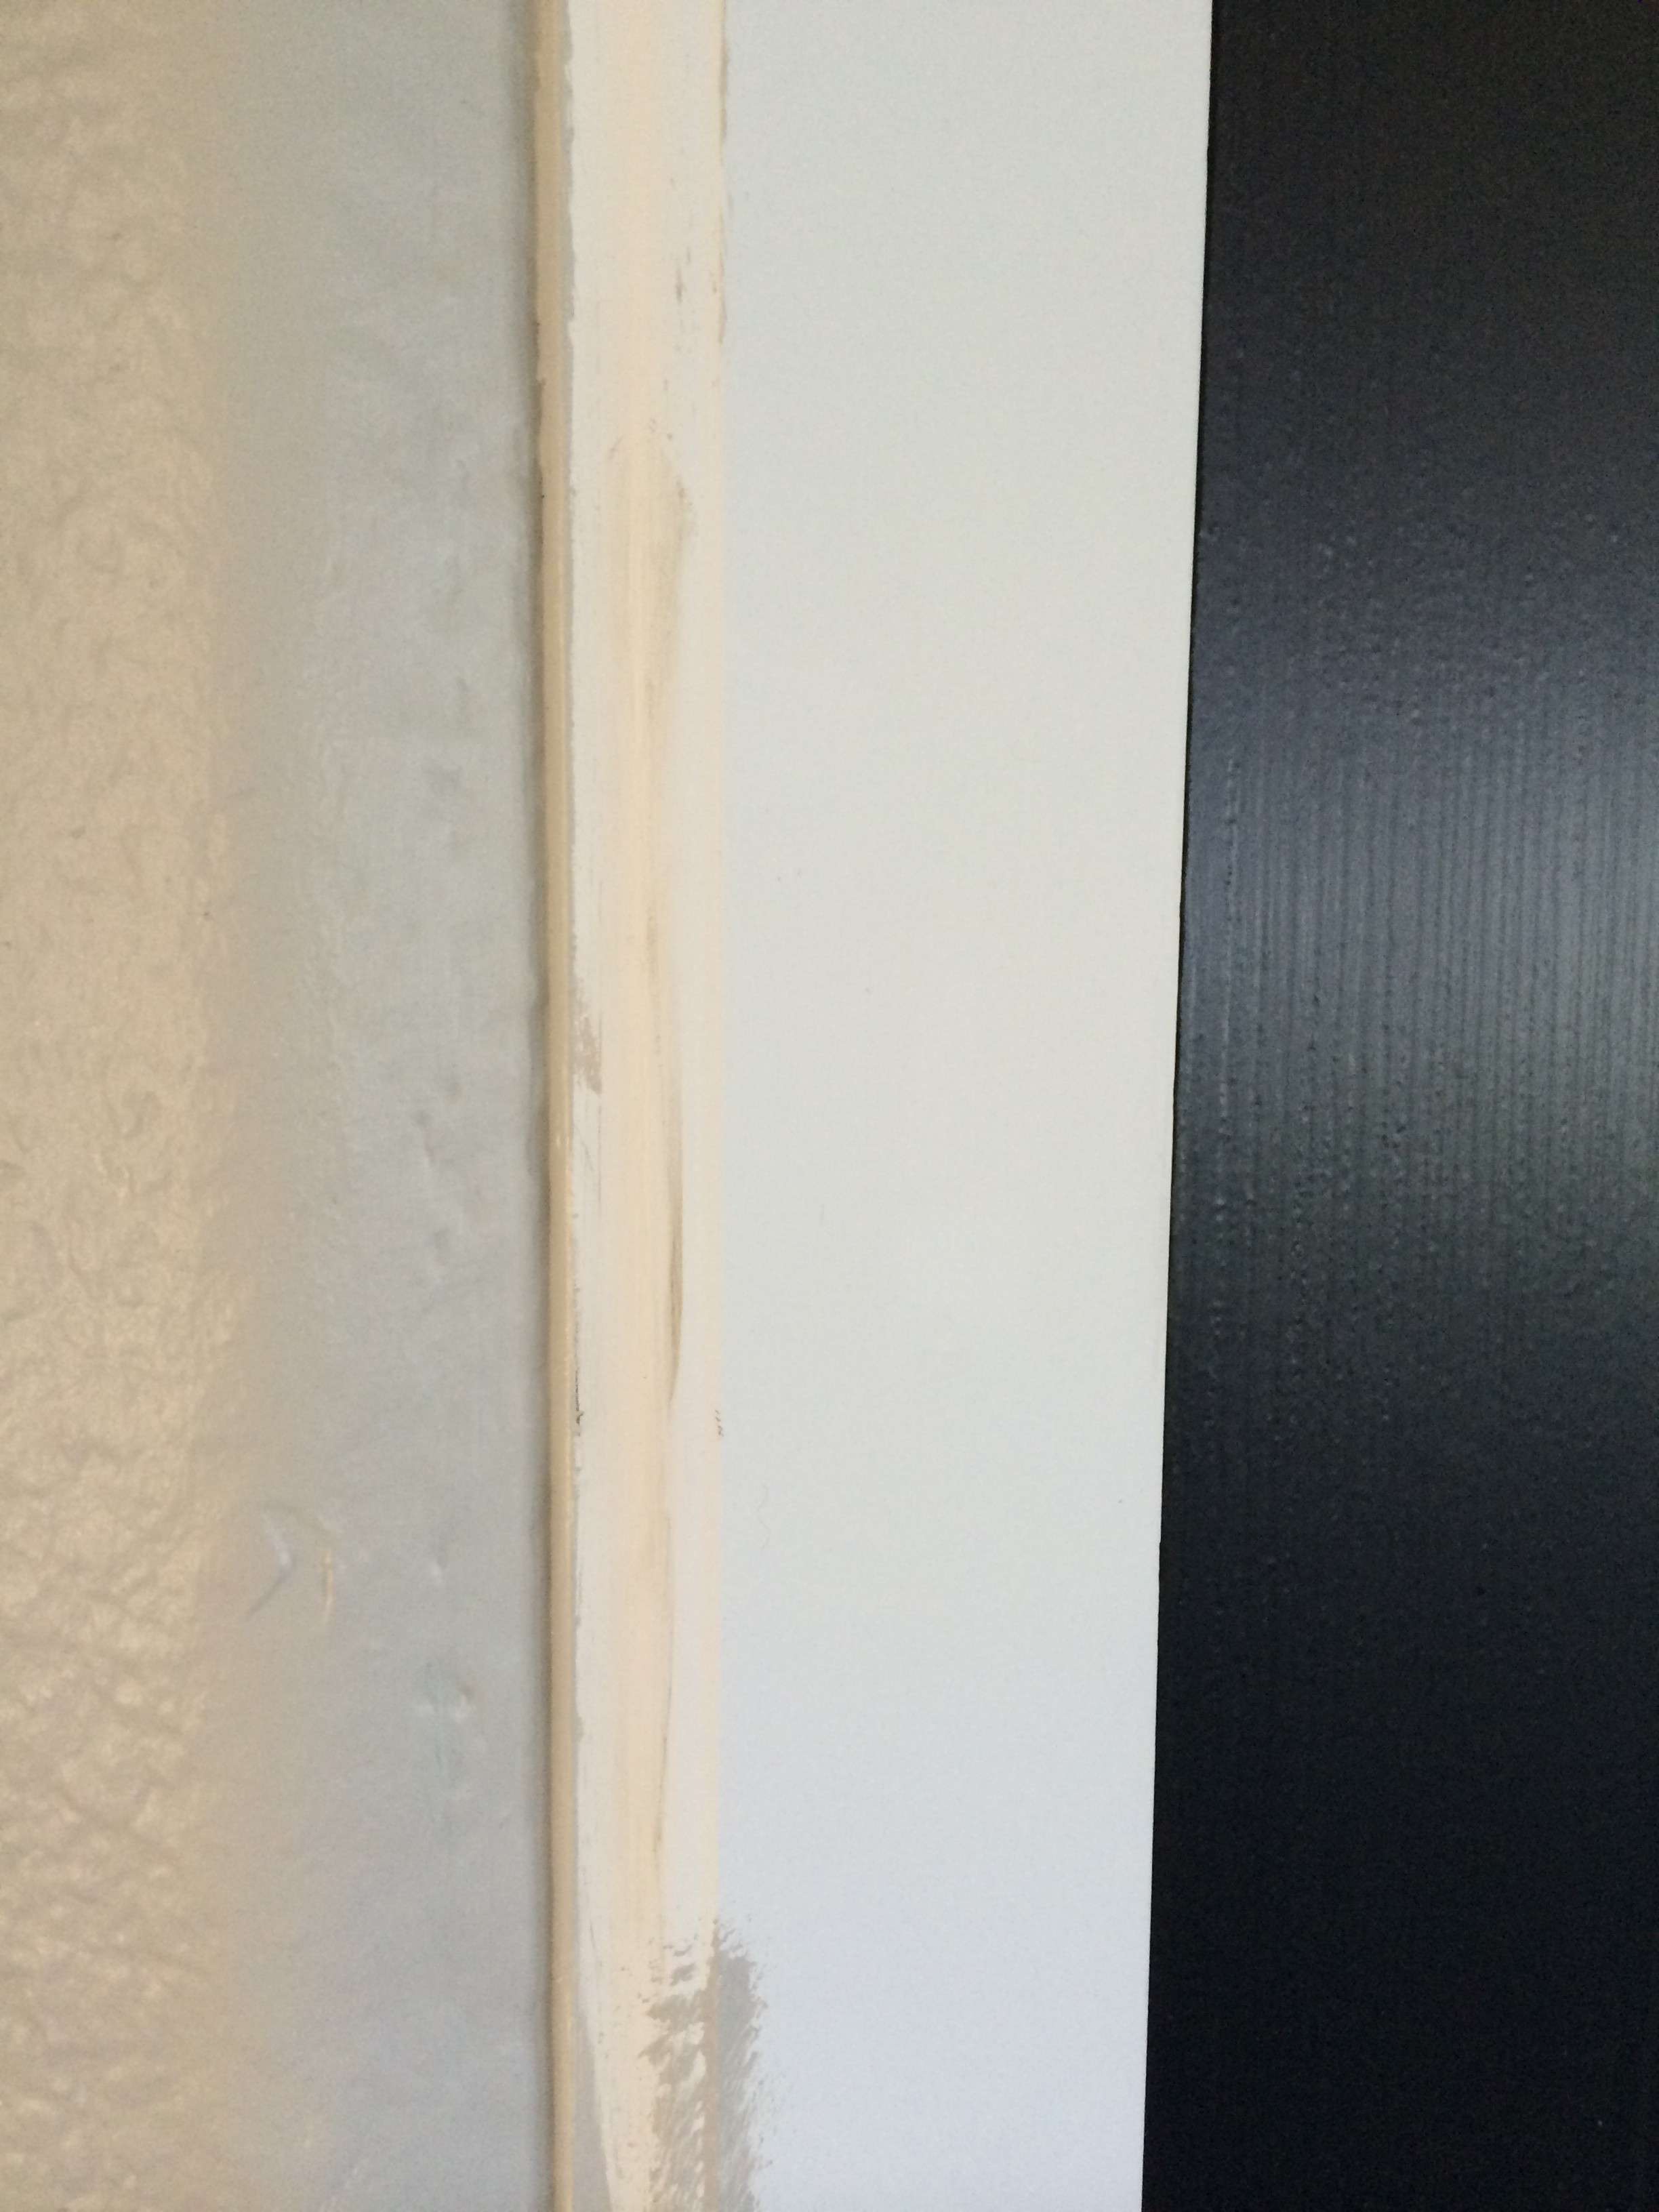
All I did was glue it to the side of the door trim and voila! The trim covered the gap left by the original trim.
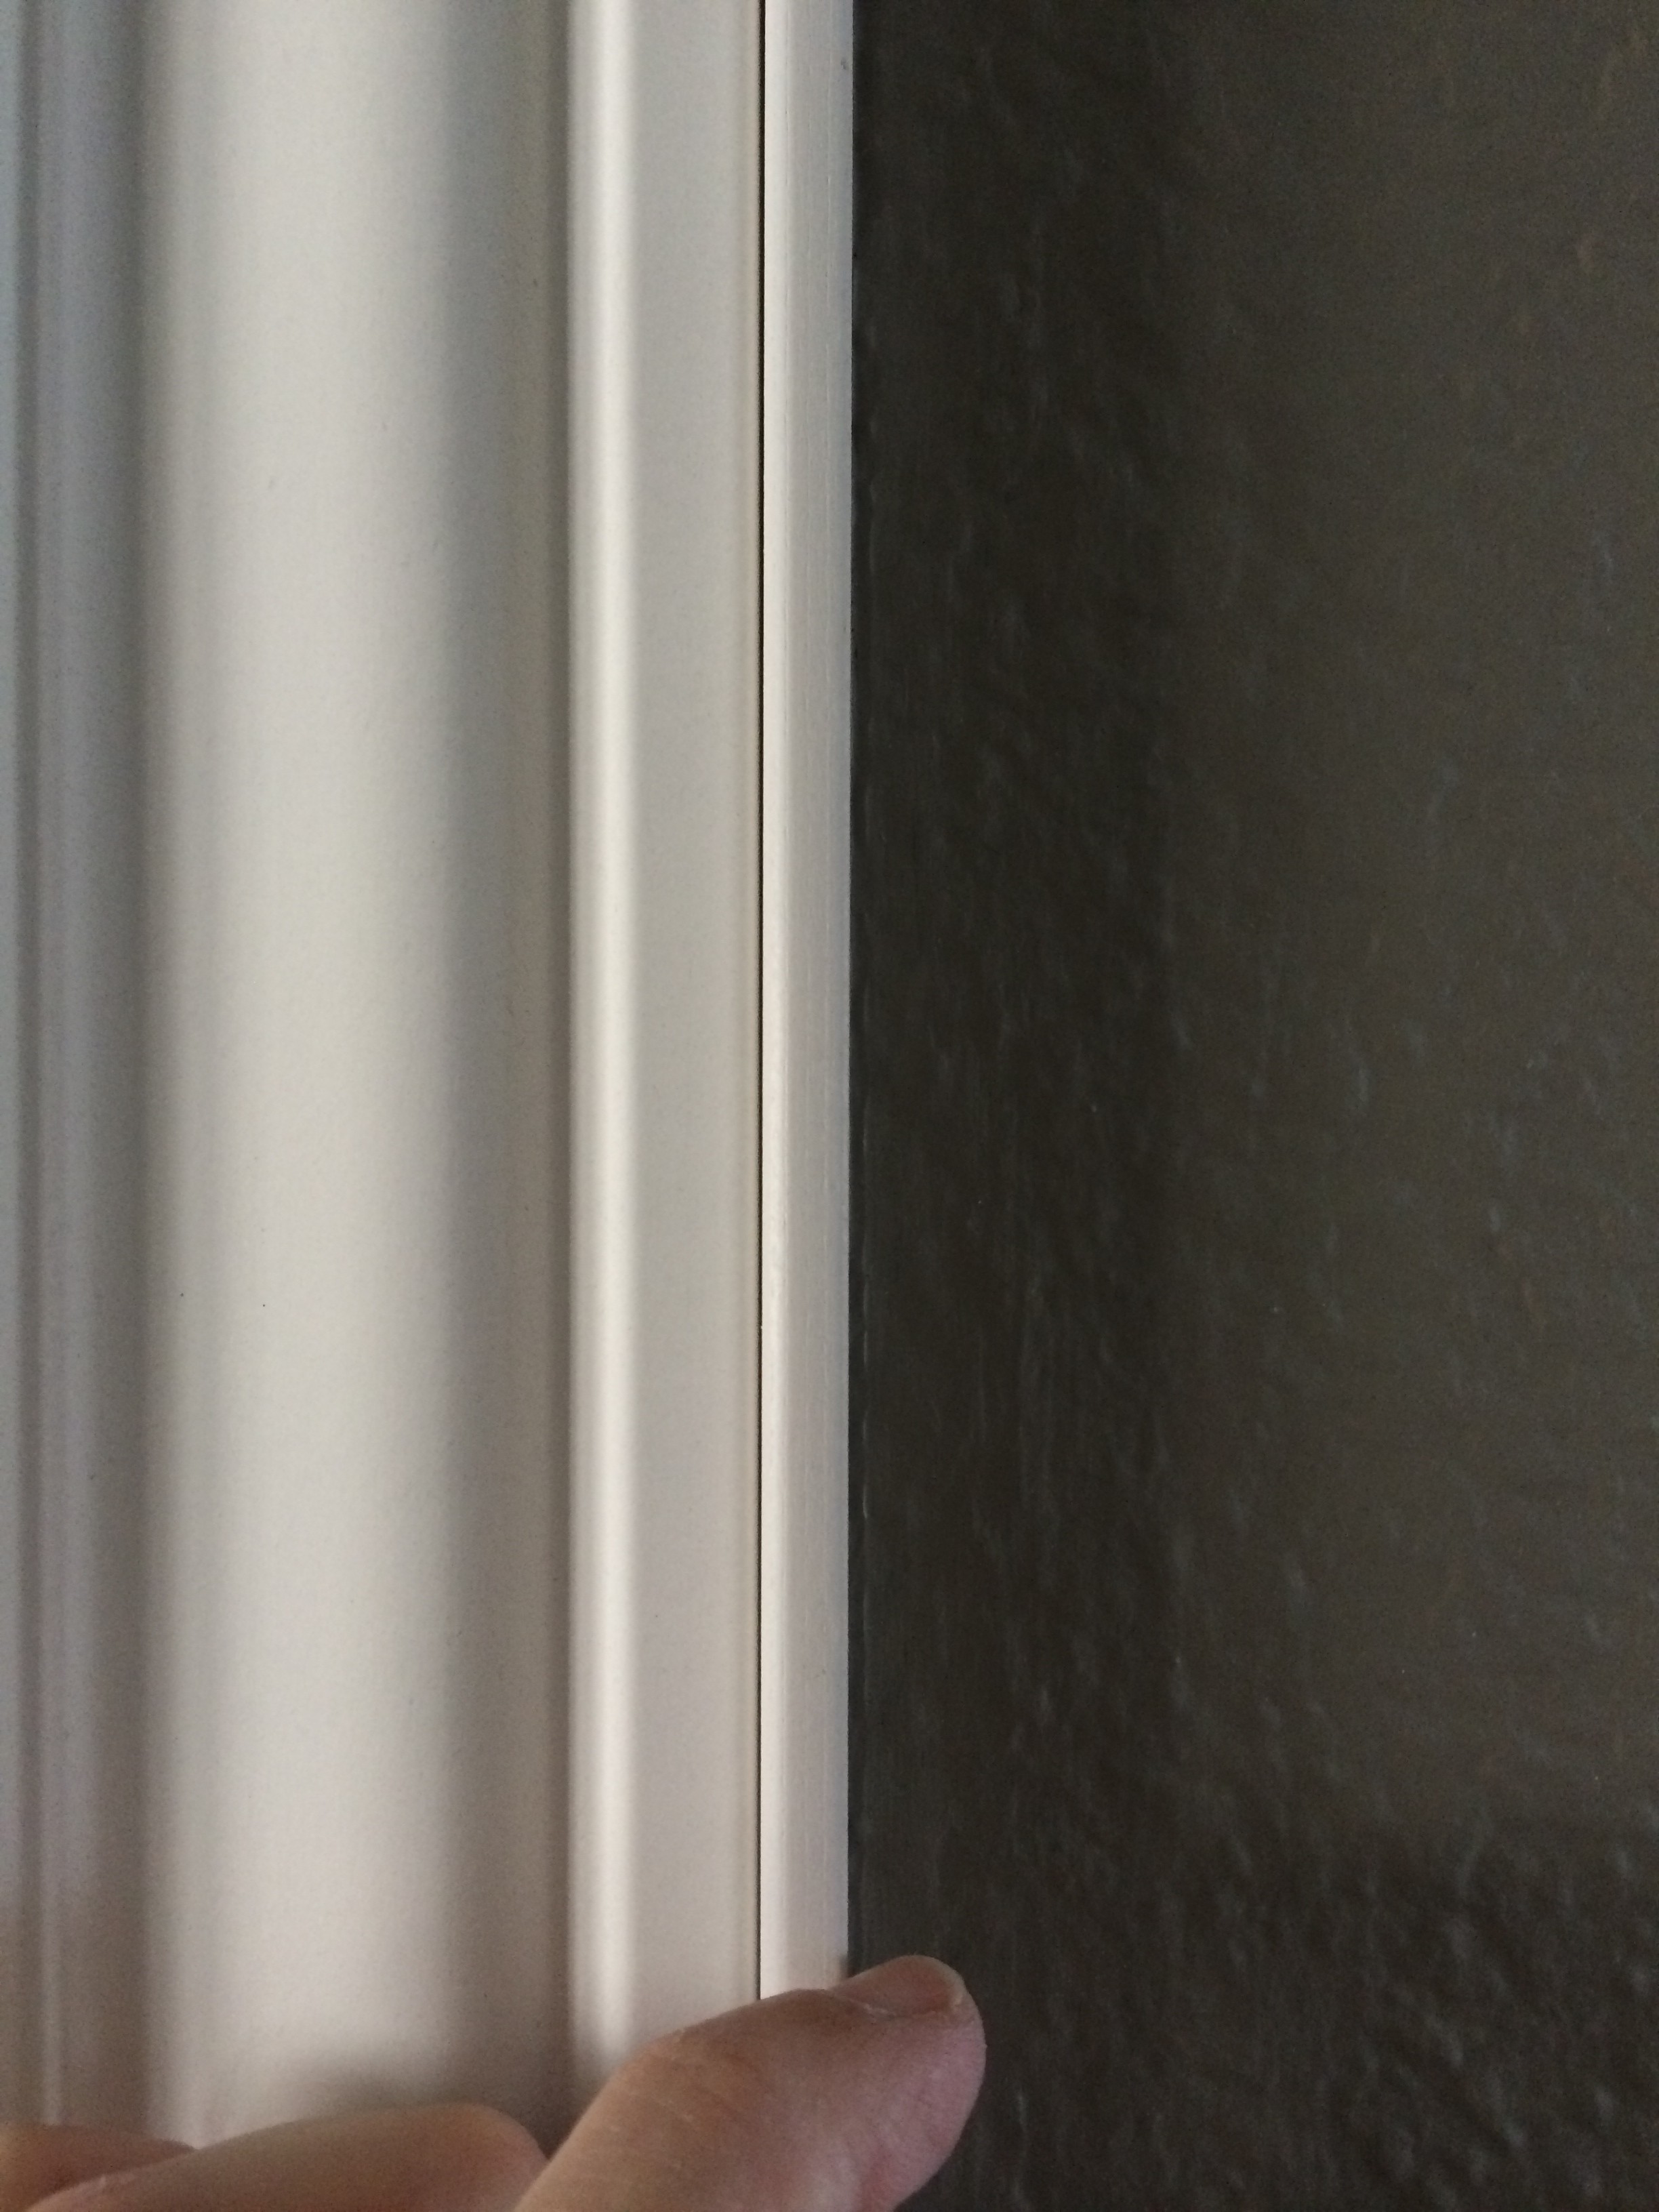
After caulking it and painting it you would never know there was a gap.

Isn't it amazing was you can fix with a little bit of stop trim? :-)
Check us out at the Remodelaholic link party!


