Dining Room Update
/
What's up everyone?!? You know me... the harder I'm working, the less I blog. Hey, it takes time to sit here and put all of this together - time I could spend with the kiddos or (gasp) cleaning the house! :-) So, first things first - lets talk dining room. Although the dining room isn't 100% complete, it is close enough that I thought I'd show you the other projects.
One of the things I wanted to do was frame out the windows so I could enjoy the beautiful views. I wanted really chunky moulding, so I had to do something about the stool with it's little bitty hang over. I opted to take it out and cut the lip off. I just mitered the whole edge off. What I should have done was use the skil saw because I was left with this:
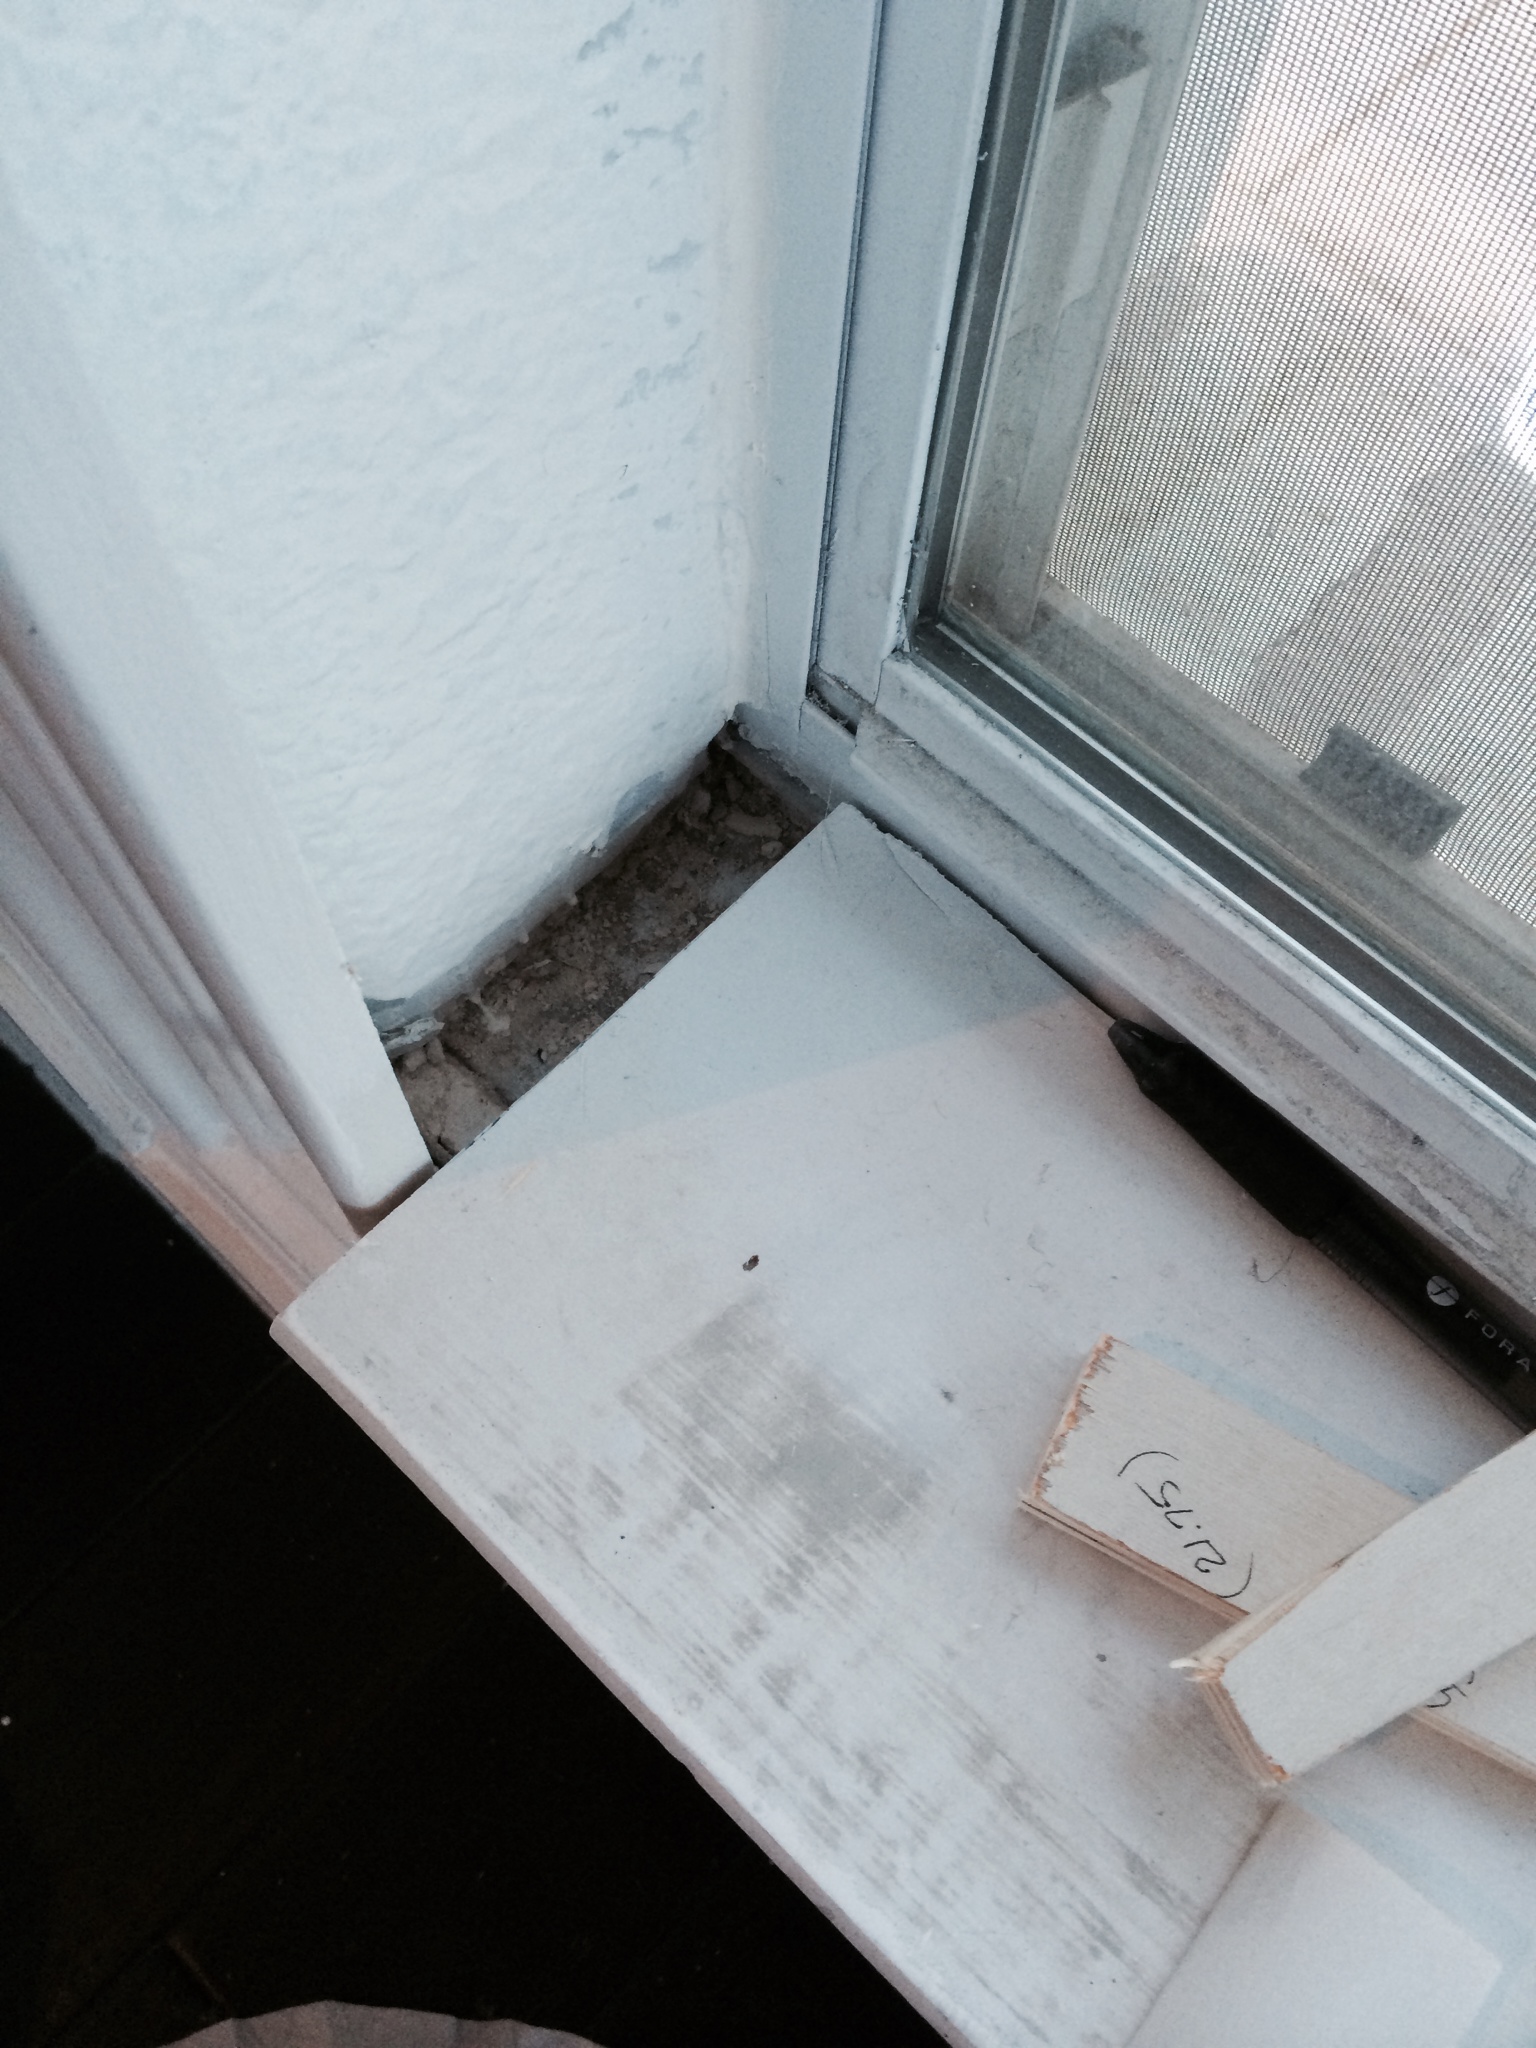
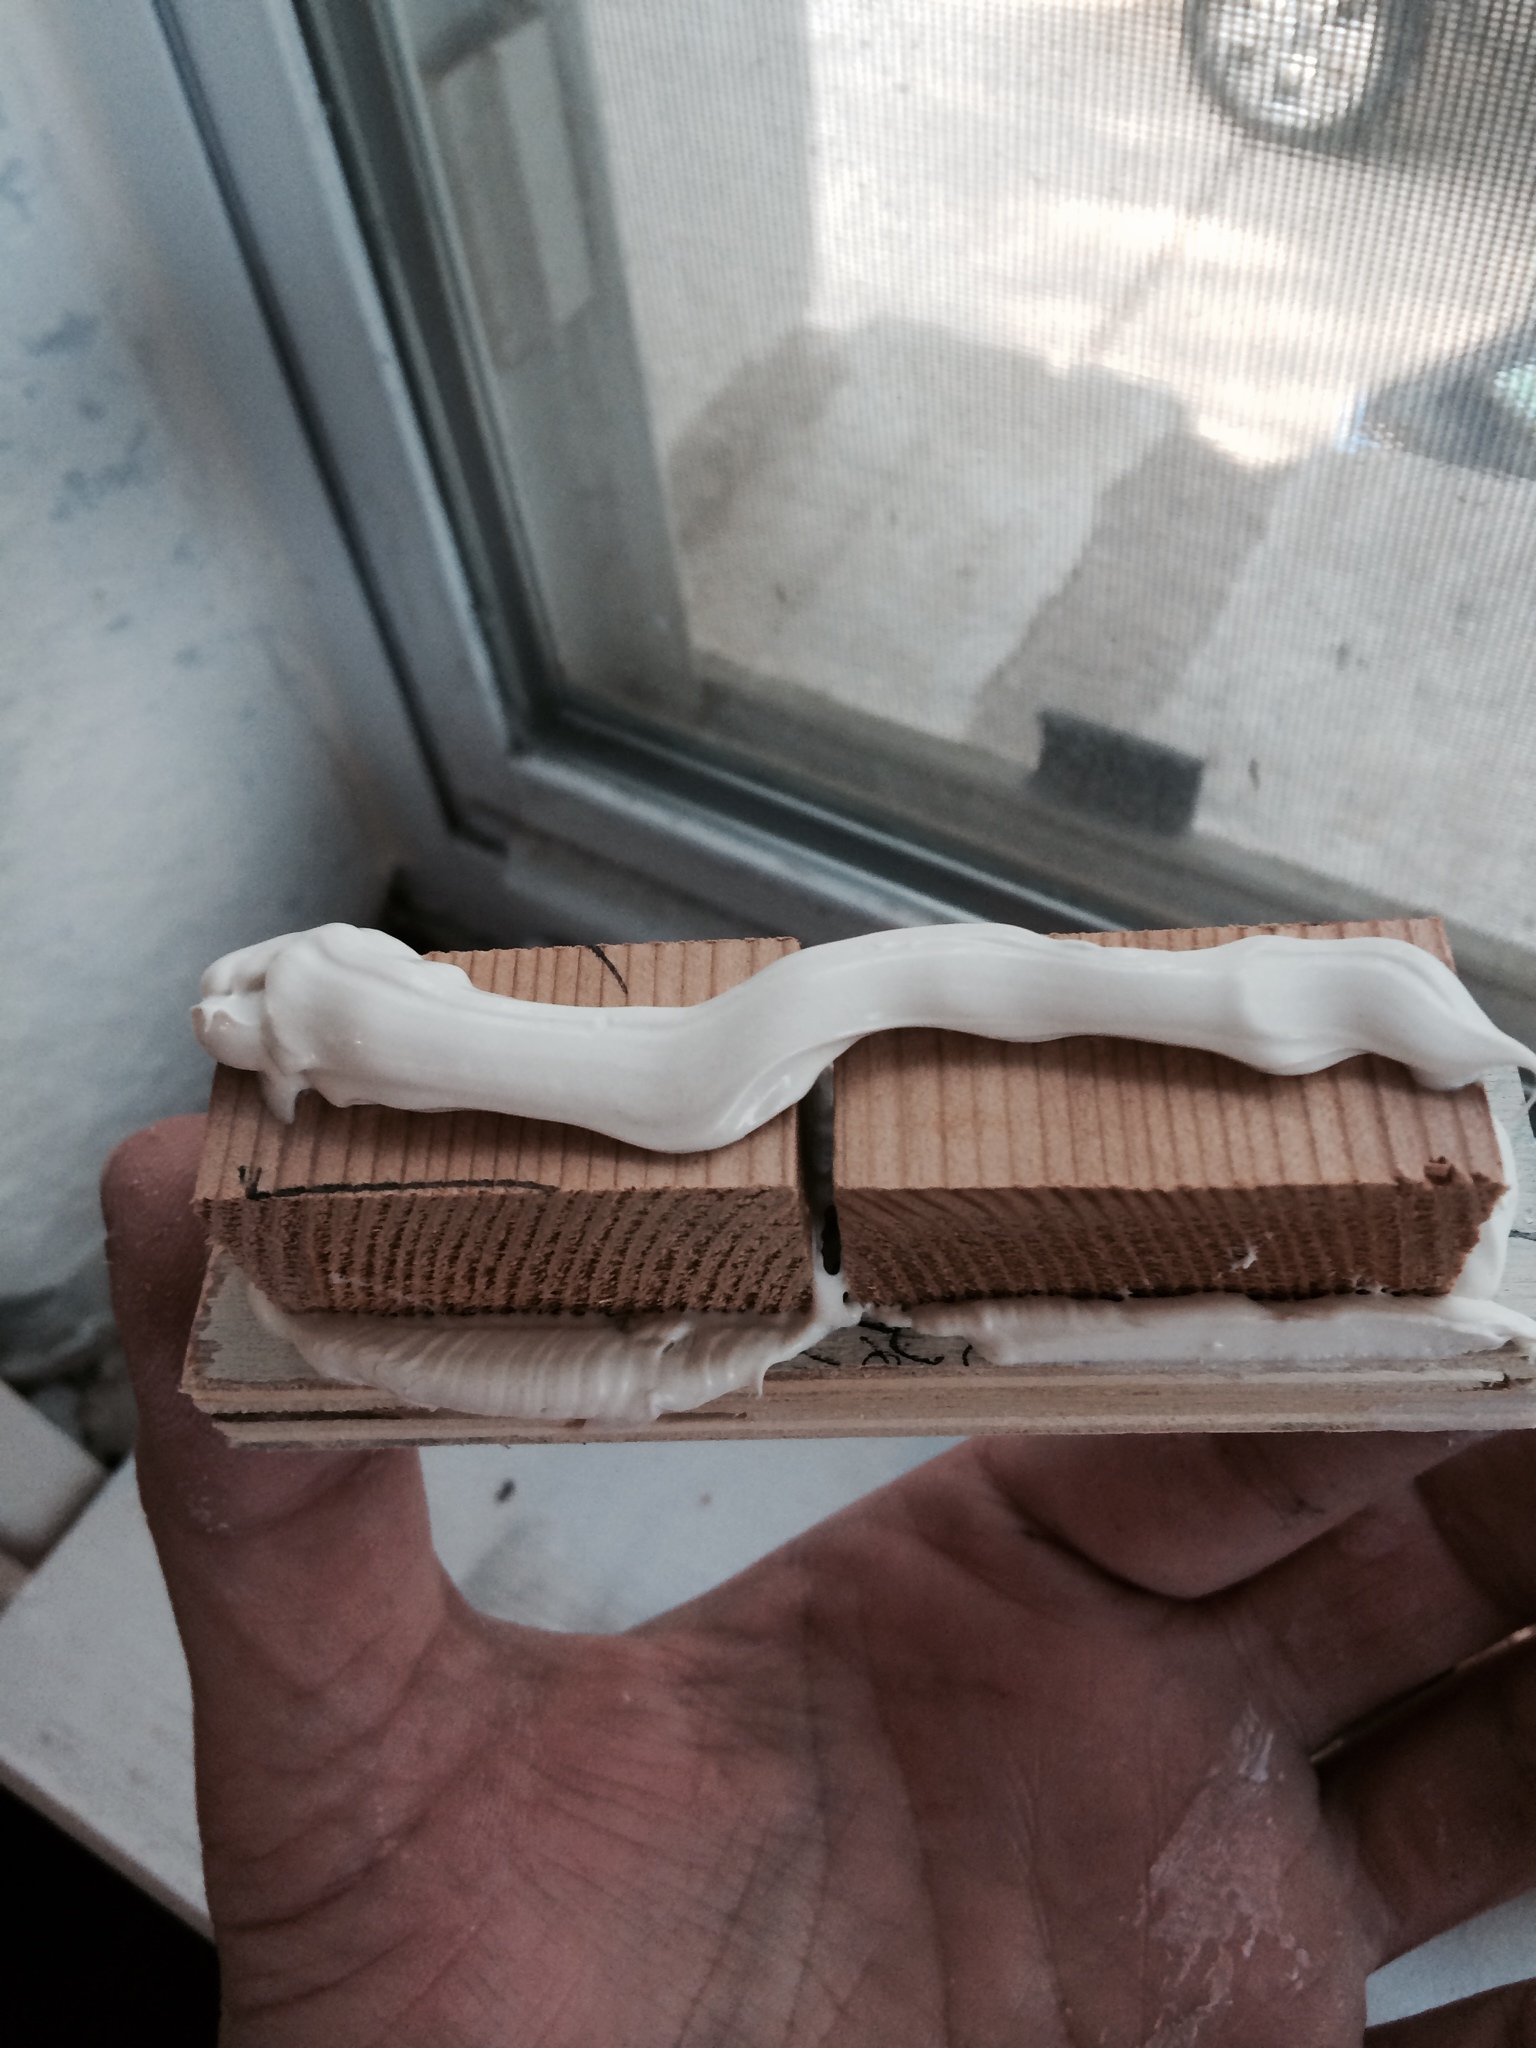
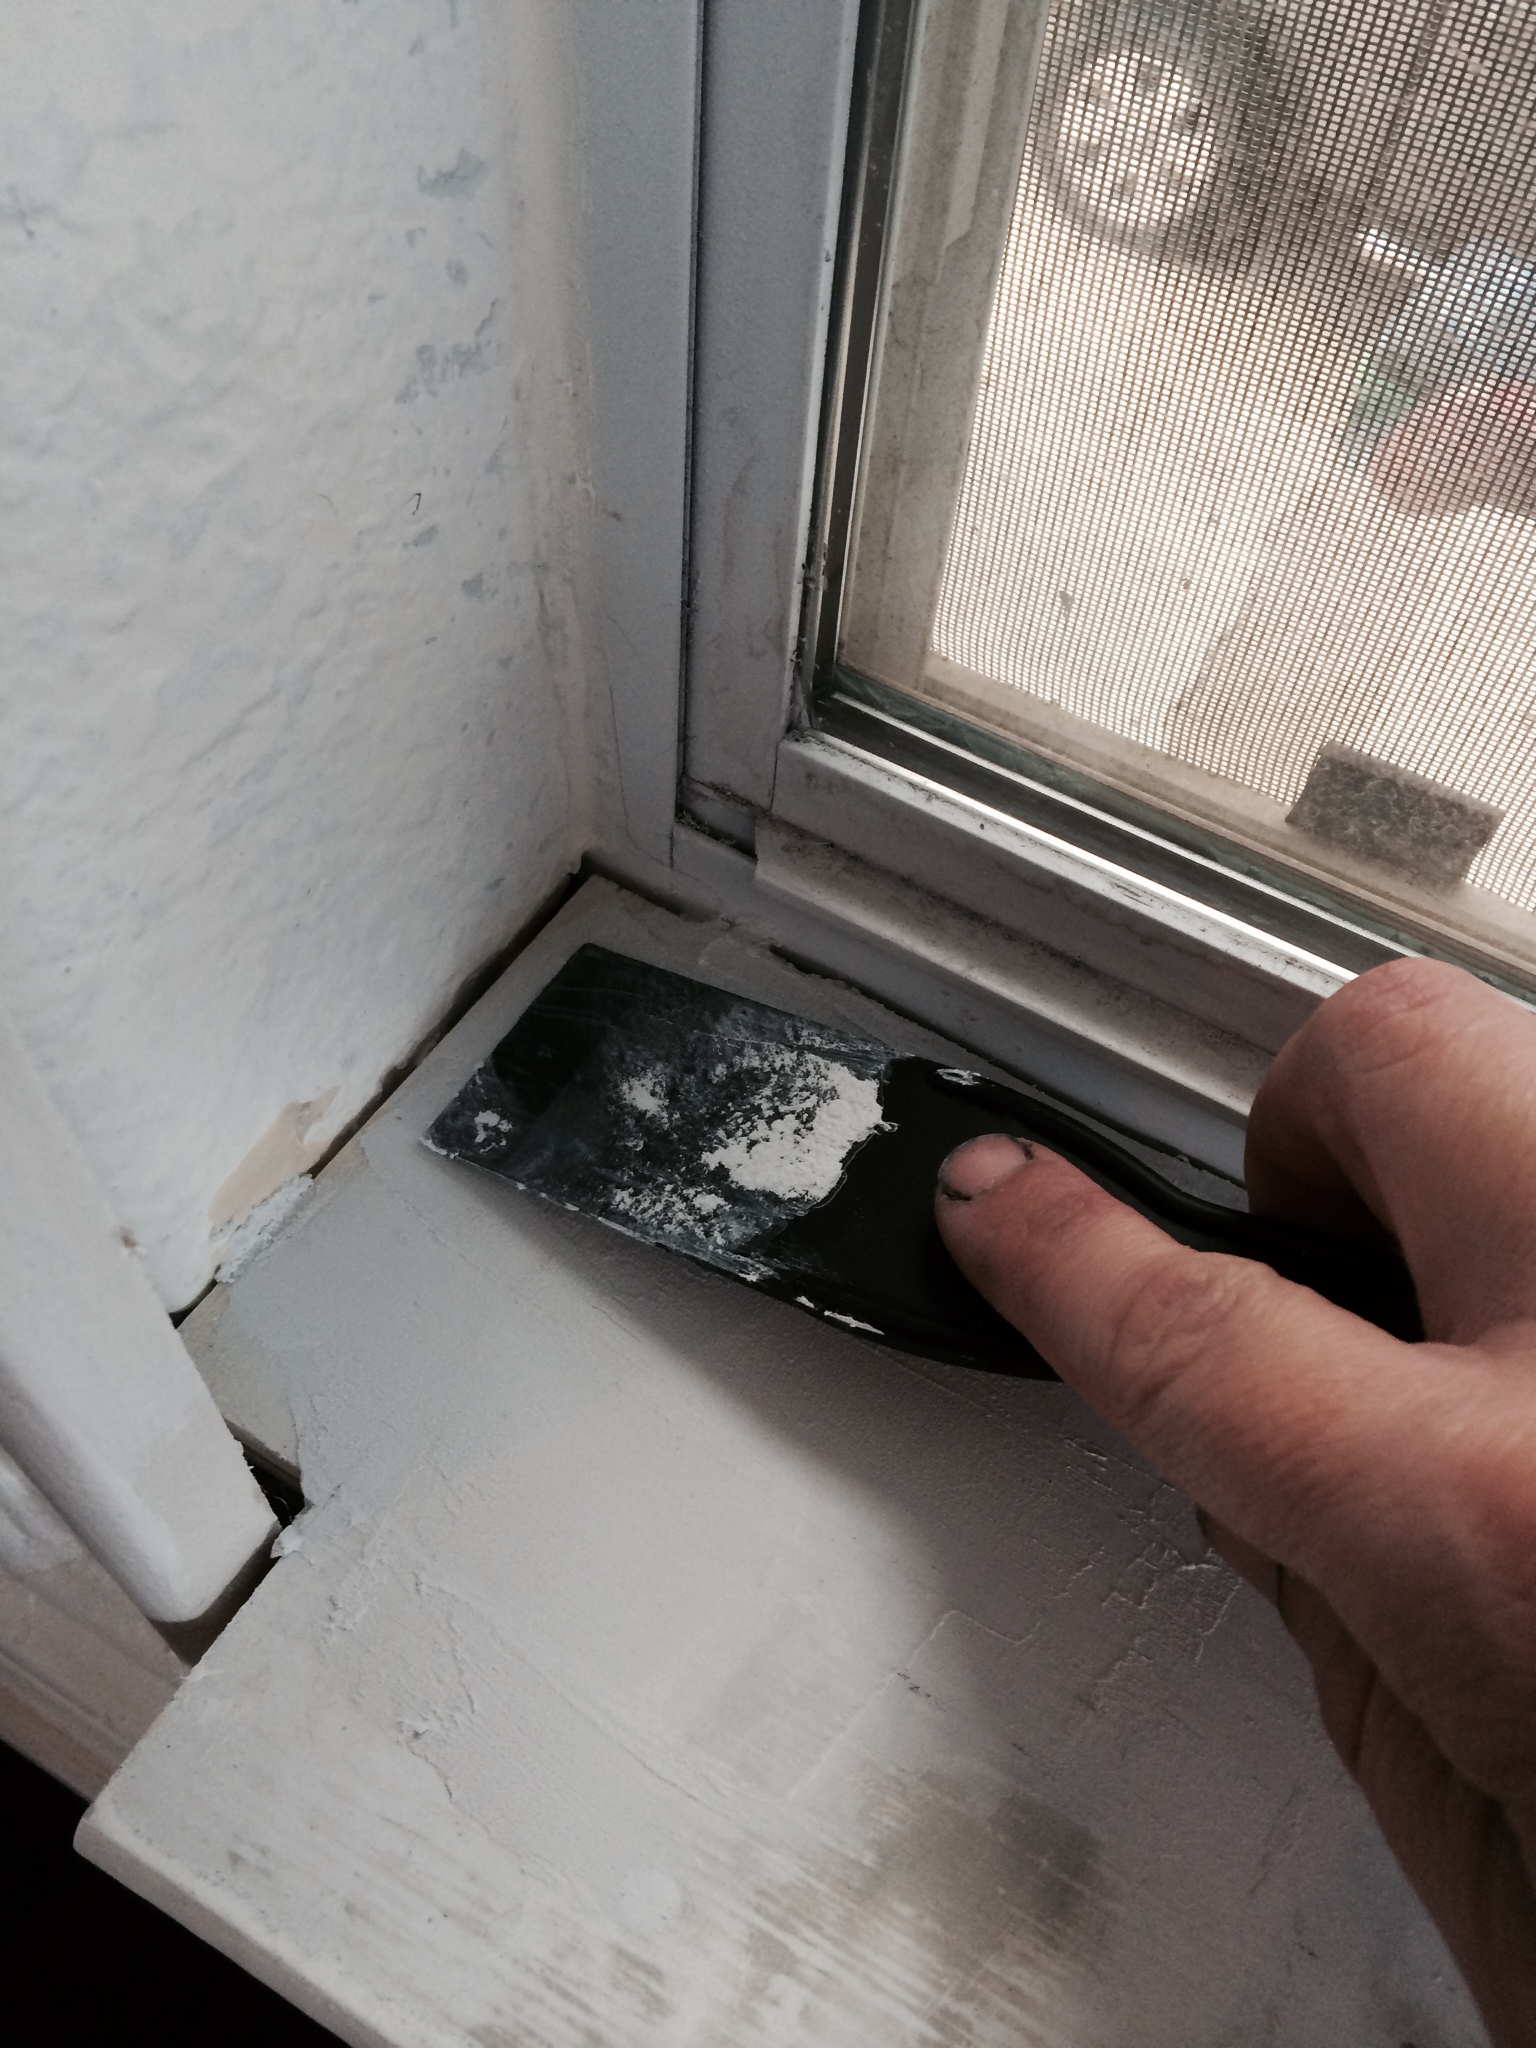
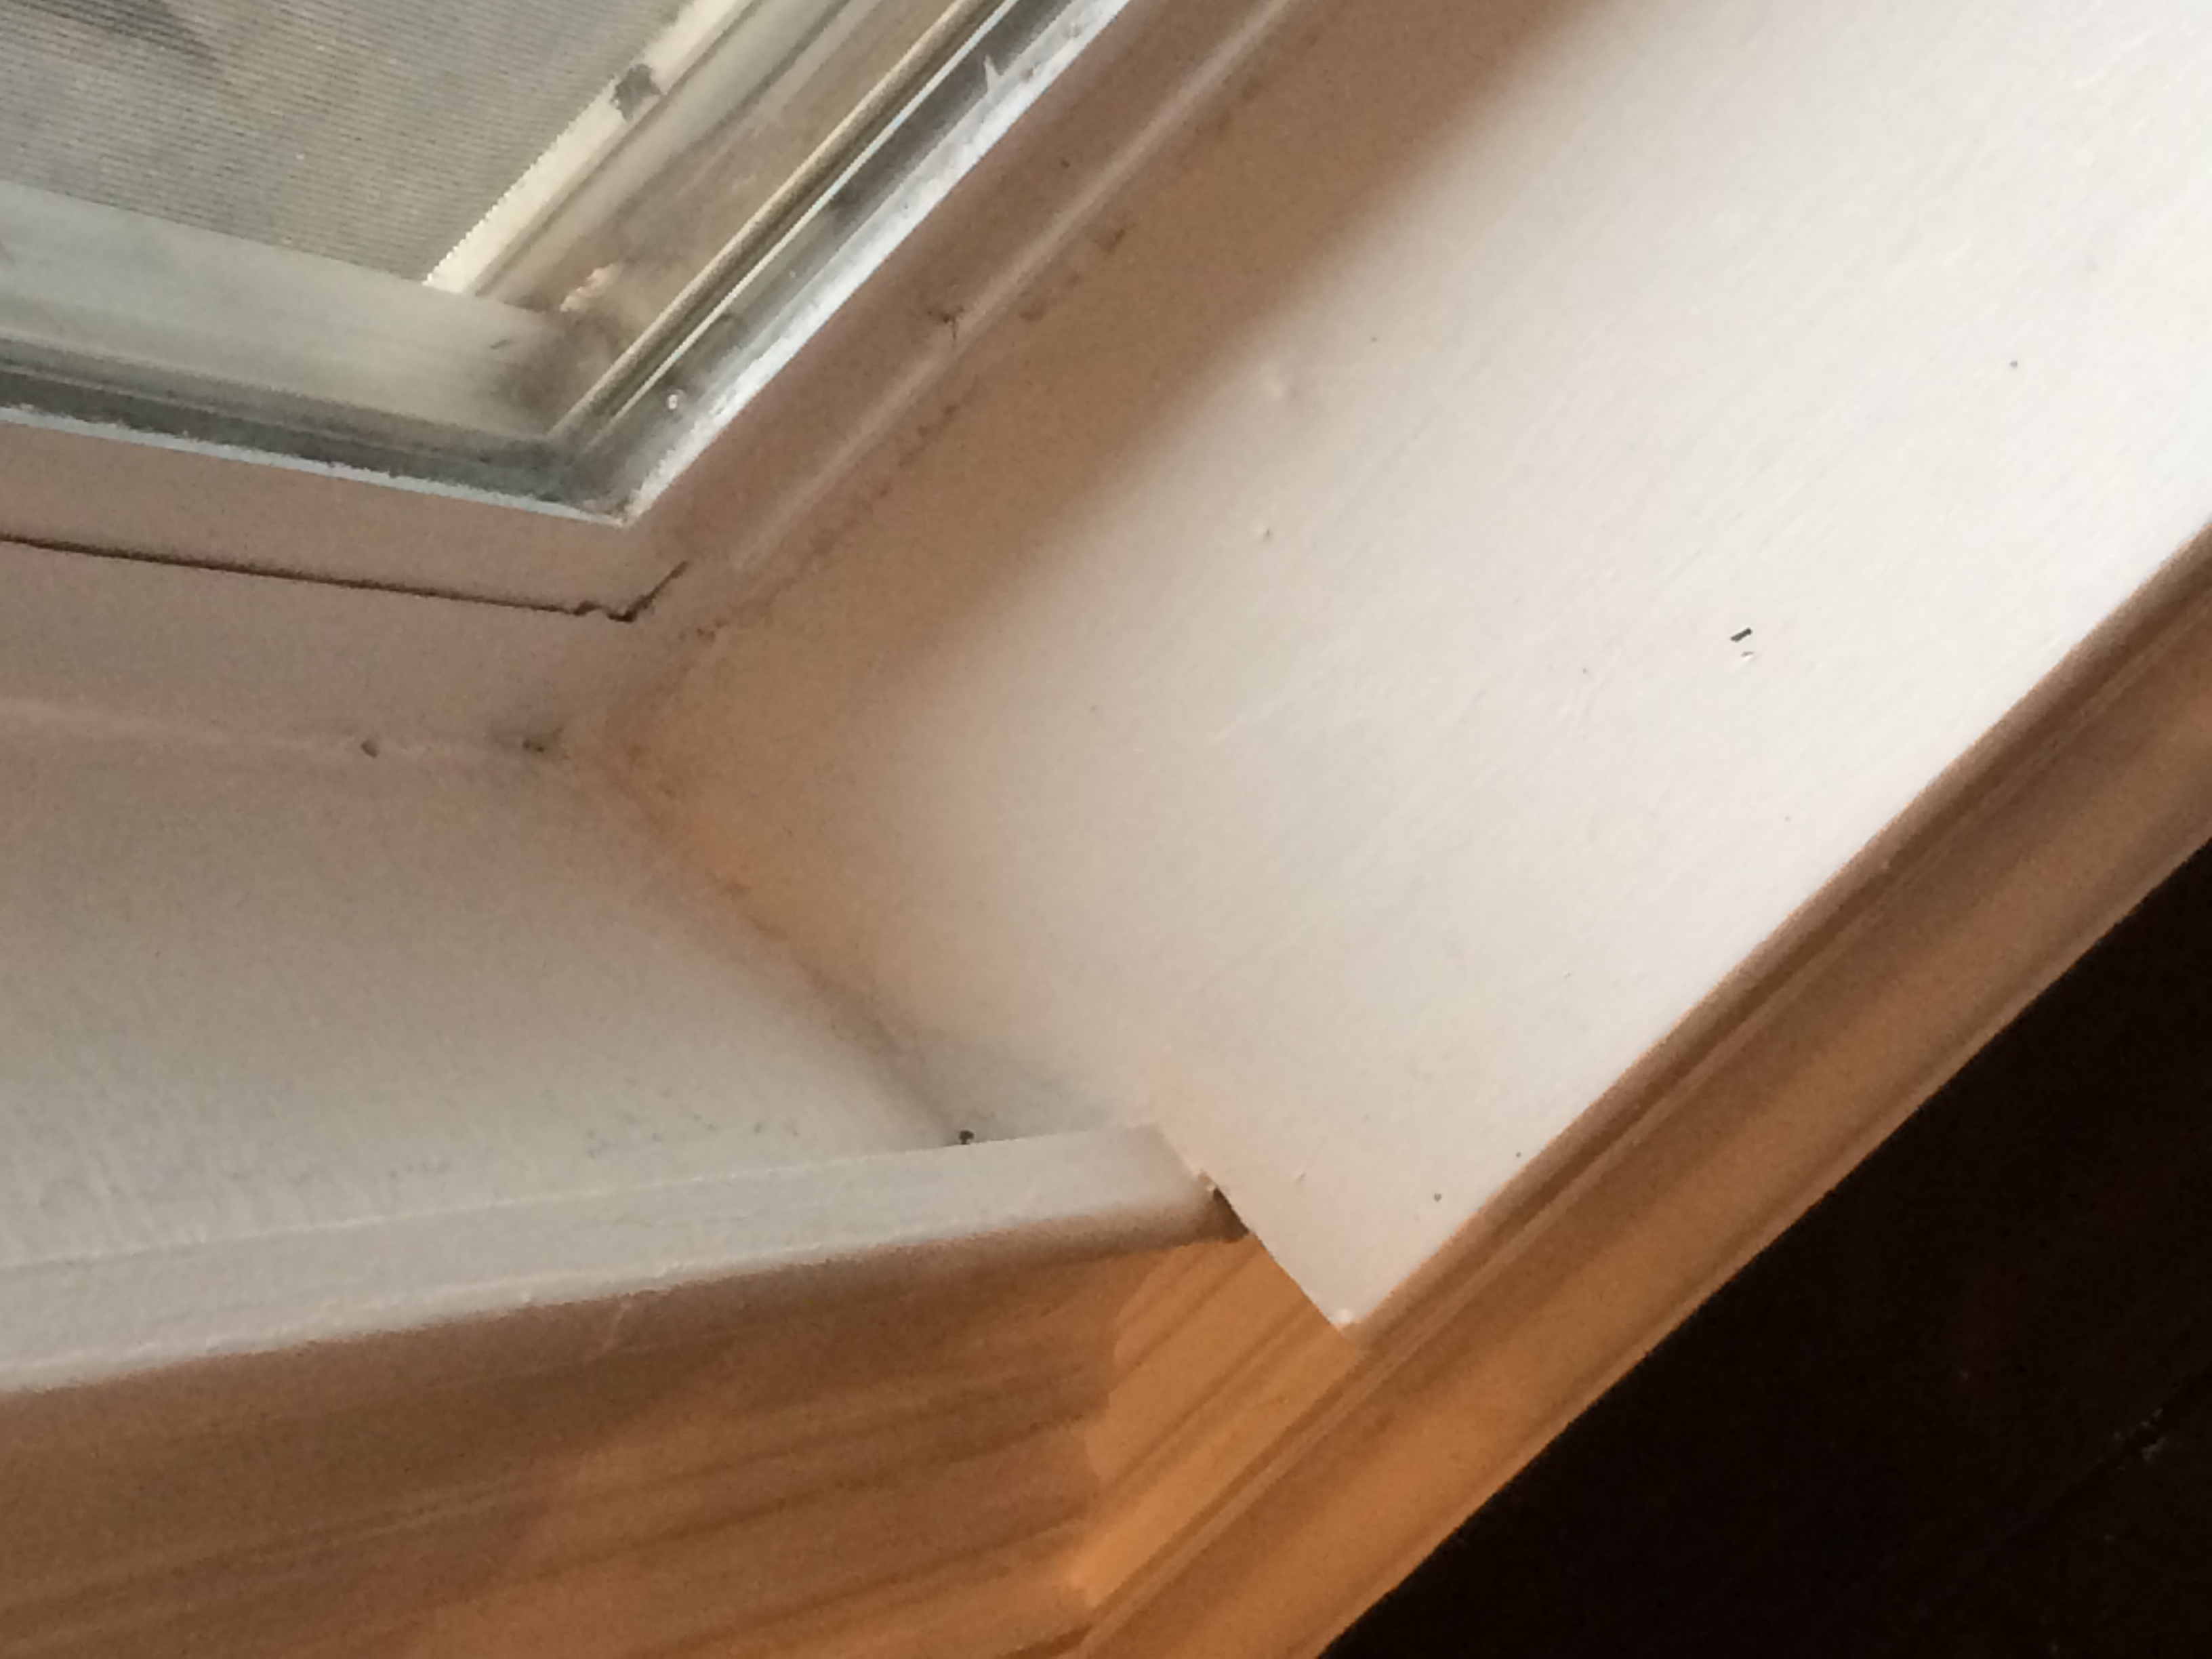
Luckily, I've made enough of those "not thinking" mistakes, so it was easy to fix. I just glued some scrap pieces together, nailed them in, spackled, sanded and painted and you would never know it was a patch job.

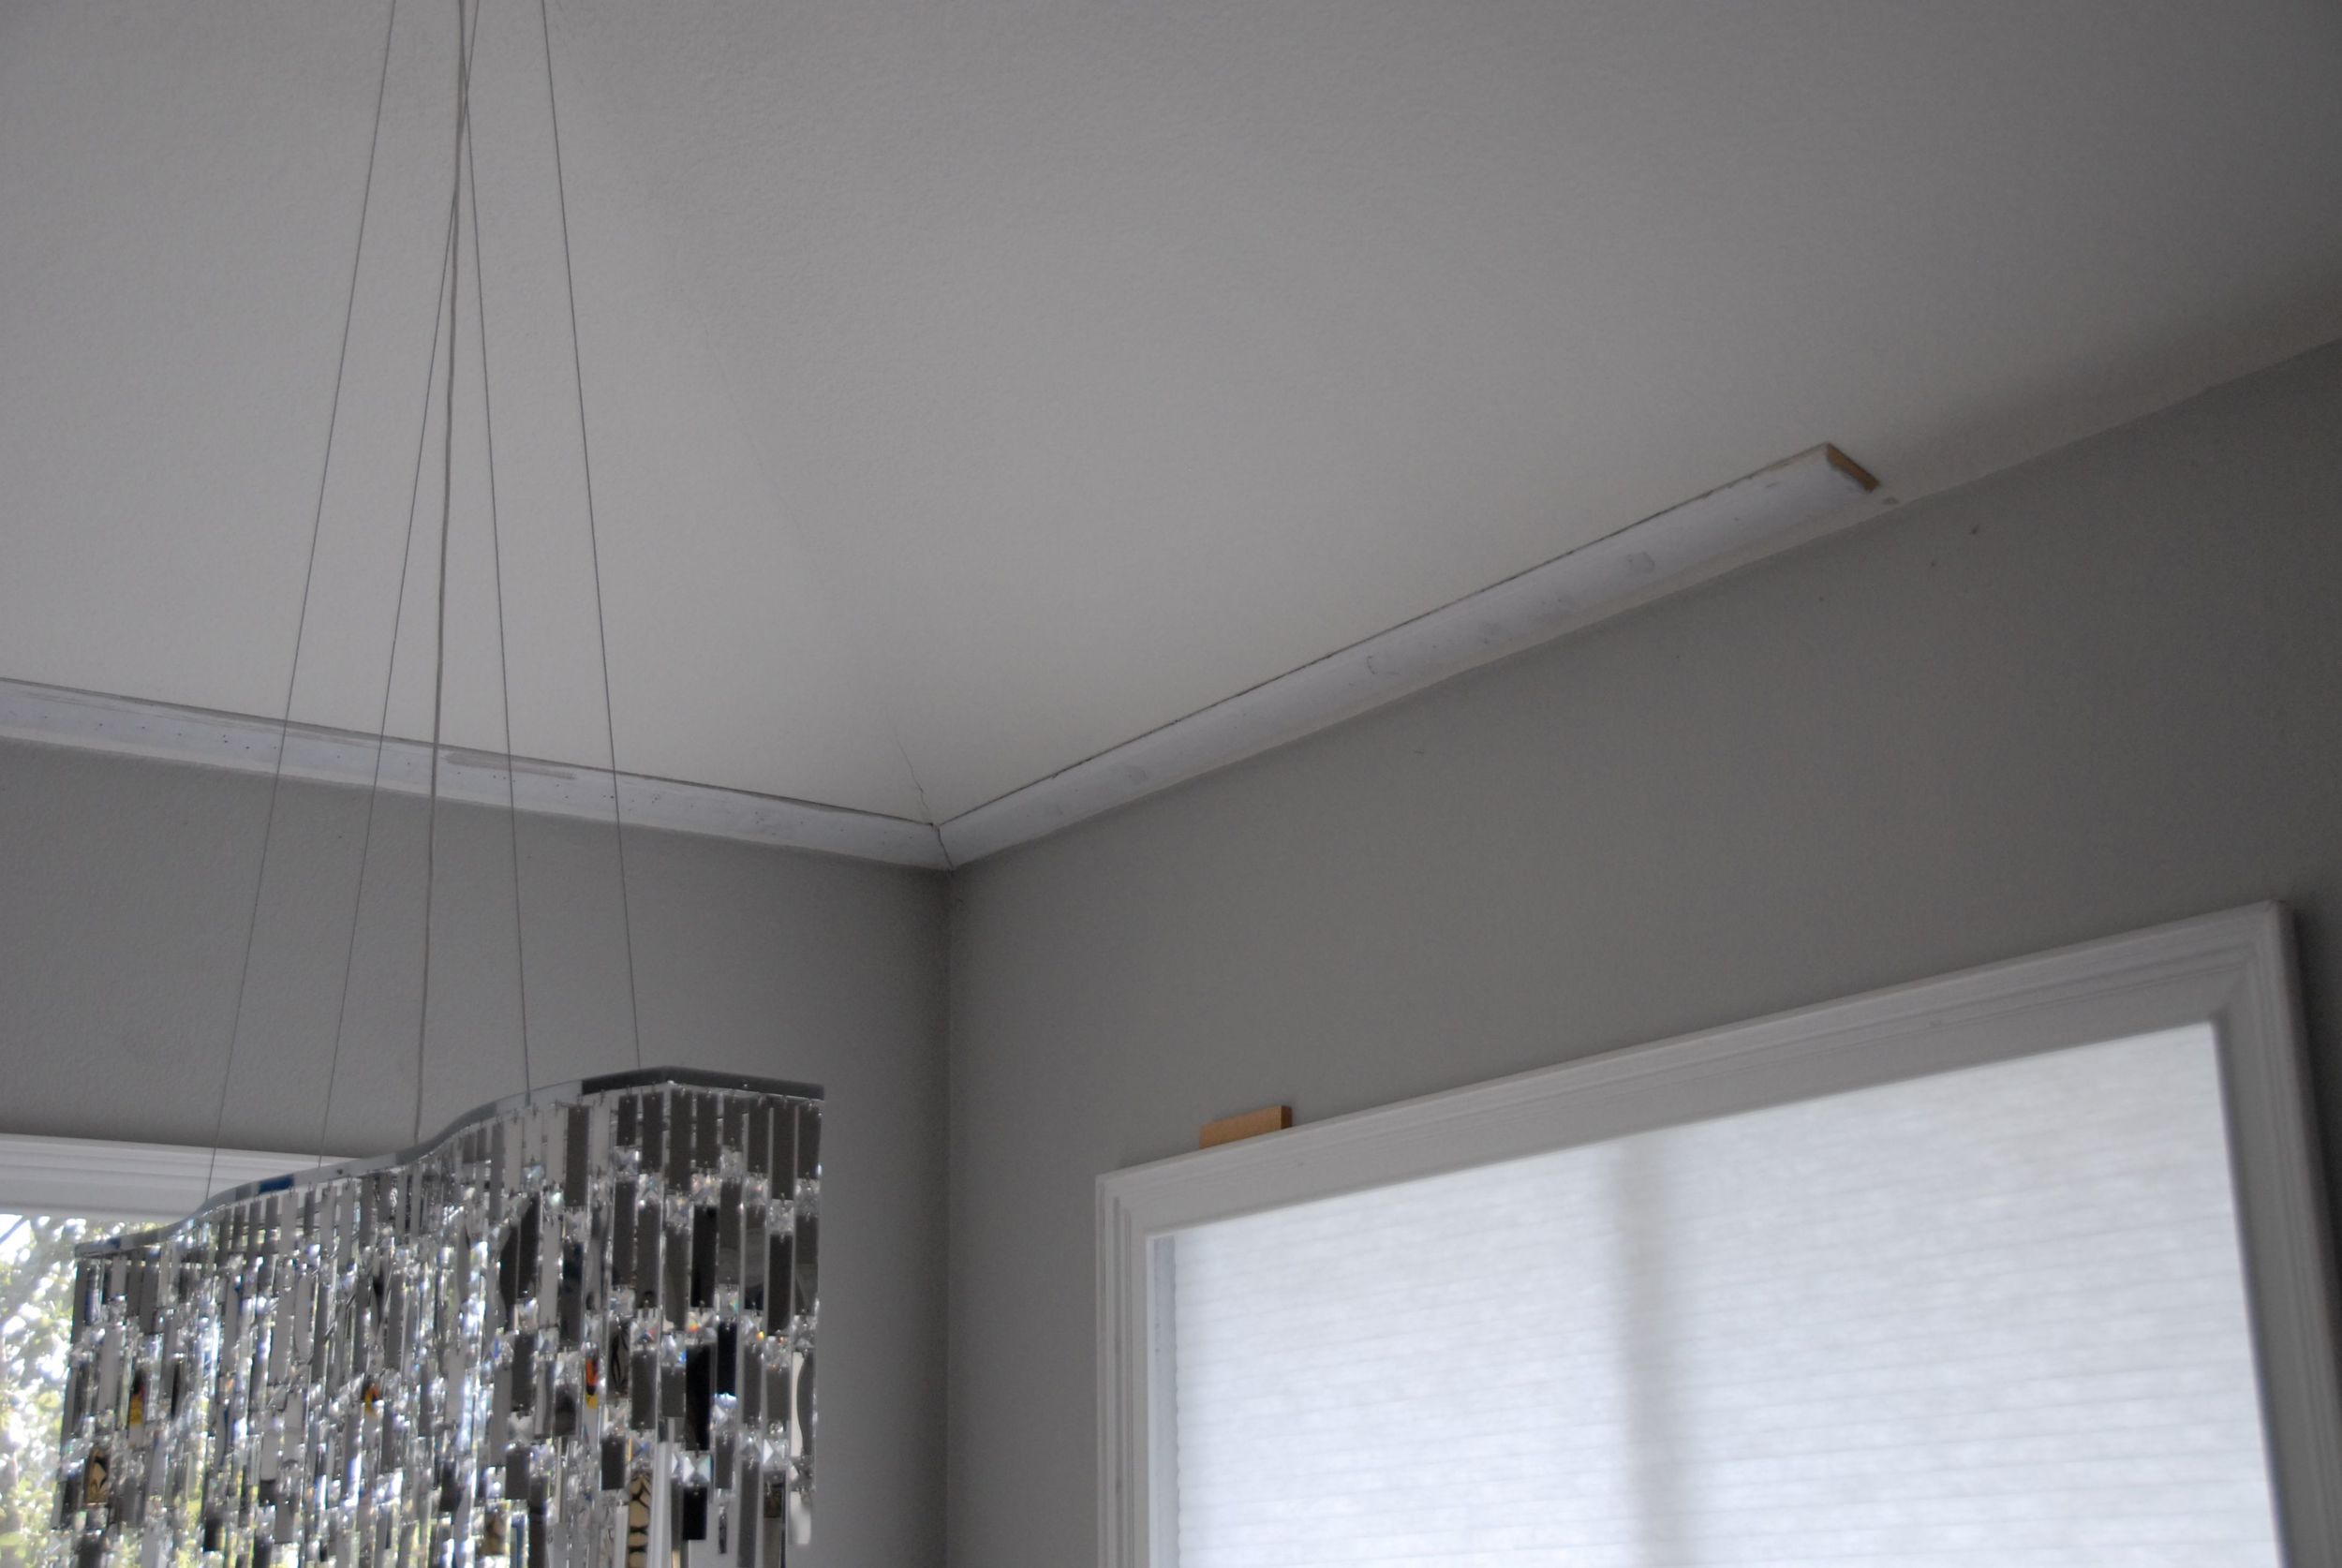
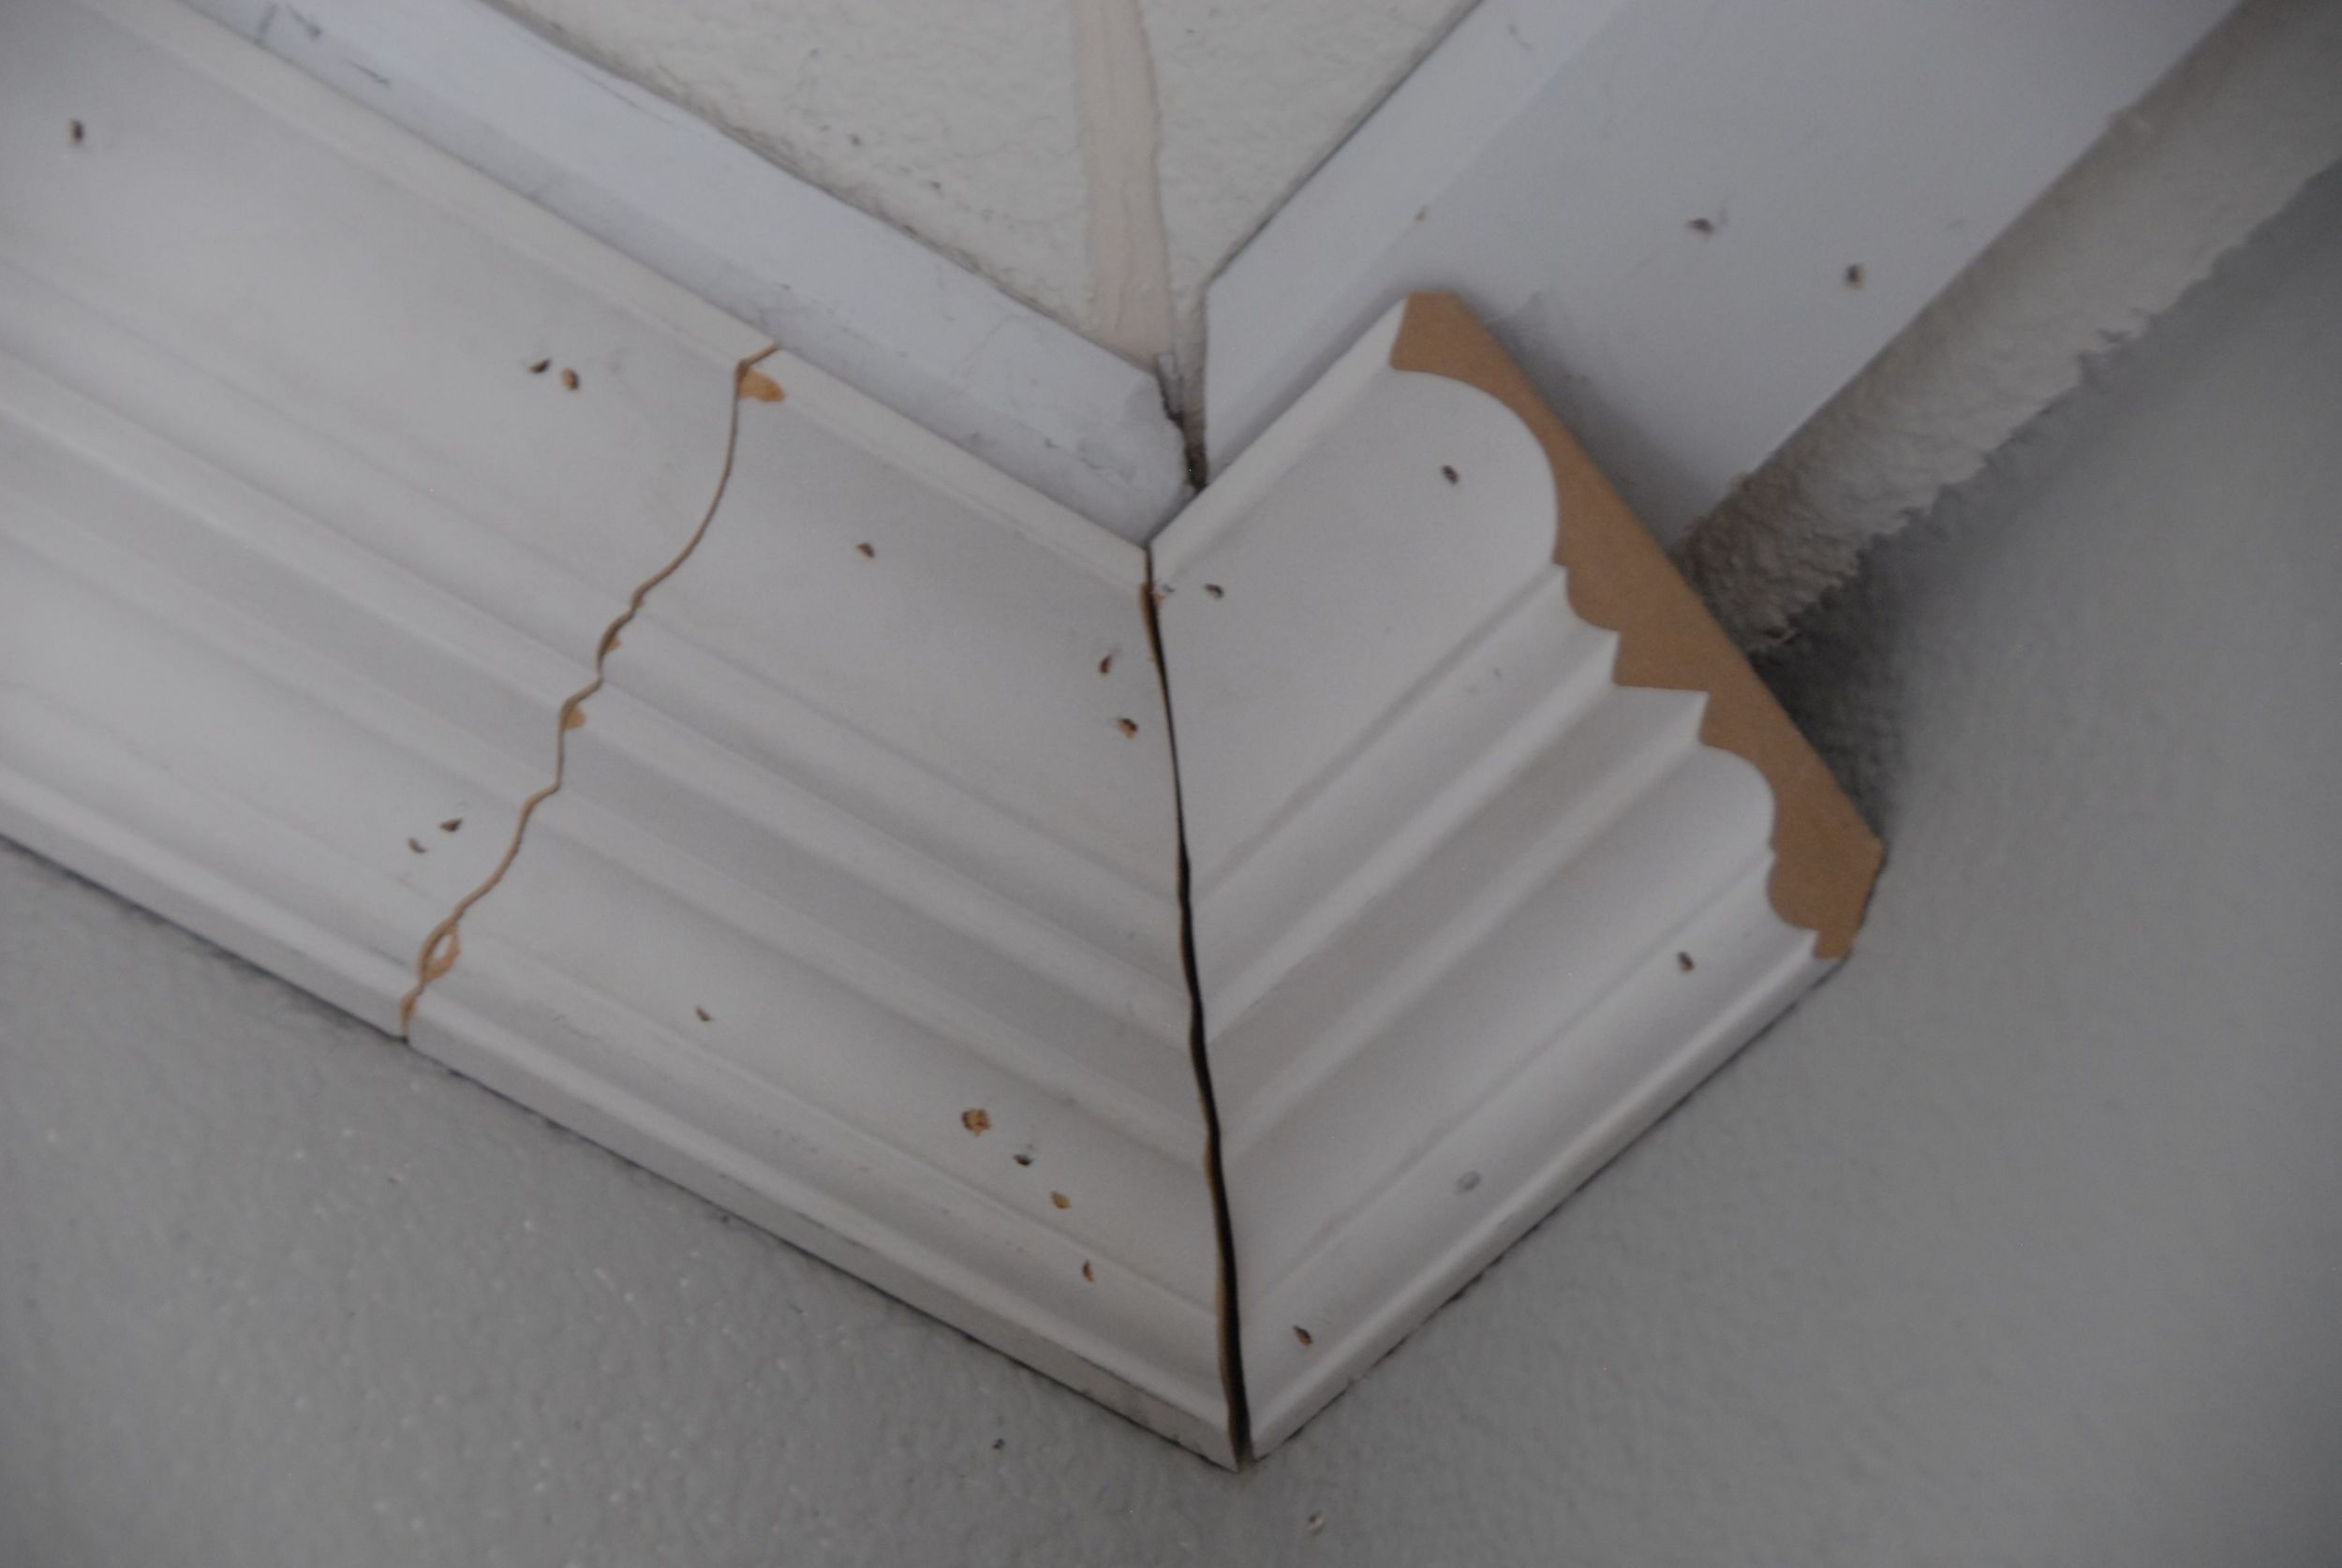
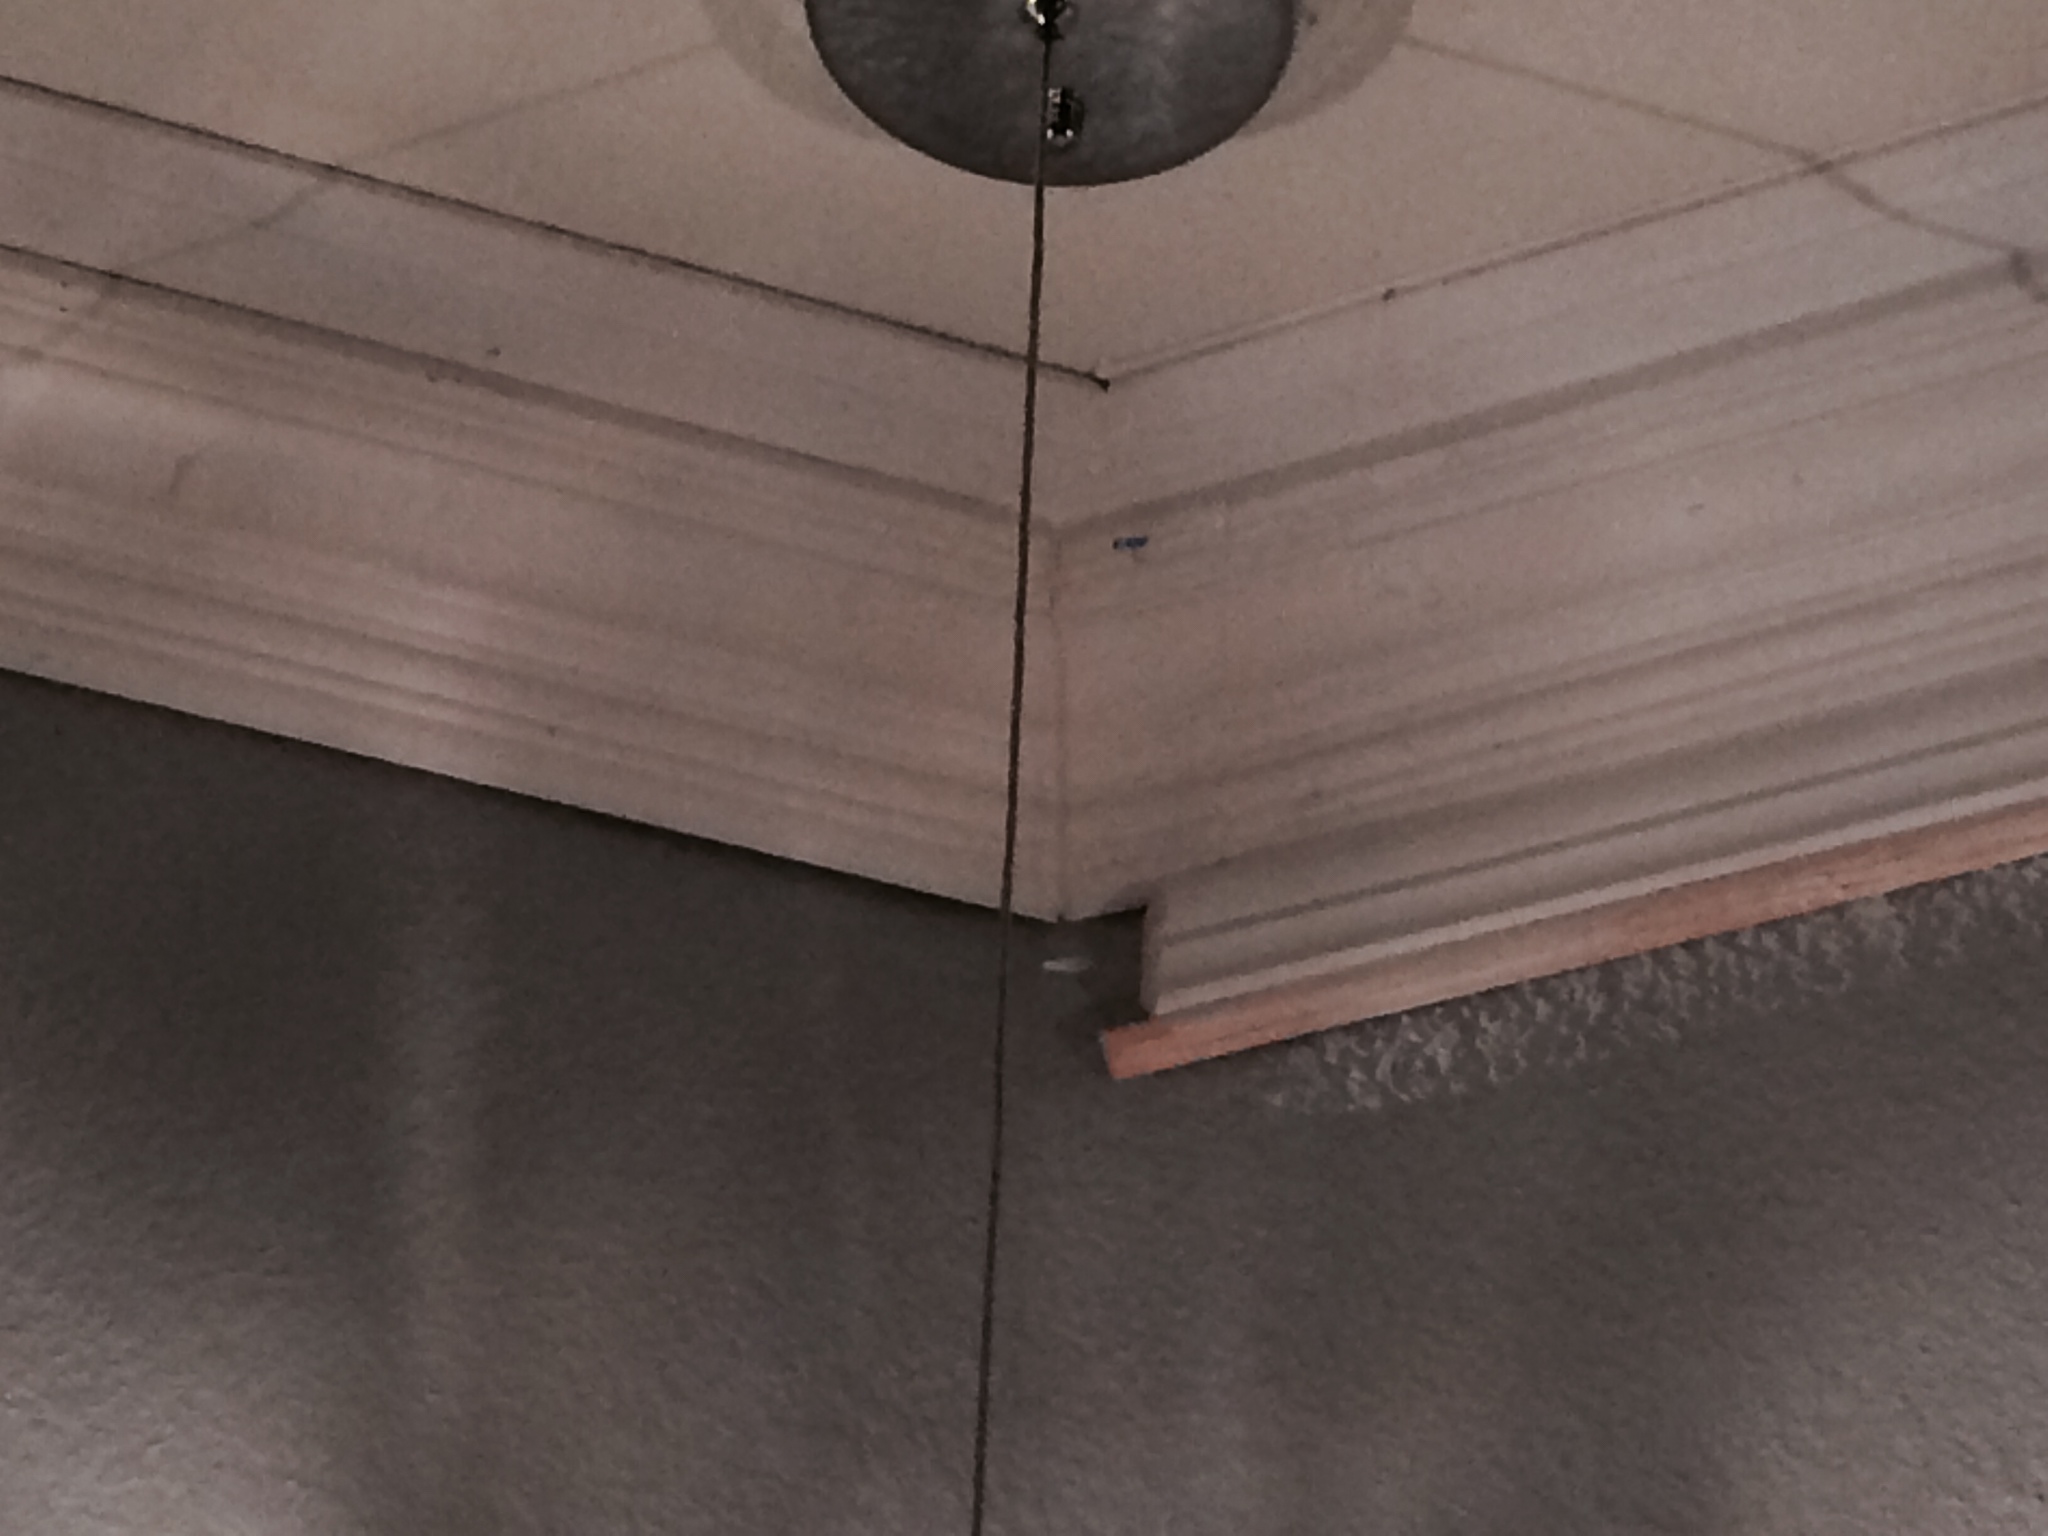
After that, I moved up... to the ceiling. I decided to add crown but I couldn't just do one layer - no that would be boring. I decided to do four layers. Oy. It was such a good idea at the time but it made me a little crazy.
And that, my friends, is where I'm stopping for today. I need to take photos with the "good" camera but it is a rainy day here in Texas and the lighting isn't so great. Until next time!


